
Sticky Buns
This post may contain affiliate links. We participate in the Amazon Services LLC Associates Program, an affiliate advertising program designed to provide a means for us to earn fees by linking to Amazon.com and affiliated sites at no extra cost to you.
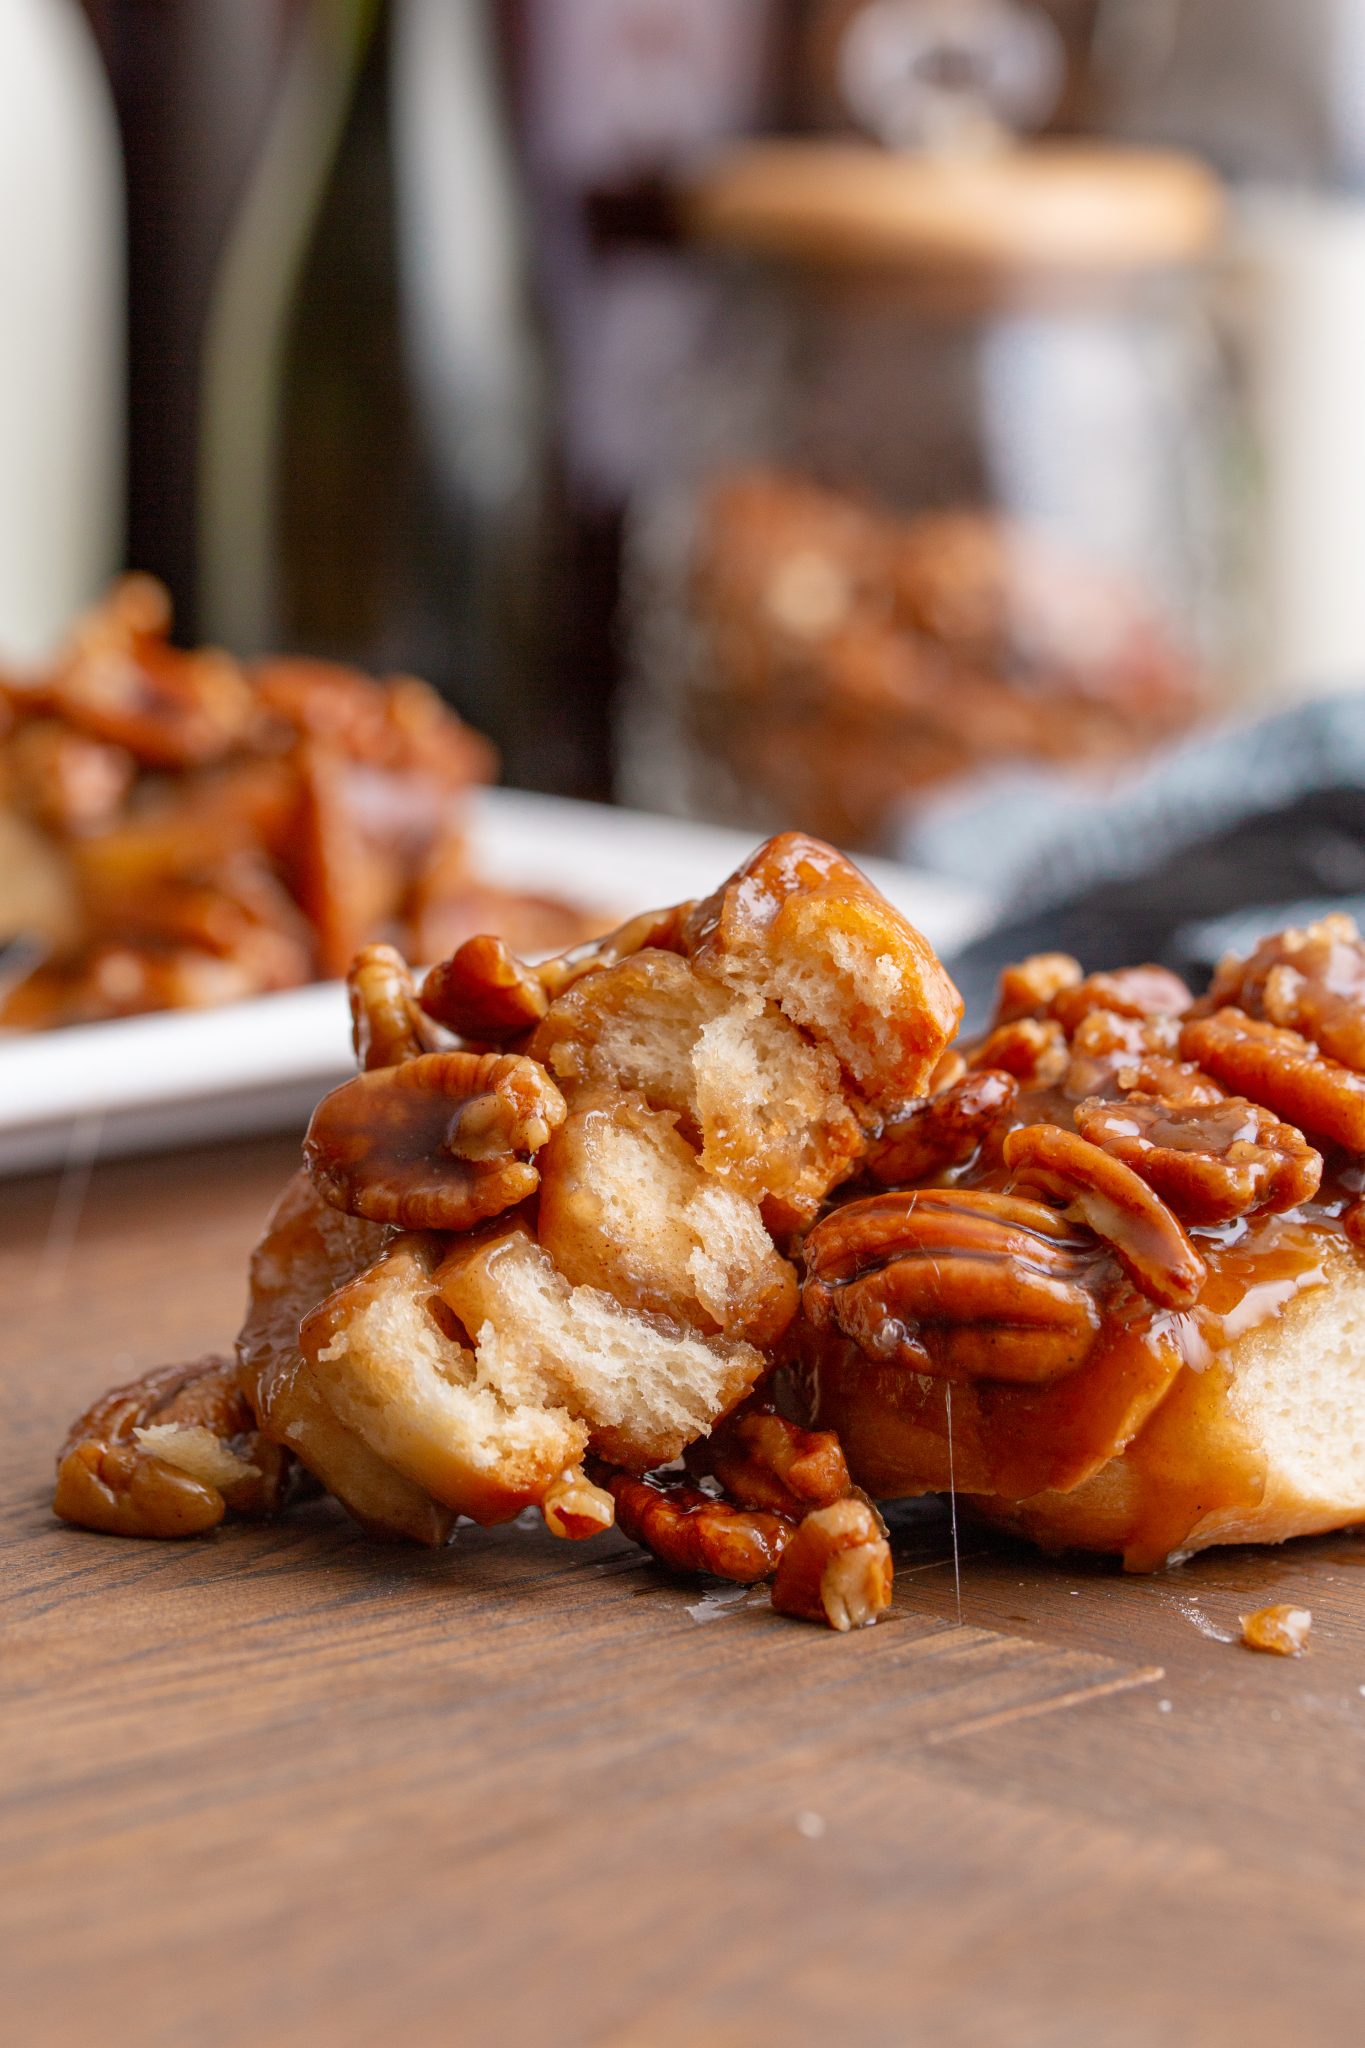
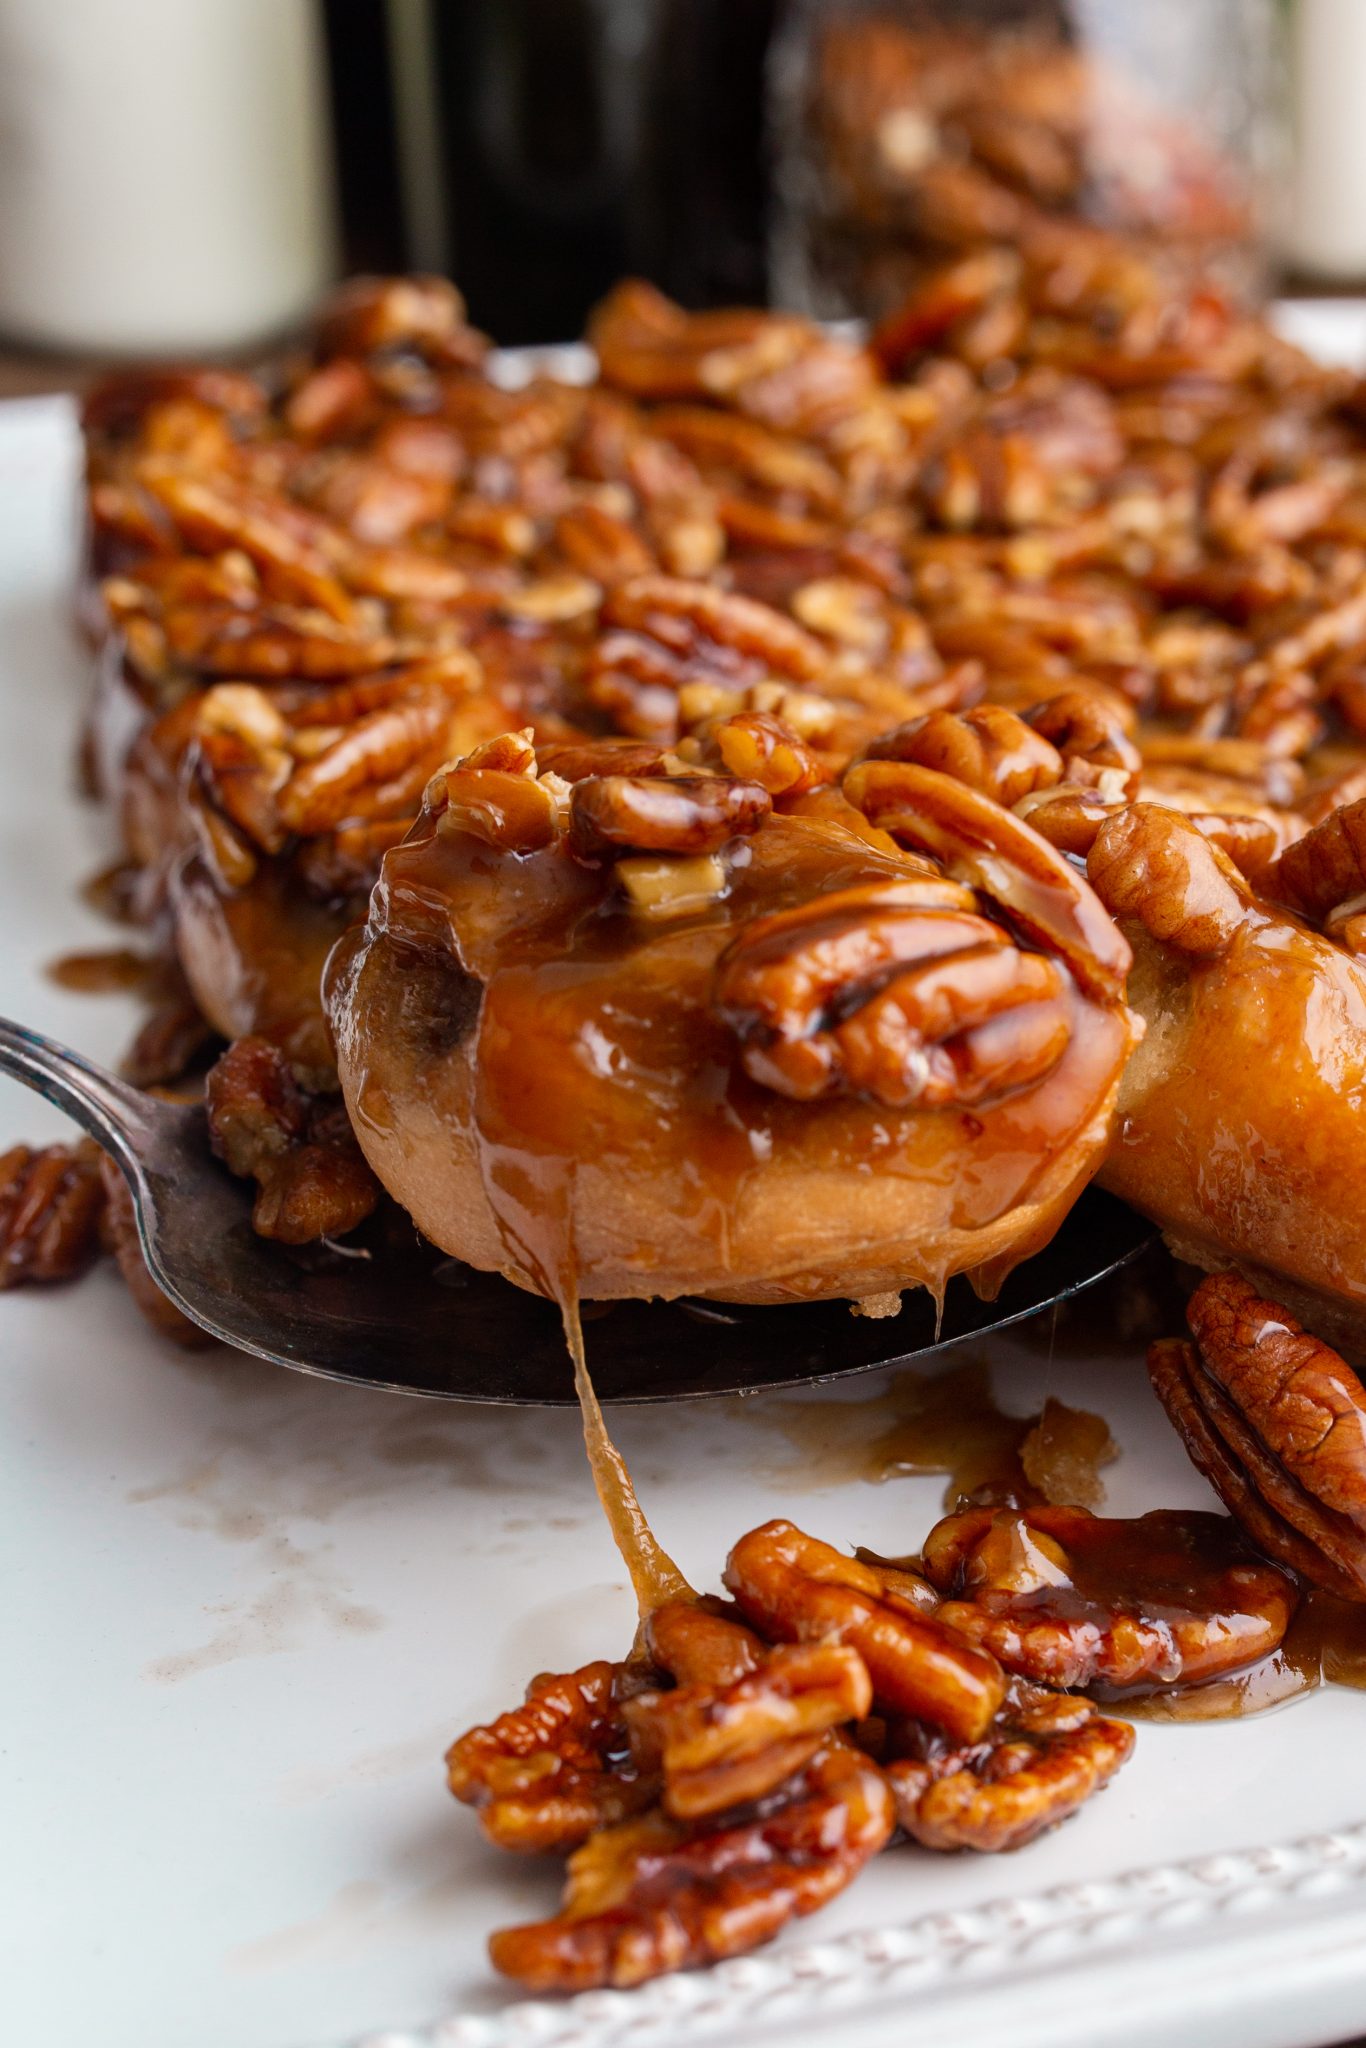
Sticky Buns are tender, pillowy, and full of holiday flavor. Christmas morning breakfast is never complete without a batch of this homemade dessert! Follow my simple instructions to yield perfect results every time, no matter what your baking level is.
You’ll also want to check out how to make the Perfect Cinnamon Rolls, Apple Butter Cinnamon Rolls, and Pumpkin Spice Cinnamon Rolls.
We are a participant in the Amazon Services LLC Associates Program, an affiliate advertising program designed to provide a means for us to earn fees by linking to Amazon.com and affiliated sites at no extra cost to you. We also participate in similar programs with RStyle and other companies.
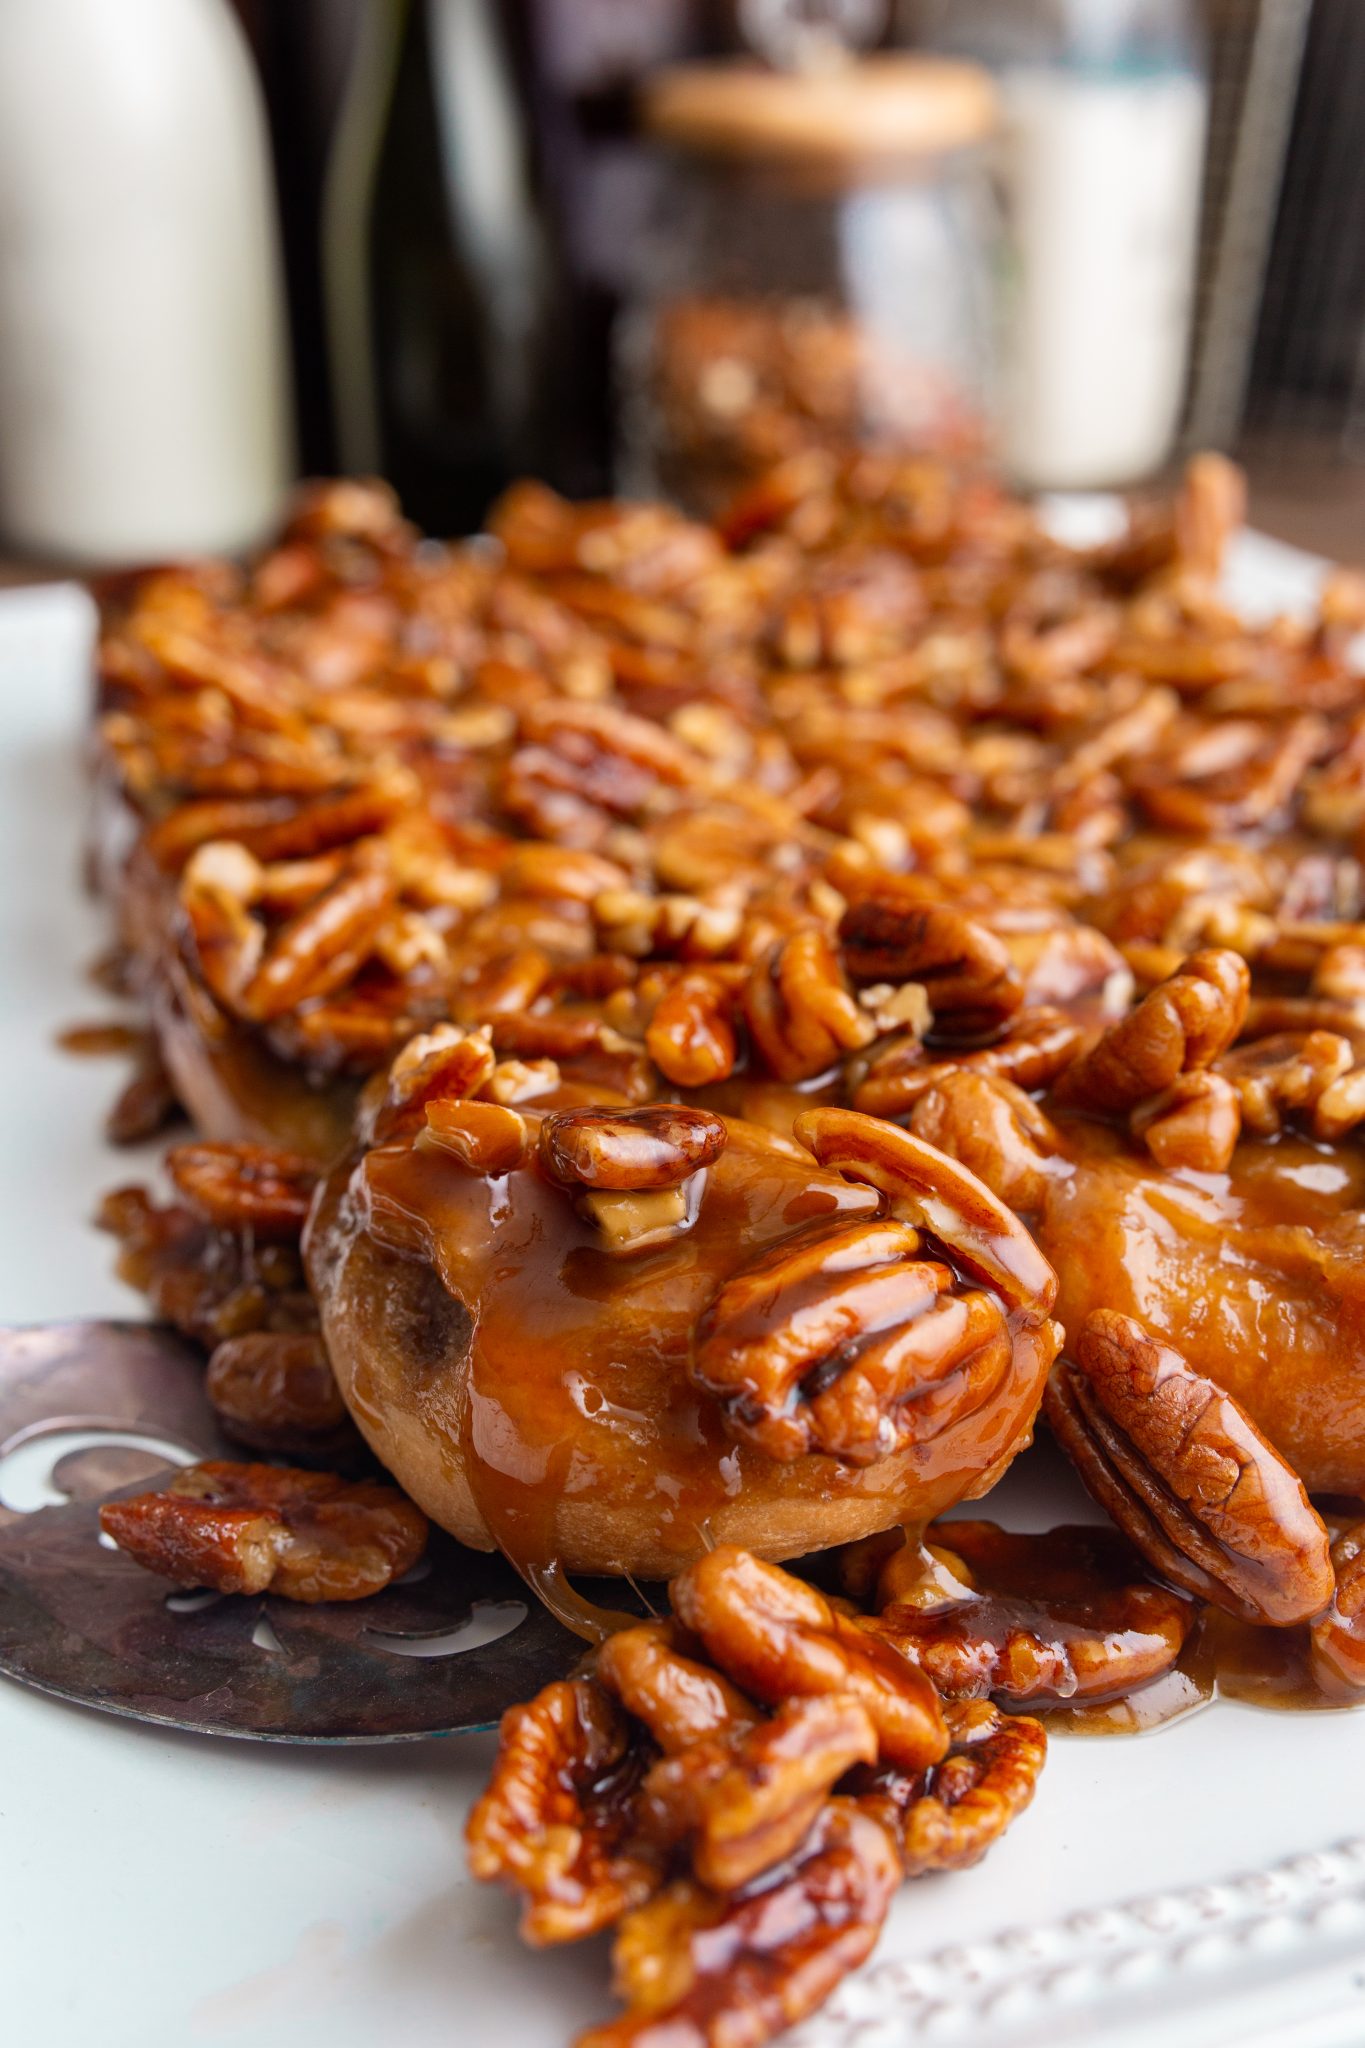
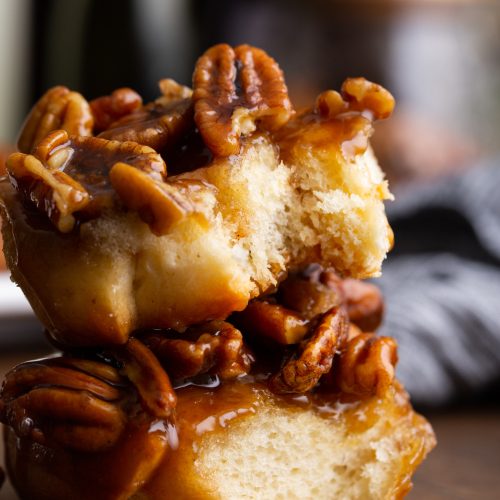
Caramel Pecan Sticky Buns
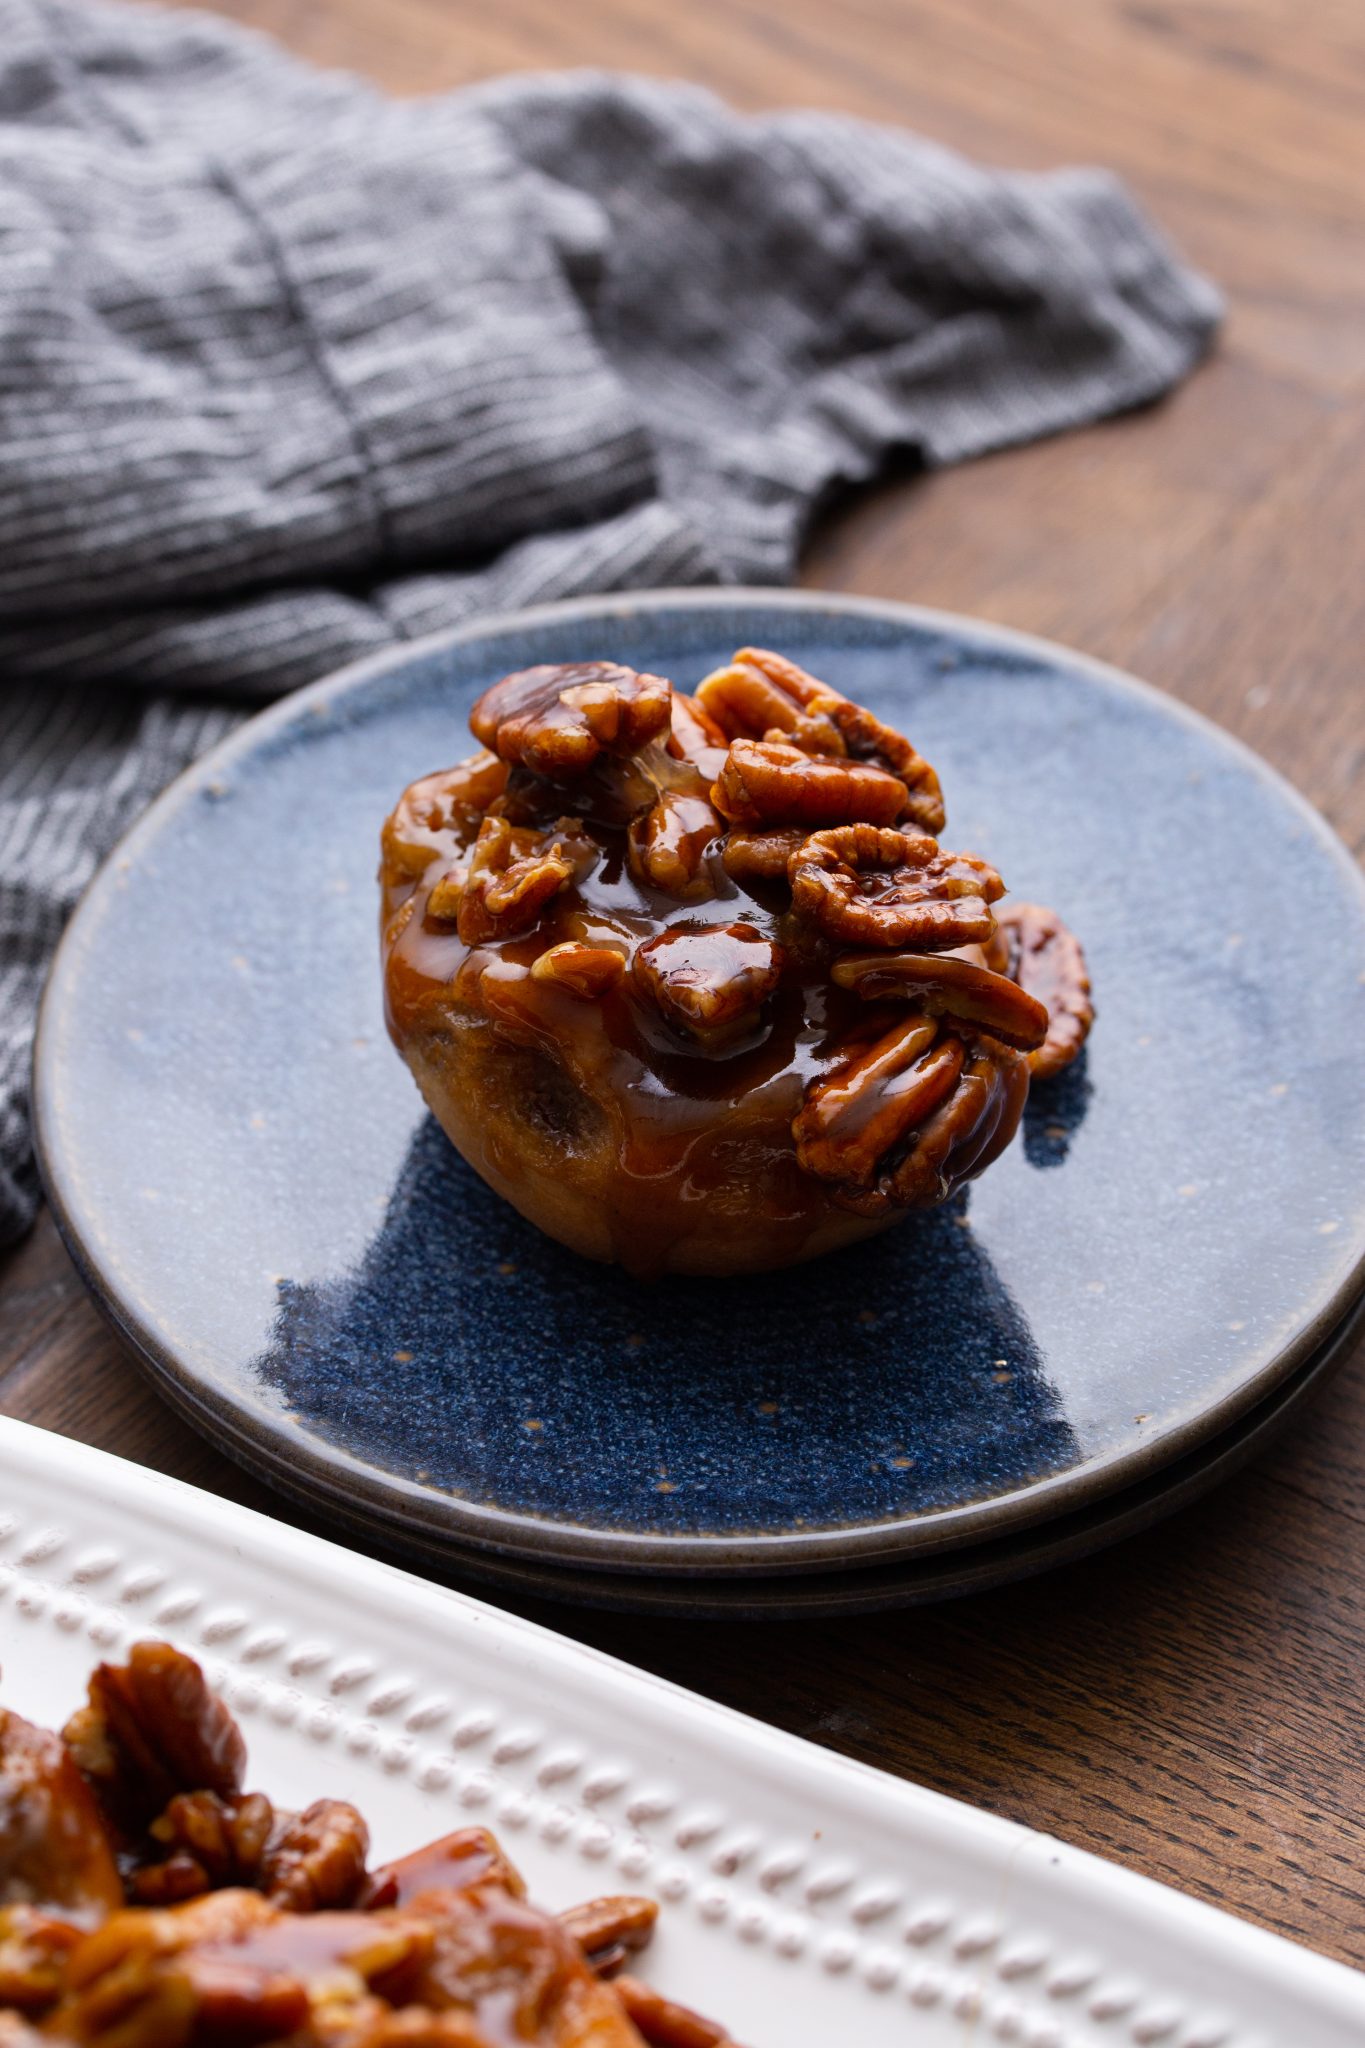
If you’re a fan of cinnamon rolls but have never had sticky buns, then you’re in for a real treat! This popular recipe can be made year-round, but the warming spices and caramel flavors make it especially perfect for the holidays. Whether it’s a holiday or Sunday brunch believe me when I say your friends and family are going to go absolutely crazy when you serve them from-scratch sticky buns.
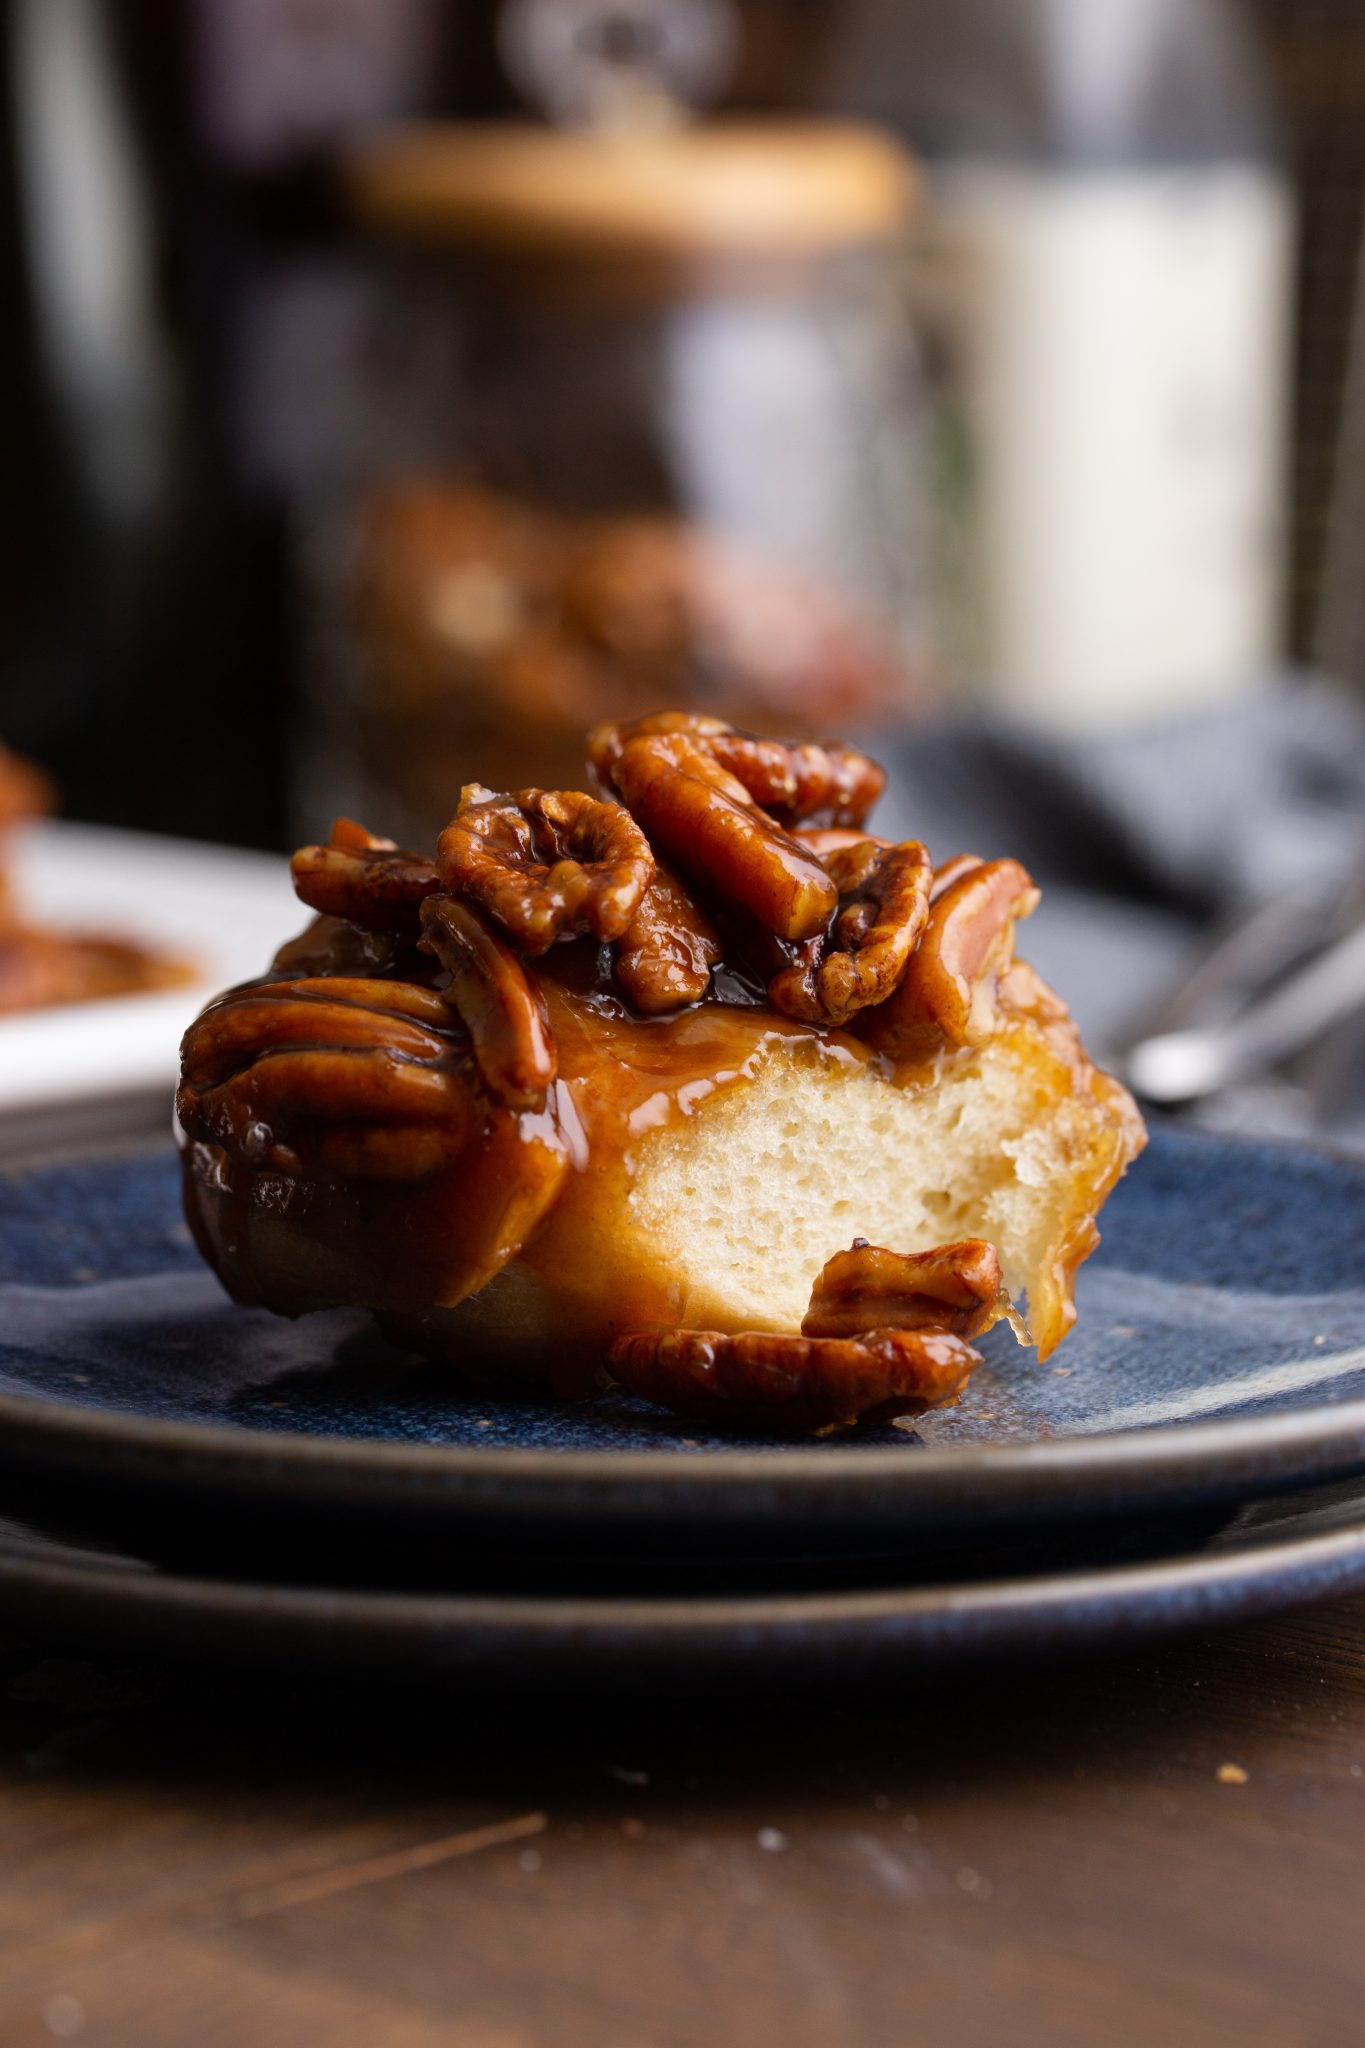
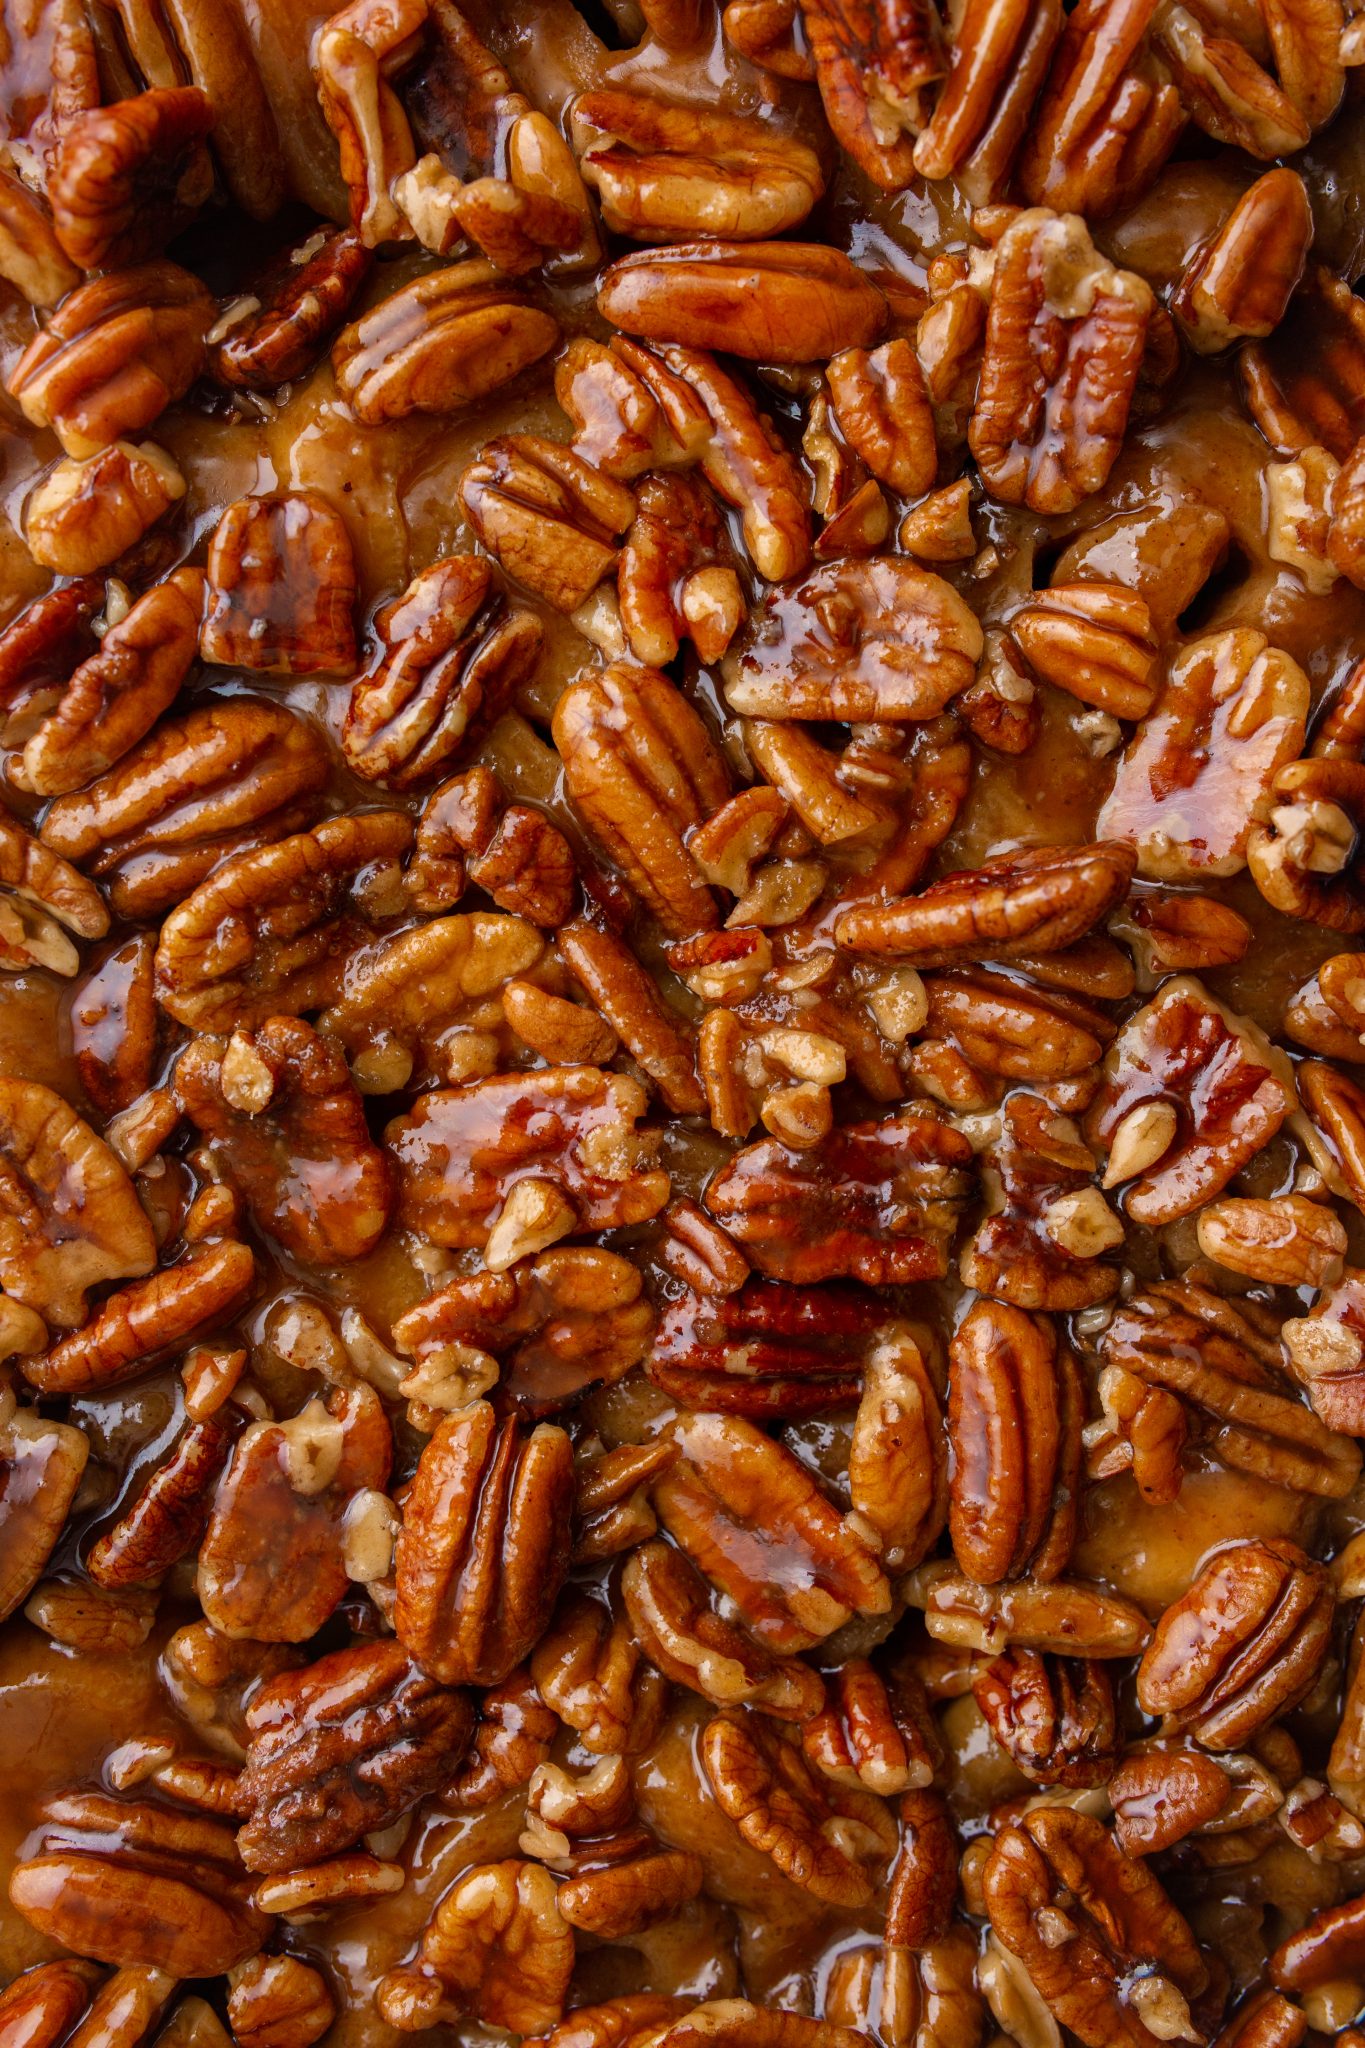
The recipe features soft, pillowy dough, rich caramel sauce, and crunchy pecans. Every time I make sticky buns, my family quickly flocks to the kitchen, asking “when can we have some?!”

Sticky Buns vs Cinnamon Rolls
Sticky buns and cinnamon rolls are easily confused, but there are a few subtle differences that make each one unique. Both have a similar dough, which contains fats like milk, butter, and eggs, and a cinnamon-butter filling. This is known as a sweet dough.
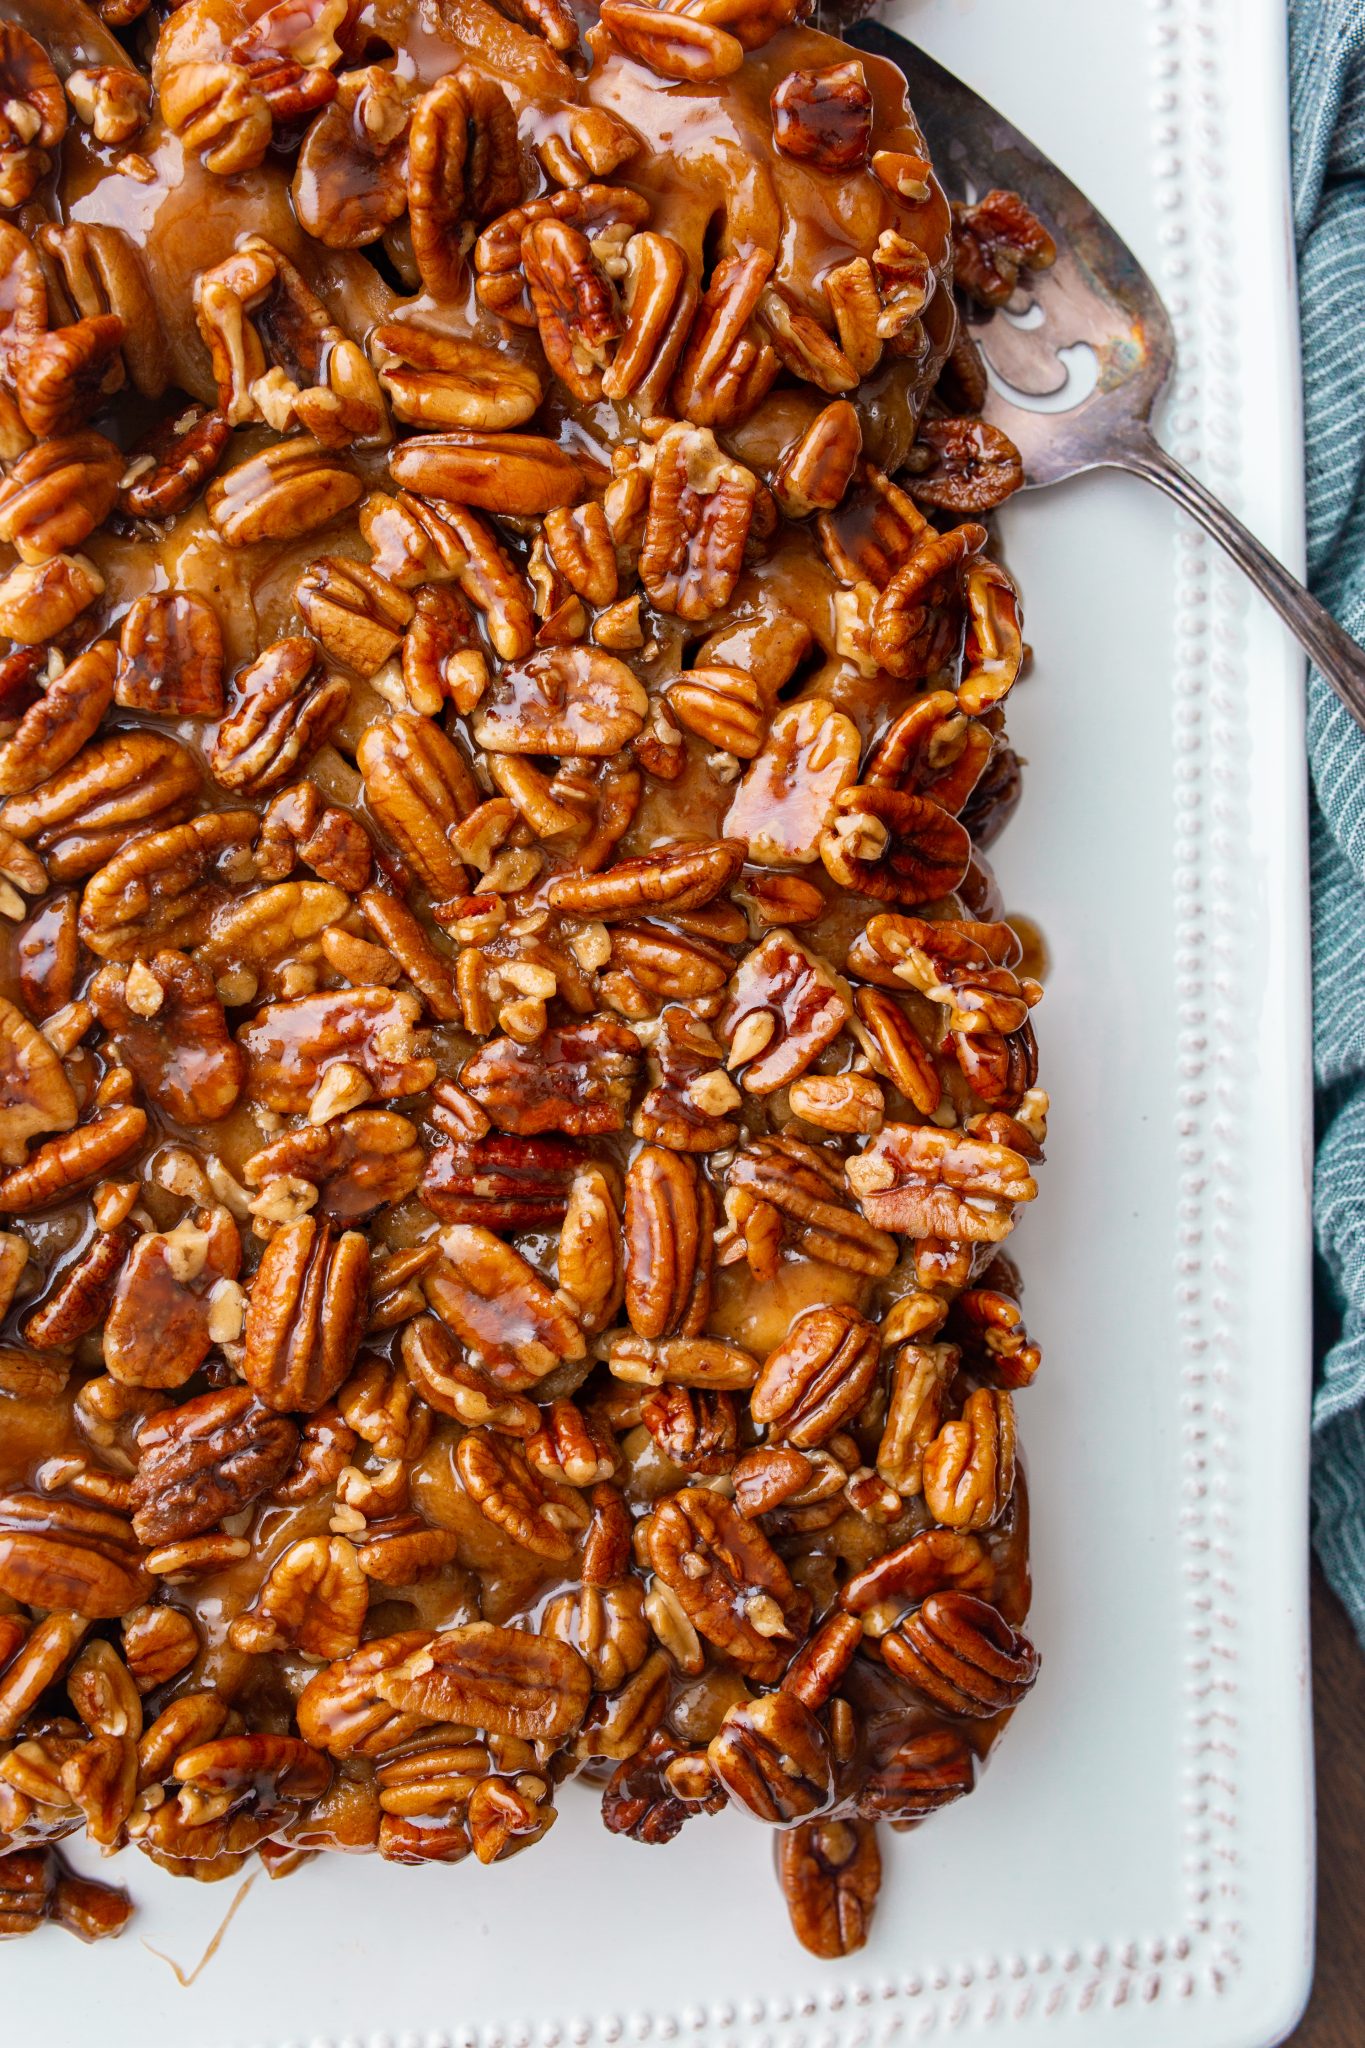
Think of sticky buns like the pecan pie of cinnamon rolls. They have the same filling as cinnamon buns but are glazed with a rich amber caramel sauce and candied pecans. Sticky buns contain nuts (pecans mostly), and they are baked in a pan with nuts and caramel at the bottom. Once baked, sticky buns are flipped over, revealing the caramelized nut topping.
On the other hand, cinnamon rolls are baked without any caramel layer at the bottom. Once finished, they’re typically iced with a flat icing or cream cheese glaze.
Ingredients you’ll need for sticky buns
These sticky buns are packed with holiday flavor! Here are the ingredients you’ll need:
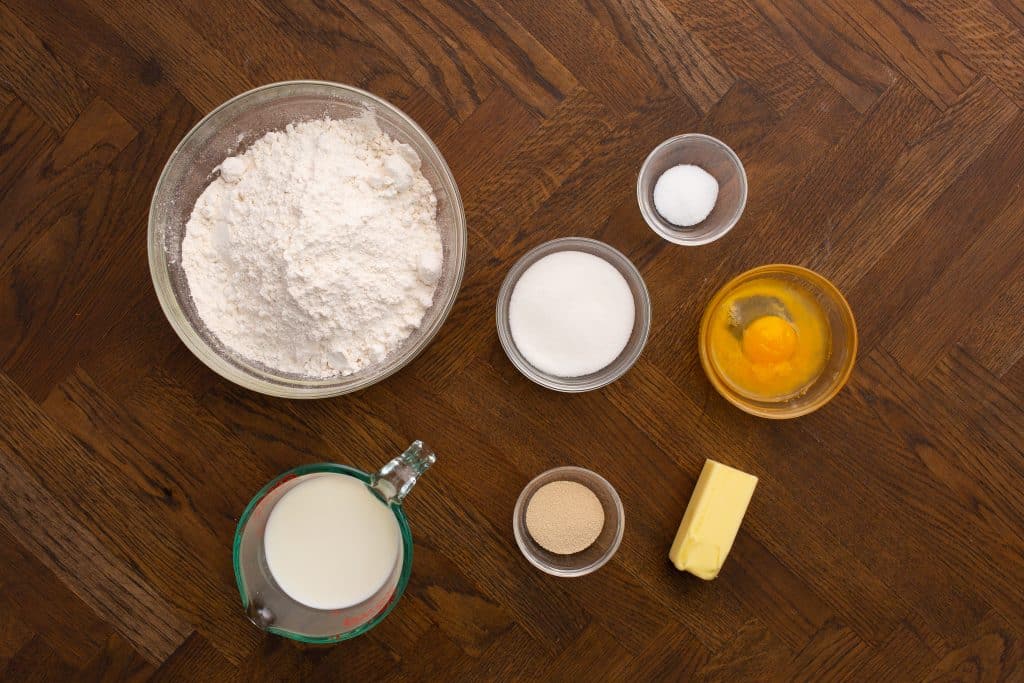

- All-purpose flour – Since all-purpose flour is a medium protein flour, it creates a soft and tender texture, but it still provides a necessary structure to form the buns.
- Instant yeast – Sometimes referred to as rapid-rise yeast, instant yeast can be added directly to dry ingredients. Active dry yeast must be proofed in warm water or milk. Unsure if your instant yeast is expired? Check it by proofing it in water or milk. If it froths/blooms, you are good to go! If not, purchase a fresh package of yeast before starting your sticky buns.
- Sugar – You will need both granulated sugar and brown sugar. Granulated sugar helps activate the yeast. The brown sugar will be used for the filling as well as the topping to make the caramel.
- Salt – Use fine-ground salt to evenly disperse flavor throughout the dough.
- Whole milk – For a richer dough, I suggest whole milk. It makes a world of difference compared to low-fat milk.
- Eggs – Another fat component that yields a rich dough and provides lift. Always make sure your eggs are at room temperature before adding them to the batter.
- Butter – For the third fat component, it’s butter, butter, and more butter! We’ll be adding it to the dough, filling, and caramel, so stock up. Remember to use unsalted butter for better control over the salt level.
- Cinnamon – What would a sticky bun be without cinnamon? Use ground Ceylon cinnamon for a well-balanced flavor that doesn’t overpower the rest of the ingredients.
- Honey, corn syrup – To prevent the sugar from crystallizing, add a touch of these.
- Vanilla extract – Pure vanilla extract will always add a better flavor to baked goods, but artificial vanilla works in a pinch.
- Pecans – I think pecans were made for sticky buns. You just need to have that slight crunch all throughout the caramel layer! If you don’t have pecans, try walnuts instead.
How to make sticky buns (with Video)
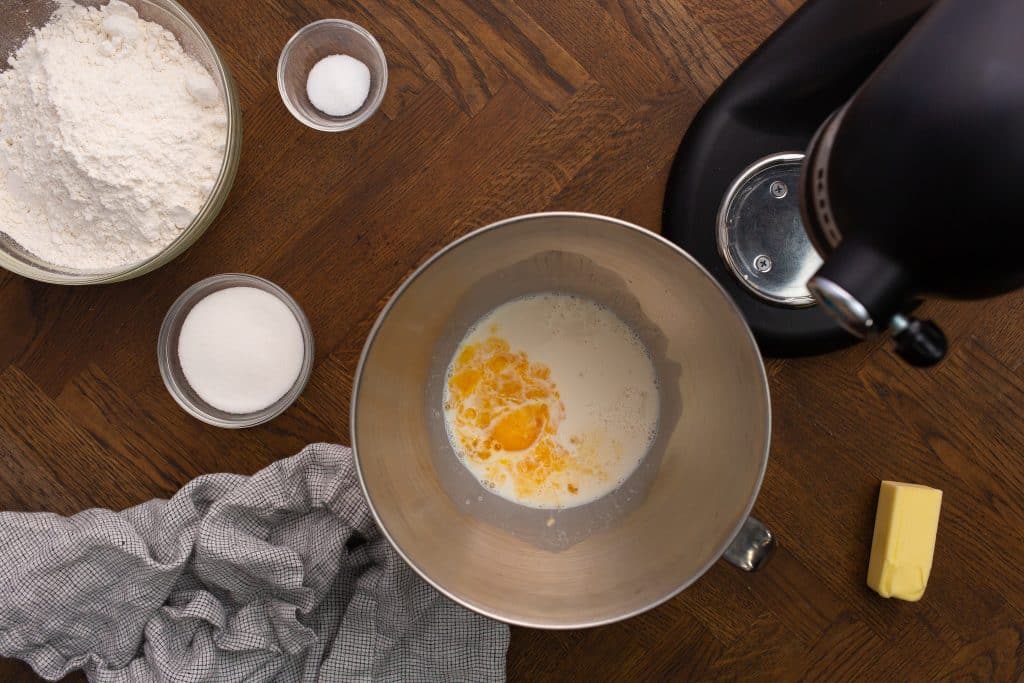
Check out this detailed collage and printable instructions if it’s your first time making sticky buns.
Dough
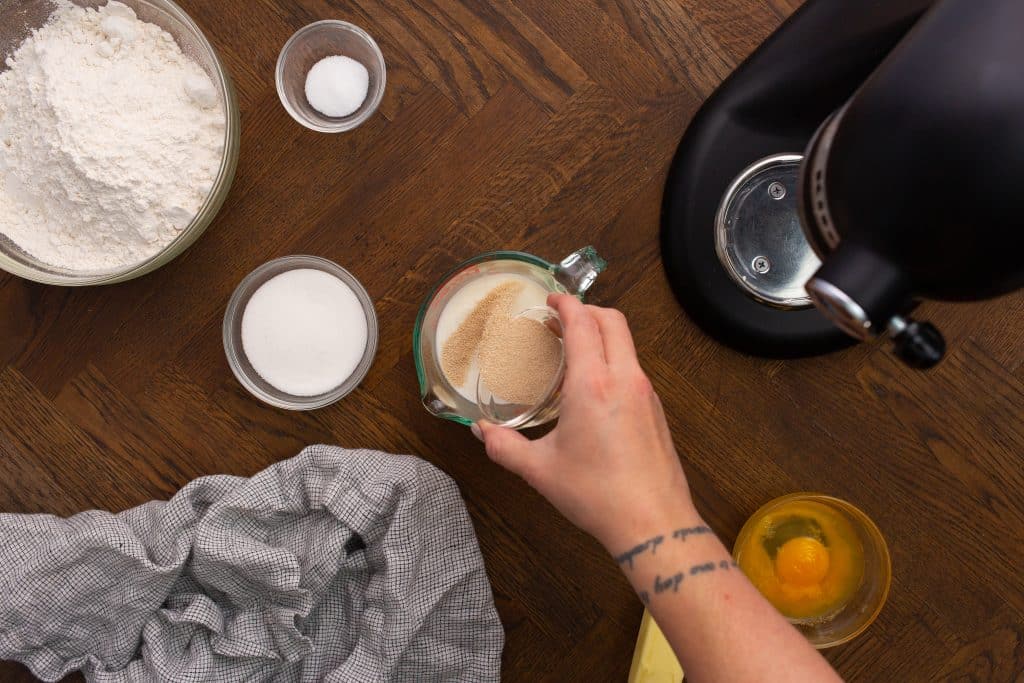
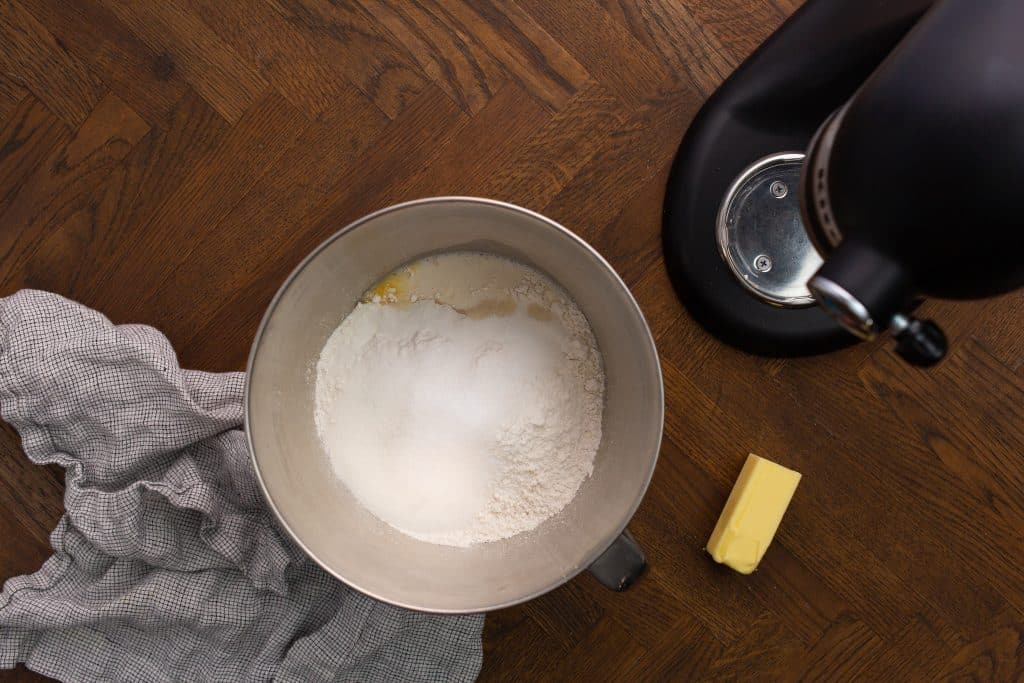
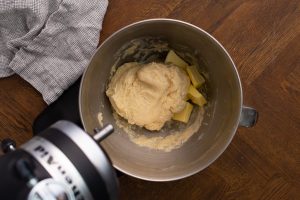
- Combine the yeast and warm milk in a bowl, then let it bloom for about 5 minutes. Add the mixture to a stand mixer followed by the flour, sugar, salt, and eggs. Mix the dough on low until it comes together.
- Add the softened butter, and mix for a few more minutes. Then, increase the speed and mix the dough on medium for about 4 minutes, to moderate gluten development.
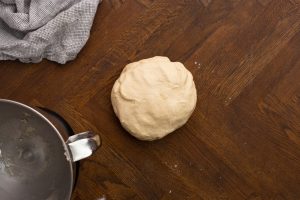
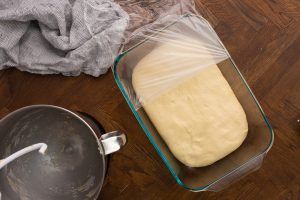
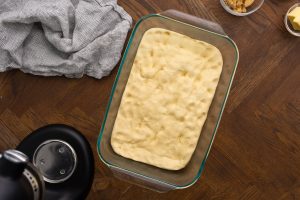
- Remove the dough from the bowl, form it into a thick rectangle, and place it in a wide bowl or pan. Cover the dough, leaving it to ferment for about one hour. If the dough has expanded, press out the gas.
- Transfer the dough to your fridge until it is firm, which can take anywhere from 1 to 4 hours. You may want to make the dough in the evening, then chill it overnight.


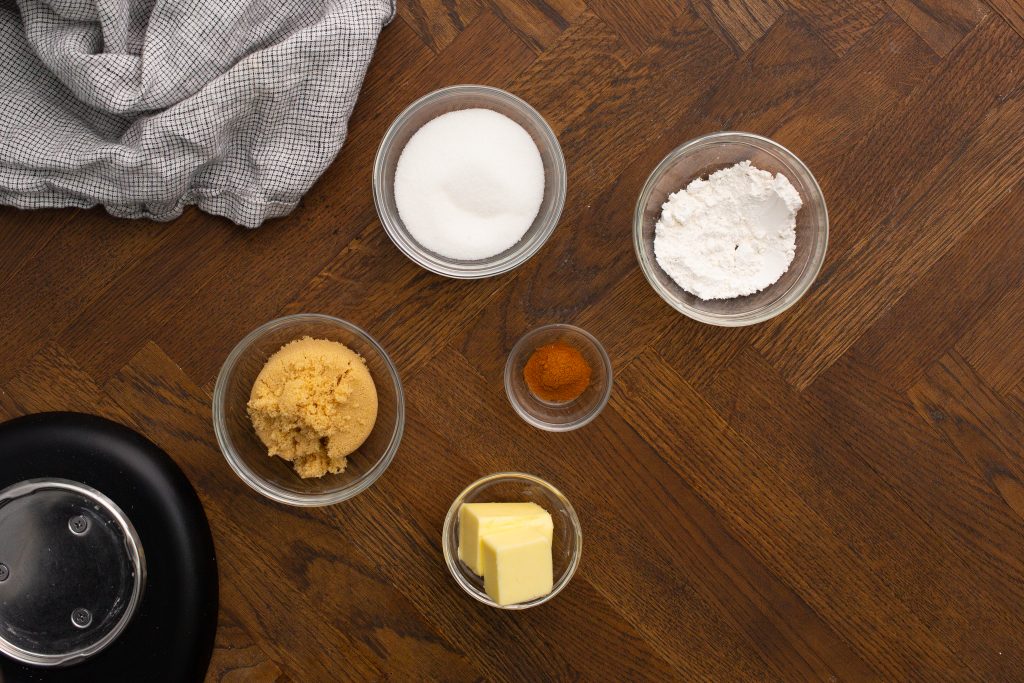
Filling
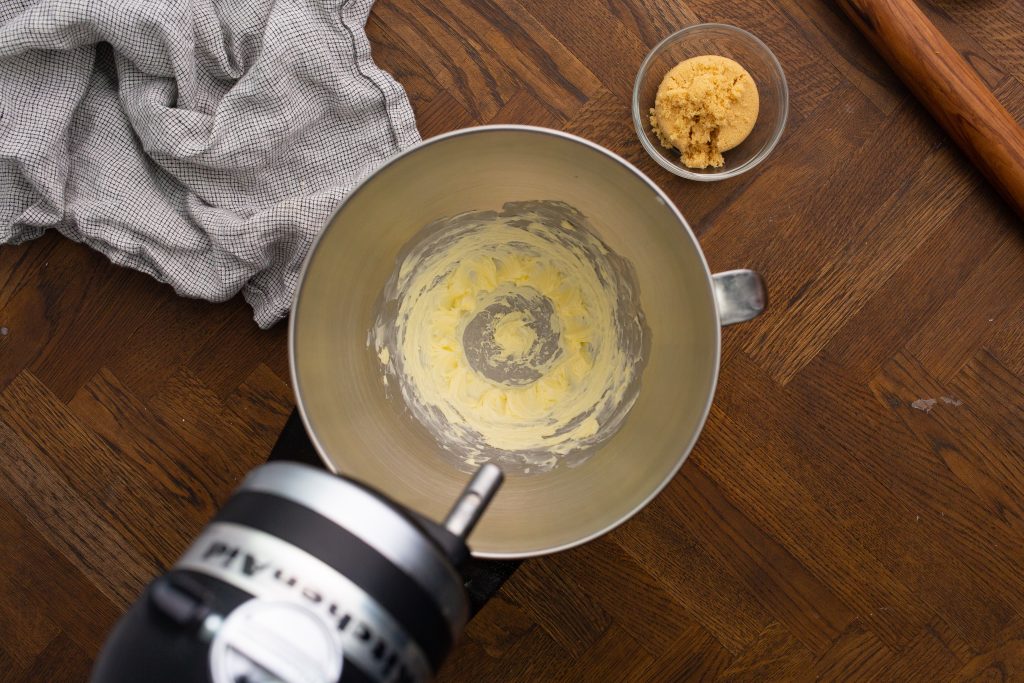
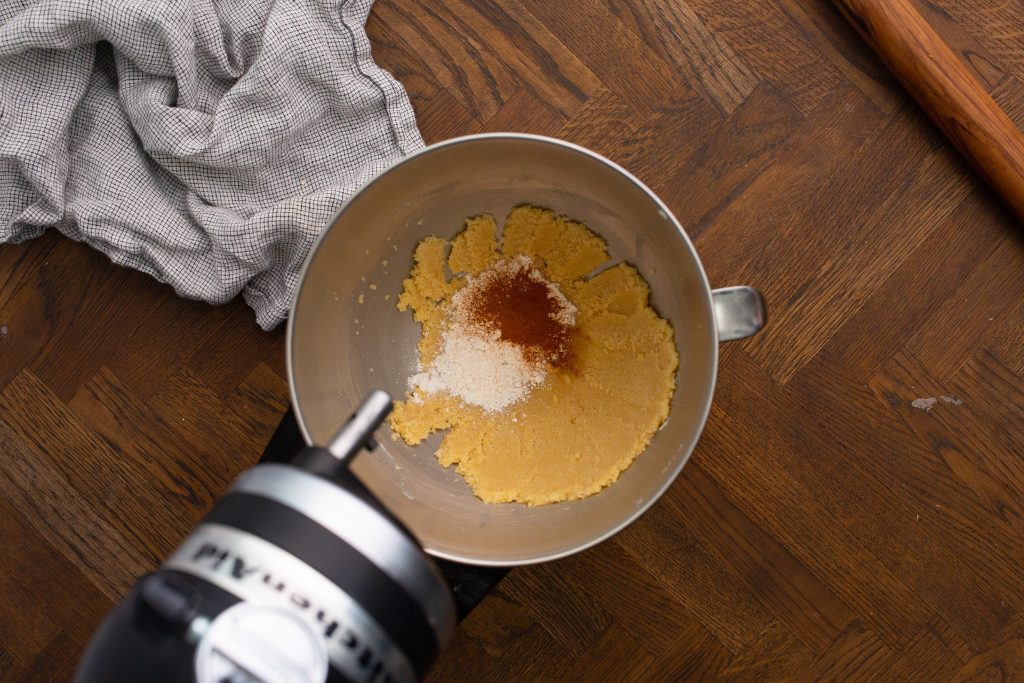
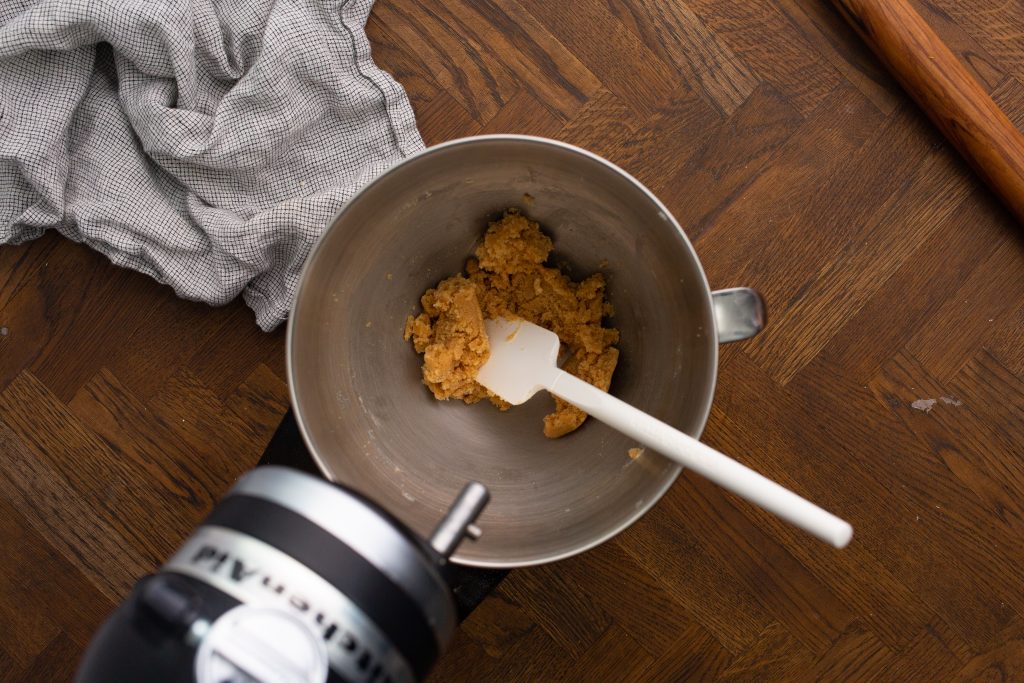
- Using the paddle attachment, cream the softened butter, then add both sugars. Continue beating on medium speed until well combined. Add the cinnamon and flour, and turn the speed down to low until incorporated.
- Store the filling at room temperature if you will be using it the same day. Alternatively, you can store it in the refrigerator for up to 3 months.
Sticky bun caramel
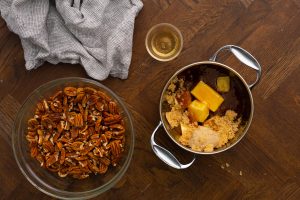
- Combine all ingredients in a medium saucepan, leaving out the vanilla extract and pecans.
- Cook the caramel over medium heat until the sugar is melted, then raise the heat to medium-high and bring the mixture to a boil.
- Cook the caramel until it reaches a medium brown color, which should take around 2-3 minutes. Once it deepens in color, add the vanilla extract.
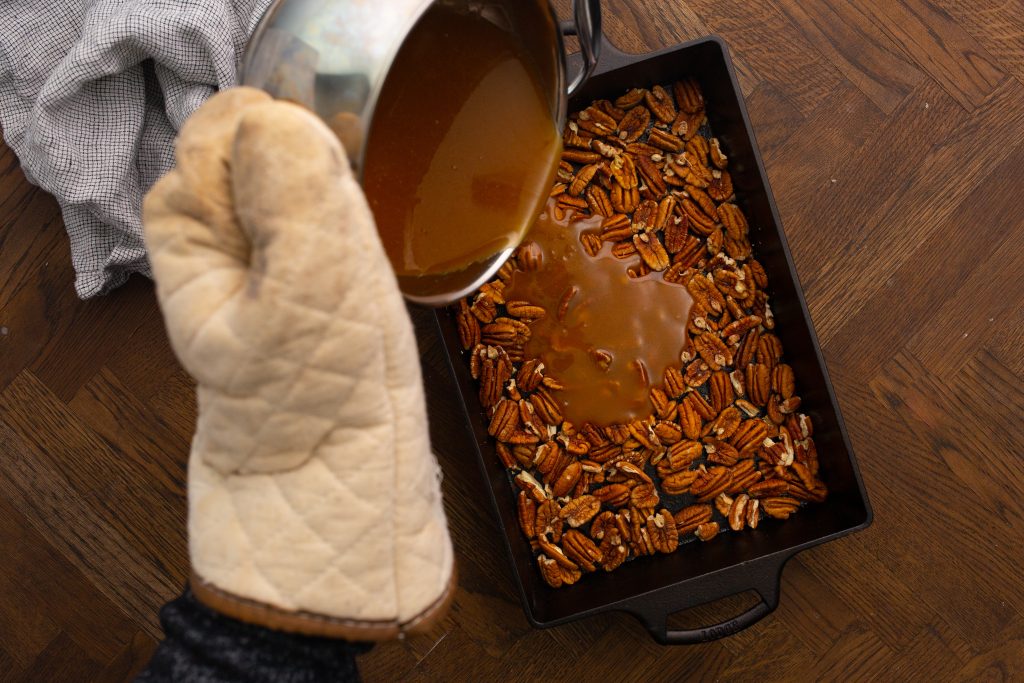
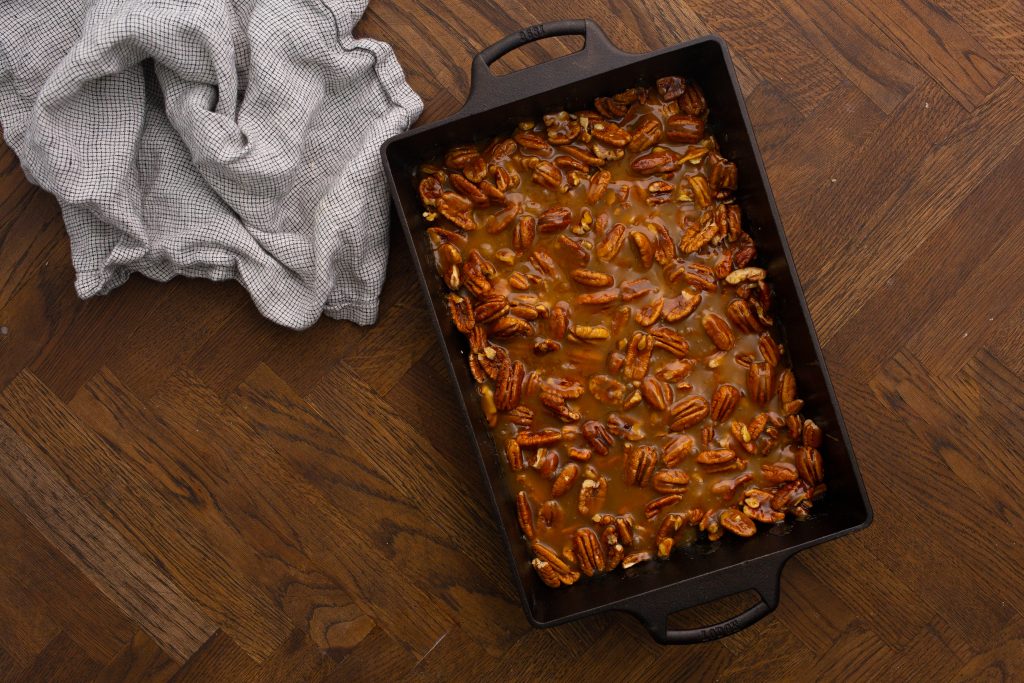
- Pour the caramel into a sprayed, prepared pan, and top with pecans. Let the caramel cool before placing the rolls on top.

Assembly
- Remove the dough from the bowl or pan, and press on it gently to remove the gas.
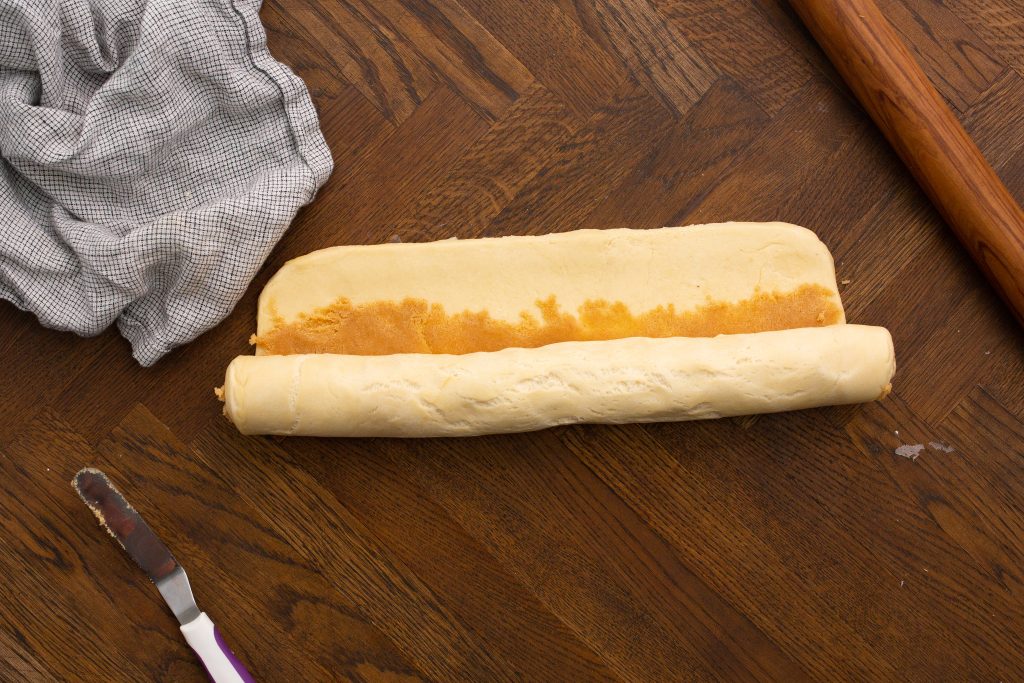
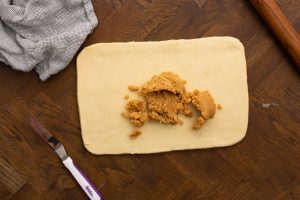
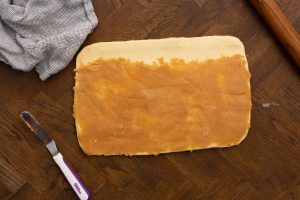
- On a lightly floured work surface, roll the dough out, keeping it as rectangular as possible. The dimensions should be about 12 inches by 10 inches.
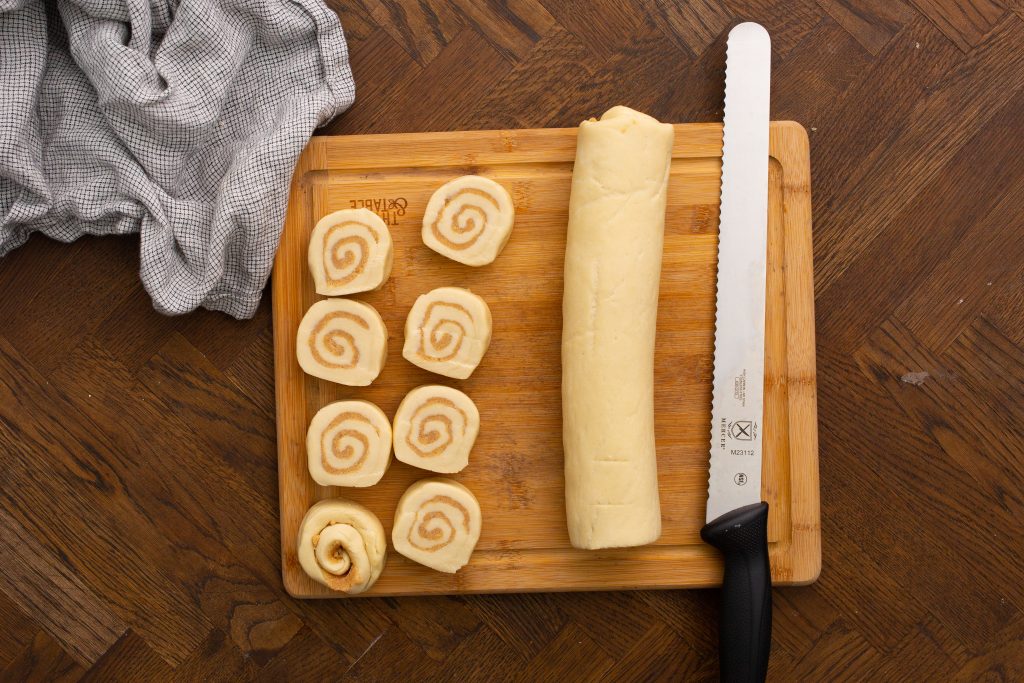
- Spread a thin layer of filling on top, leaving about half an inch of dough without filling at the top. Then, roll the dough up and cut it into 1 ½” pieces.
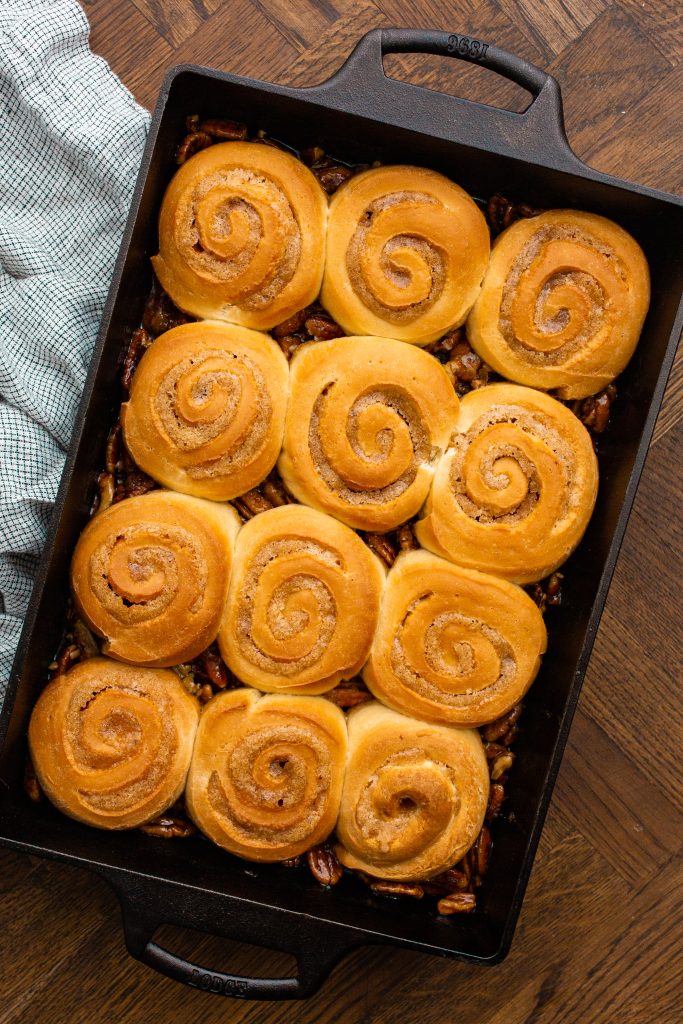
- Place the rolls onto the caramel, leaving room in between to allow for expansion. Cover with plastic wrap, and let the rolls proof until they double in size.
- Bake your sticky buns in an oven at 350 degrees F until they turn golden in color and have a slight spring back in the center of the roll, then invert them onto a foiled sheet pan.


See the recipe card below for a quick printout of these instructions.
Watch the Video Here
You’ll see how I make the dough for Sticky Buns here!
Tips and notes
Grease the bowl. Butter or spray the bowl the dough rises in so that the dough doesn’t stick during proofing.
Cover with foil. If your buns are starting to brown too much, cover them with foil around the 15-minute mark. But you should not need to do this.
Turn the buns. Invert the buns after about 10 minutes out of the oven. If you wait too long the delicious toppings will end up stuck to the pan and not the bun. Too soon and all the caramel filling will run off. Of course please use caution with handling the hot cast iron.
Warm not hot. Use lukewarm milk or water for mixing the yeast in. If it’s too hot, it will kill the yeast and you’ll end up with a flat, dense dough. The temperature should be between 120-130 degrees F for active yeast.
Room temperature ingredients. Using room-temperature ingredients will keep the dough at an optimal temperature for the yeast to do its magic! It will also help the butter to get worked into the dough.
Don’t overwork the dough. Work the dough until it’s just turning tacky when you pull it away from the bowl. You don’t want it to be sticky.
How to store sticky buns
For Make Ahead Sticky Buns: Make the buns all the way through to laying the portioned dough onto the caramel pecan topping. They can then be covered and frozen 3-4 weeks in freezer, thawed overnight, and proofed the next day for fresh buns.
Room temperature: Cover sticky buns with foil or plastic wrap and keep them at room temperature for up to 2 days. It’s best to keep them in an airtight container as well.
Fridge: Sticky buns can be refrigerated for up to 4-5 days. The bread will start to dry out past this amount of time, but don’t let that stop you from finishing them off!
Freezer: Once your sticky buns are completely cooled, transfer them to a freezer-safe container or bag and store them in the freezer for up to 2-3 months.
Reheating: Thaw the buns on the countertop or in the fridge, then warm them in the microwave for 15-20 seconds, or until warmed through.
Pastry Chef Corner: Science Behind Sticky Buns
Every so often I’m going to take the time to nerd out on you with things I’ve learned in Pastry school. I find this really helpful for troubleshooting things when they go wrong or understanding the reasoning for doing what we do with breads and pastries.
Sweet doughs like this recipe and other sweet rolls use the modified straight dough mixing method. Essentially you mix everything except the fat together first, because the fat prevents the ingredients from bonding on each other. The goal is to develop the gluten a bit before adding the fat.
The Secret: Butter & Cold Dough
Then once adding the fat, it won’t show bumps or strands, it should look smooth. The butter is emulsified into the dough and will pull away from the bowl. It shouldn’t look greasy or oily. You may need to finish kneading a bit on the counter before bulk fermentation. Once it is smooth and like satin, it’s ready to go. Allow it to rest for ten minutes, covered, before doing the gluten window like we did on the French Bread.
Letting the dough chill is a crucial step in the process. This provides a slow fermentation process which results in a better flavor. It also allows the butter to solidify again making shaping quick and easy. If it is rolled before chilling it would not cool equally and could end up over proofing in the refrigerator. The dough should be refrigerated for 1-2 hours minimum and 12 hours maximum. After that the yeast will start to die out.
Troubleshooting Dough:
- If dough is too hot it’ll be sticky and butter can leach out of dough making a greasy mess that has trouble coming together.
- If you roll the dough too thin before spreading with filling, the gluten strands will stretch too much and it will not be the thick, puffy dough that we love for sweet rolls.
- If you’ve ever had a filling leak out of the dough before try adding some flour. Flour stabilizes the filling to keep it from leaching out and more will stay intact. Add the flour after your filling has been combined and whipped to become super airy. For traditional filling that is about 8-10 minutes on medium-high speed.
- Get the most out of your dough but rolling the dough into as perfect of a rectangle as you can get. Use a bench scraper to straighten the sides of the dough. Spread the filling all the way to the edge on 3/4 sides, leaving one edge with a 1 inch strip bare for sealing.
- Once you’ve made the jelly roll, refrigerate the log for about 10 minutes before slicing your rolls with a serrated knife. This will keep the dough from squishing and collapsing as you portion. If using dental floss, be sure to use unwaxed and unflavored.
Choosing the Best Cast Iron
Use a skillet or a cast iron casserole dish with a 1-2 inch tall side. When placing your rolls in the cast iron for final proofing, leave 1-2 inches between the buns. A 12-inch pan will fit about 7 rolls. If you need more space, use another pan. Be sure to proof fully as this helps keep the filling in and gives a tender crumb. If your buns are triangular after baking (centers rise up) it is a sign of under proofing and being too close to each other. Still delicious, just good to know for next time or in the case you want to sell these at a local farmer’s market.
More brunch recipes
For the ultimate holiday breakfast or brunch spread, serve your sticky buns with some recipes like these:
- Scalloped Potato Breakfast Casserole
- Apple Cinnamon Baked Oatmeal
- Cast Iron Mexican Frittata
- Diner-Style Buttermilk Pancakes
- Sausage Gravy and Drop Biscuit Casserole
The Ultimate Sticky Bun Recipe
Equipment
- cast iron casserole dish or multiple 12-inch skillets
- stand mixer
- Dough Hook
- whisk attachement
- rubber spatula
- serrated knife
Ingredients
Dough
- 500 grams All-Purpose Flour
- 75 grams Sugar granulated
- 11 grams Yeast instant
- 10 grams salt
- 225 grams Whole Milk 90-100F
- 63 Whole eggs room temperature 1-2 eggs
- 75 grams Unsalted Butter softened
Filling
- 85 grams Brown Sugar
- 85 grams Granulated Sugar
- 68 grams Unsalted Butter softened
- 14 grams All-Purpose Flour
- 2.5 grams Cinnamon ground
Topping
- 300 grams Brown Sugar
- 194 grams Butter, unsalted
- 28 grams Honey
- 35 grams Corn Syrup
- 35 grams Water
- 9 grams Vanilla Extract
- 250 grams Pecans or walnuts
Instructions
The Dough
- Combine the yeast and warm milk in a bowl, then let it bloom for about 5 minutes. Add the mixture to the bowl of a stand mixer fitted with a dough hook followed by the flour, sugar, salt, and eggs. Mix the dough on low until it comes together.

- Add the softened butter, and mix for a few more minutes. Then, increase the speed and mix the dough on medium for about 4 minutes, to moderate gluten development.
- Remove the dough from the bowl, form it into a thick rectangle, and place it in a wide bowl or pan. Cover the dough, leaving it to ferment for about one hour. If the dough has expanded, press out the gas.
- Transfer the dough to your fridge until it is firm, 1 hour up to overnight if making the next morning.
The Filling
- Using the paddle attachment, cream the softened butter, then add both sugars. Continue beating on medium speed until well combined. Add the cinnamon and flour, and turn the speed down to low until incorporated.
- Store the filling at room temperature if you will be using it the same day. Alternatively, you can store it in the refrigerator for up to 3 months.

The Topping
- Combine all ingredients in a medium saucepan, leaving out the vanilla extract and pecans.
- Cook the caramel over medium heat until the sugar is melted, then raise the heat to medium-high and bring the mixture to a boil.
- Cook the caramel until it reaches a medium brown color, which should take around 2-3 minutes. Once it deepens in color, add the vanilla extract.
- Pour the caramel into a sprayed, prepared pan, and top with pecans. Let the caramel cool before placing the rolls on top.

Assembly
- Remove the dough from the bowl or pan, and press on it gently to remove the gas.
- On a lightly floured work surface, roll the dough out, keeping it as rectangular as possible. The dimensions should be about 12 inches by 10 inches.
- Spread a thin layer of filling on top, leaving about half an inch of dough without filling at the top. Roll the dough up jelly roll style and press the seam into the dough. Roll onto the seam and refrigerate another 10 minutes.
- Use a serrated knife to cut the long into 1-1/2 inch rolls.
- Place the rolls onto the caramel, leaving room in between to allow for expansion. Cover with plastic wrap, and let the rolls proof until they double in size.
- Bake your sticky buns in an oven at 350 degrees F until they turn golden in color and have a slight spring back in the center of the roll, about 15 minutes. Allow to cool 10 minutes in the cast iron before inverting them onto a foiled sheet pan.


Nutrition
Did You Make This Recipe?
Share it with me on Instagram @castironrecipesofficial and follow on Youtube @Cast Iron Recipes and Pinterest @castironrecipes for more!

Become A Recipe Insider!
Subscribe to the newsletter for all the latest scratch-made and family-friendly recipes
Leave A Review!
Love this recipe? Make sure to comment below and let me know your thoughts!