
Diner-Style Buttermilk Pancakes
This post may contain affiliate links. We participate in the Amazon Services LLC Associates Program, an affiliate advertising program designed to provide a means for us to earn fees by linking to Amazon.com and affiliated sites at no extra cost to you.
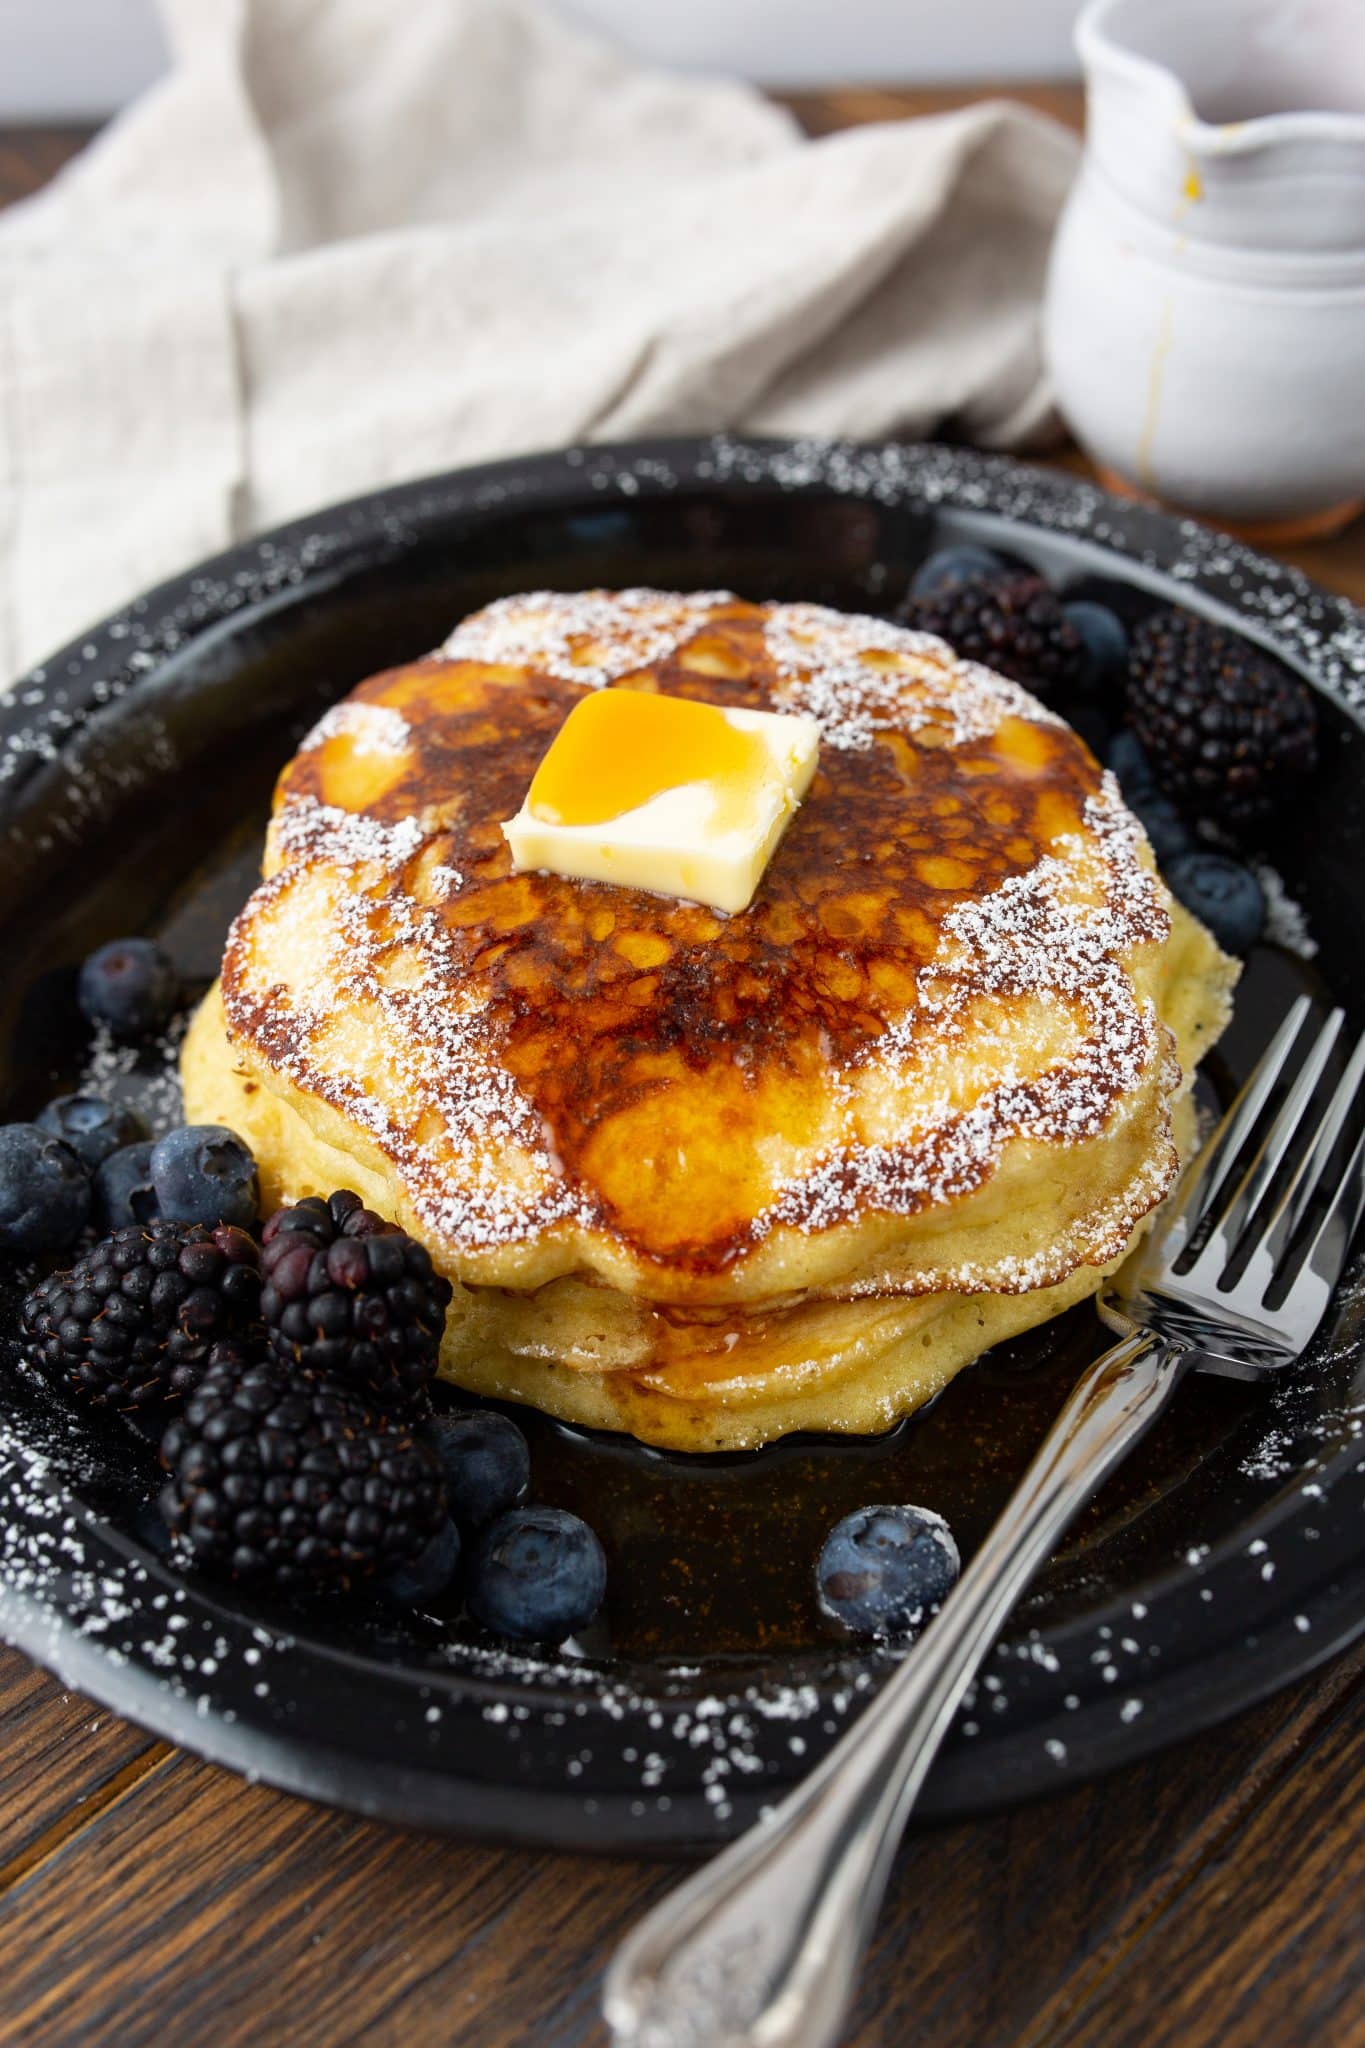
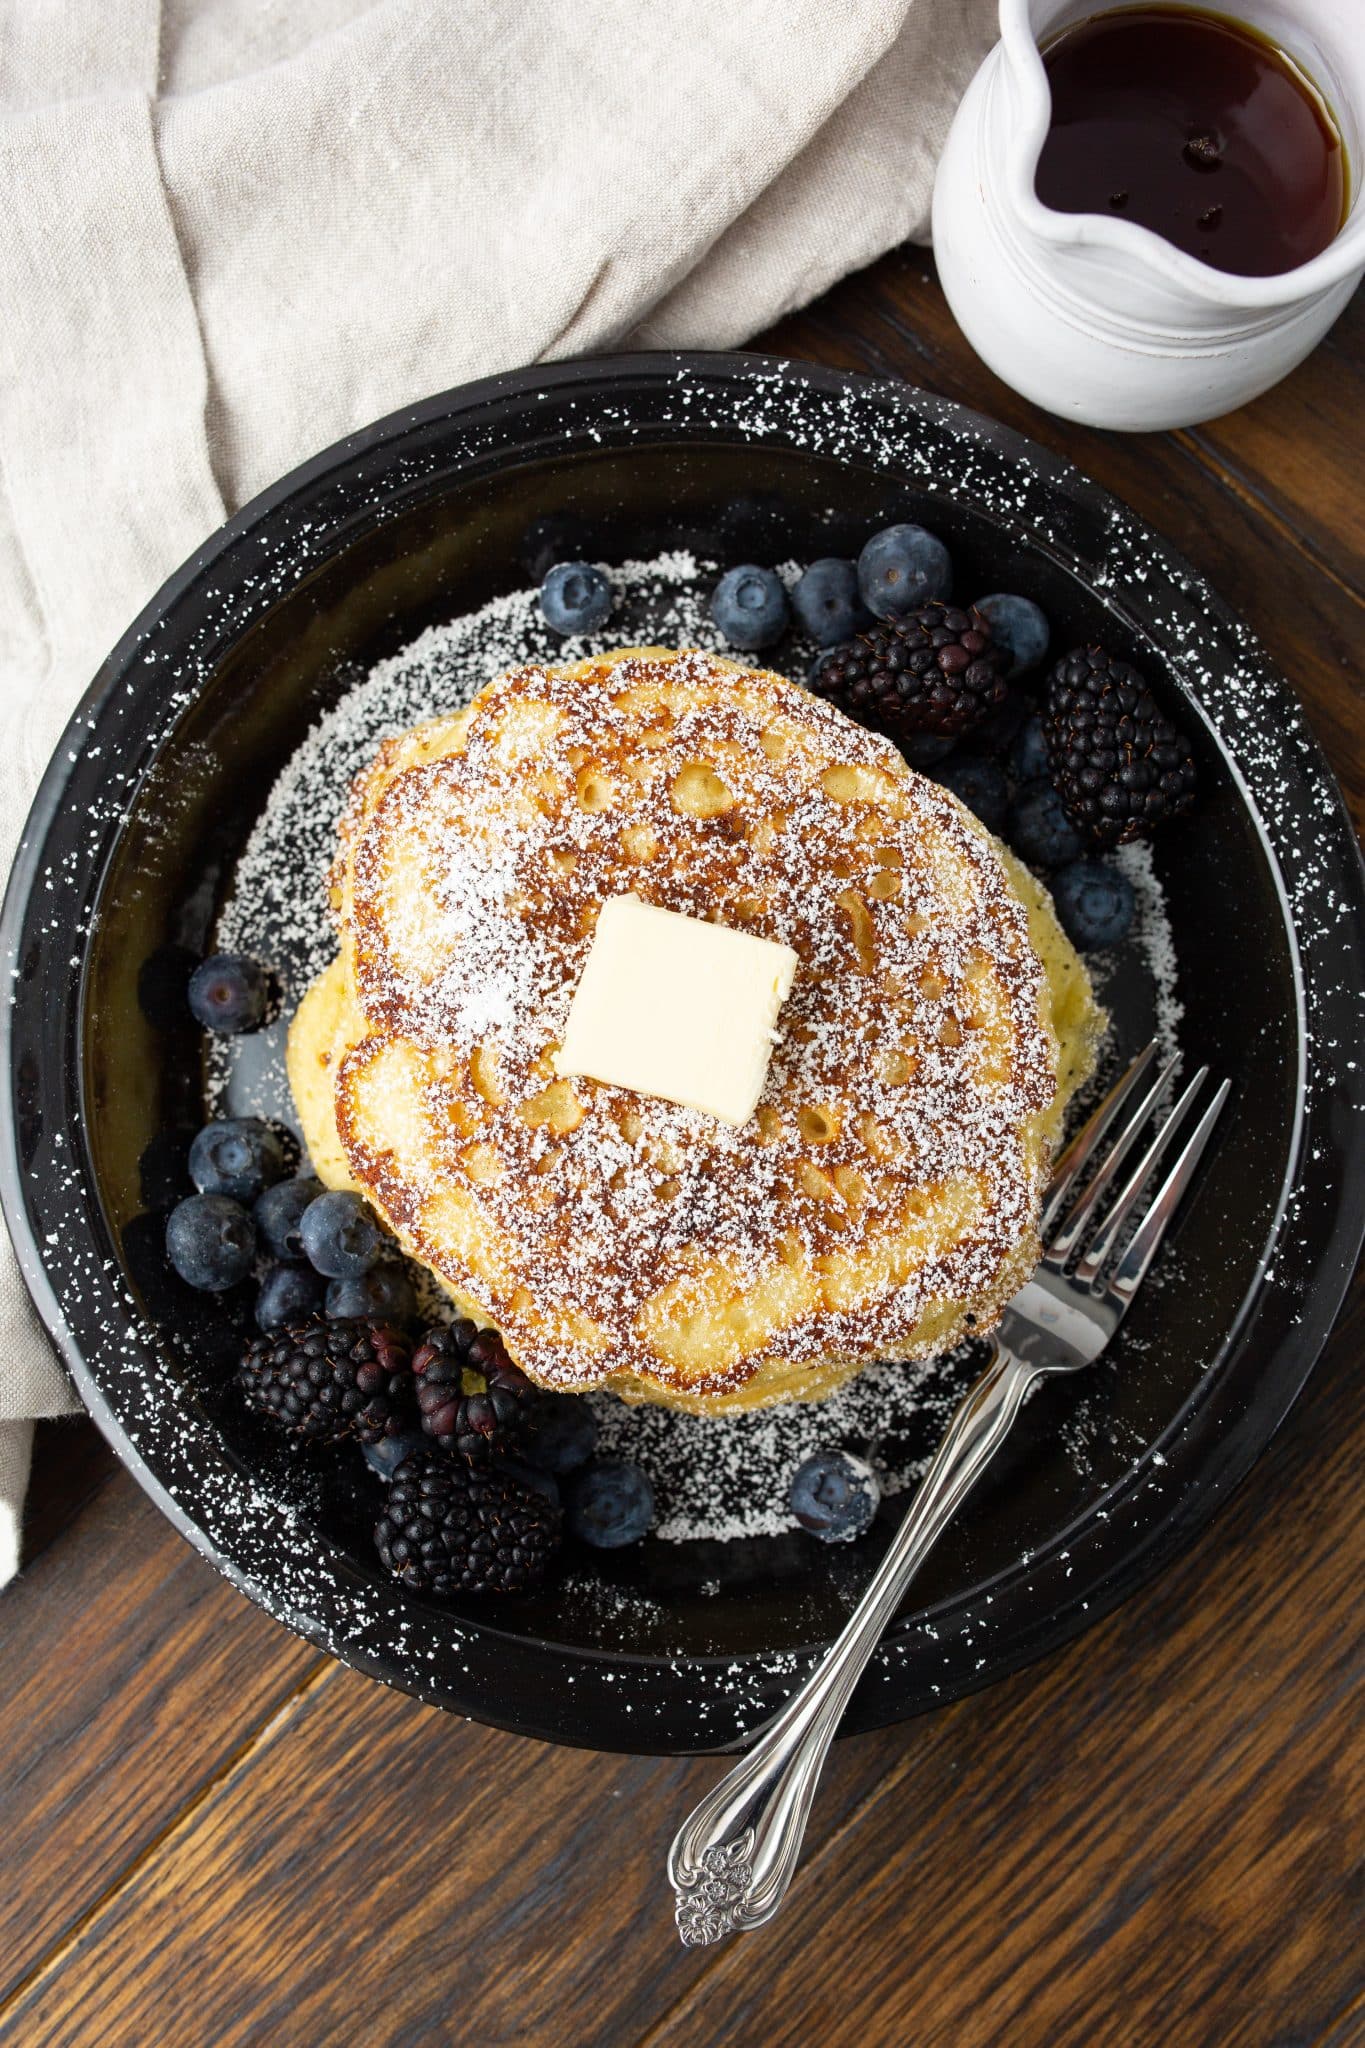
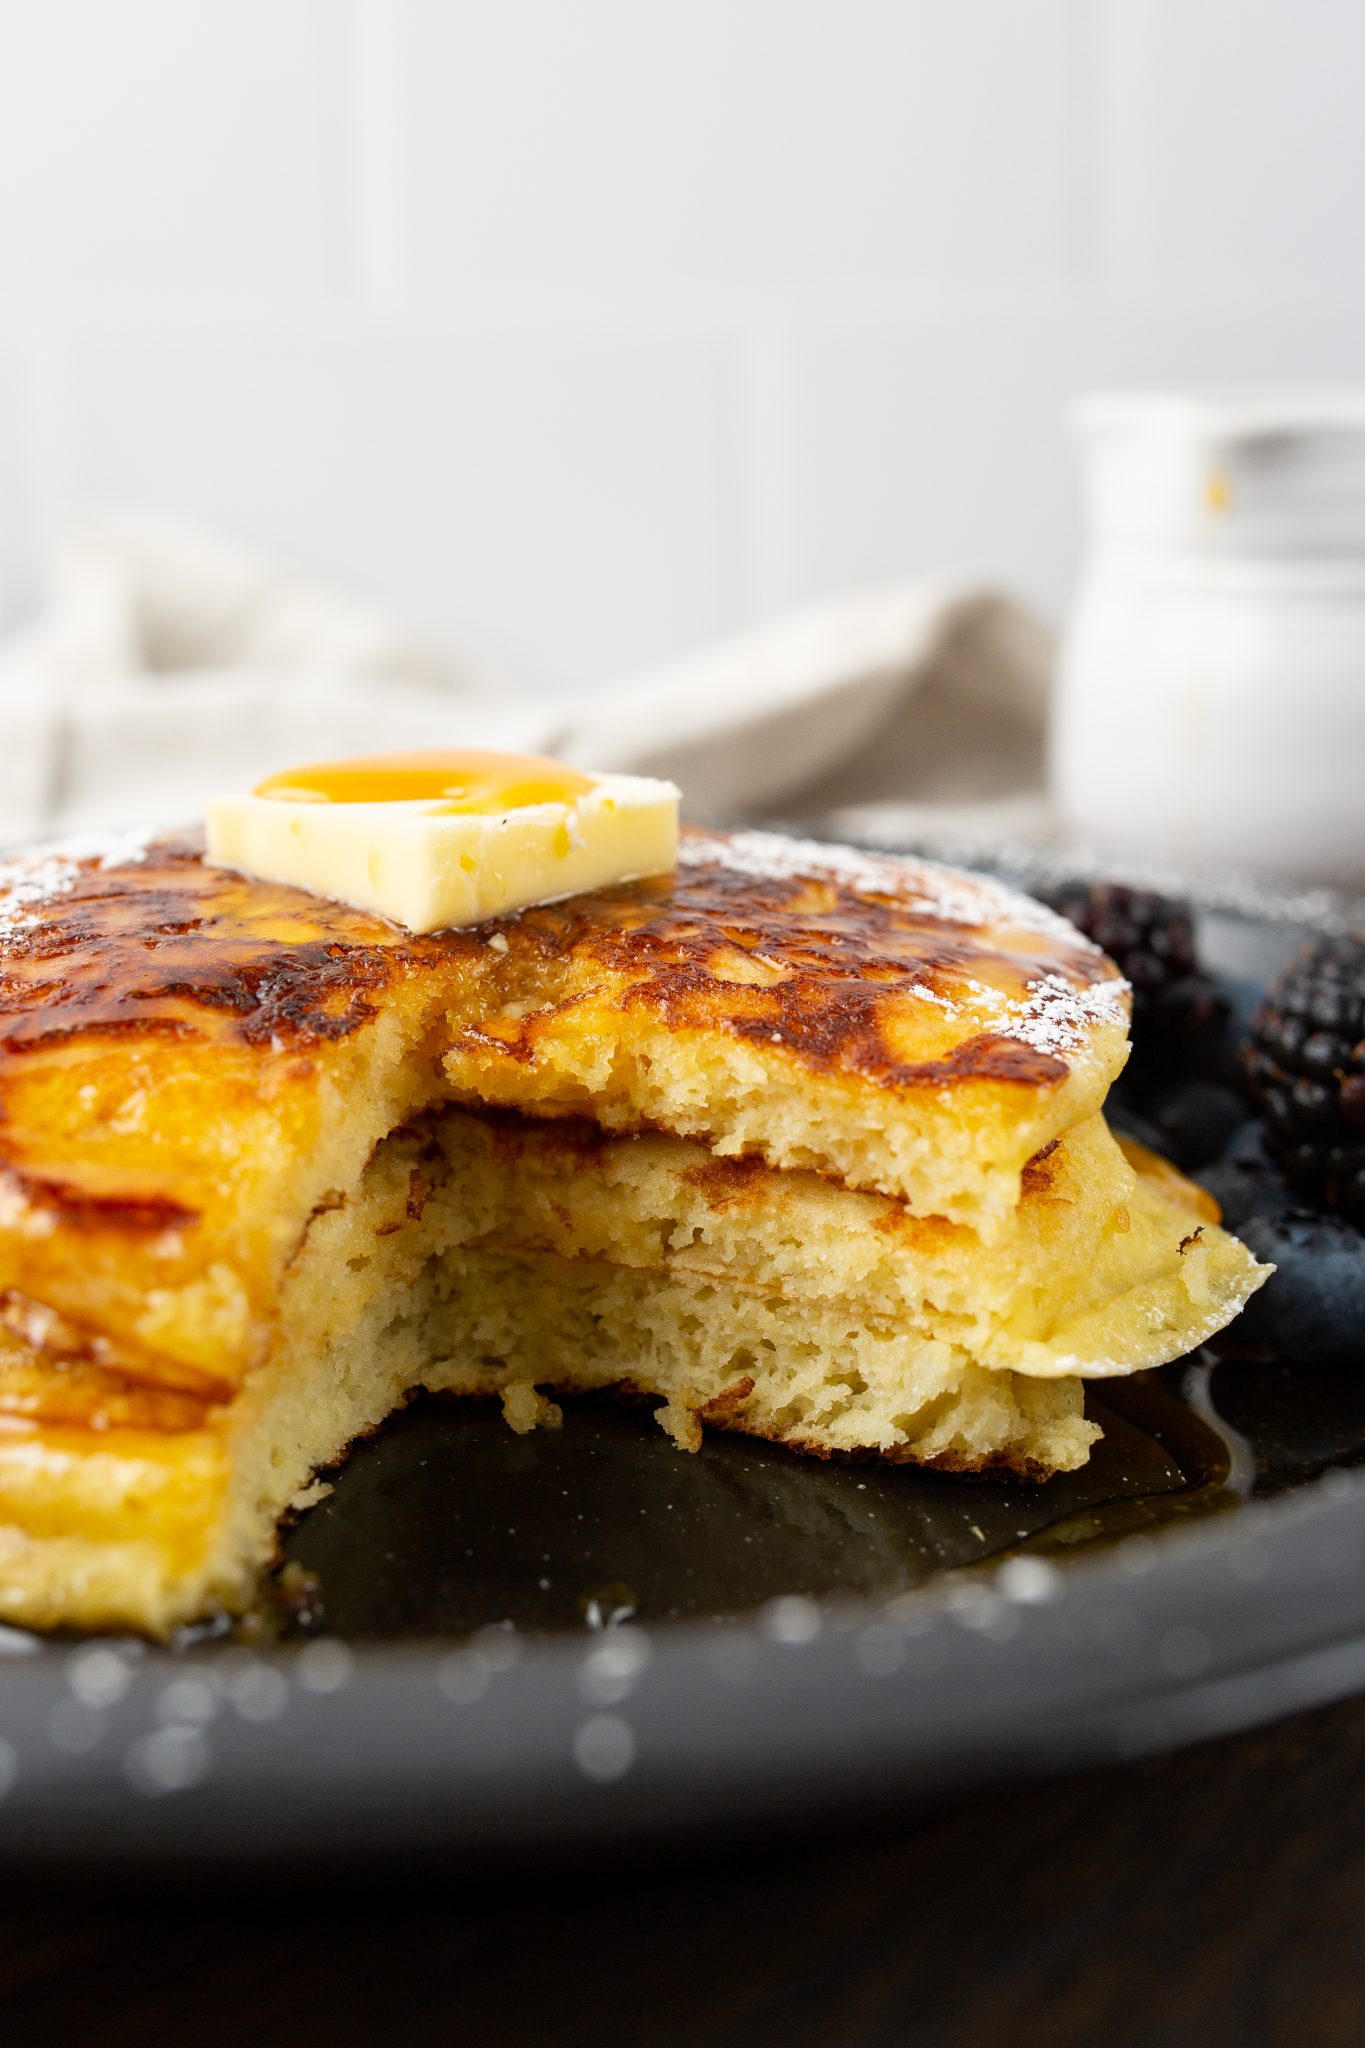
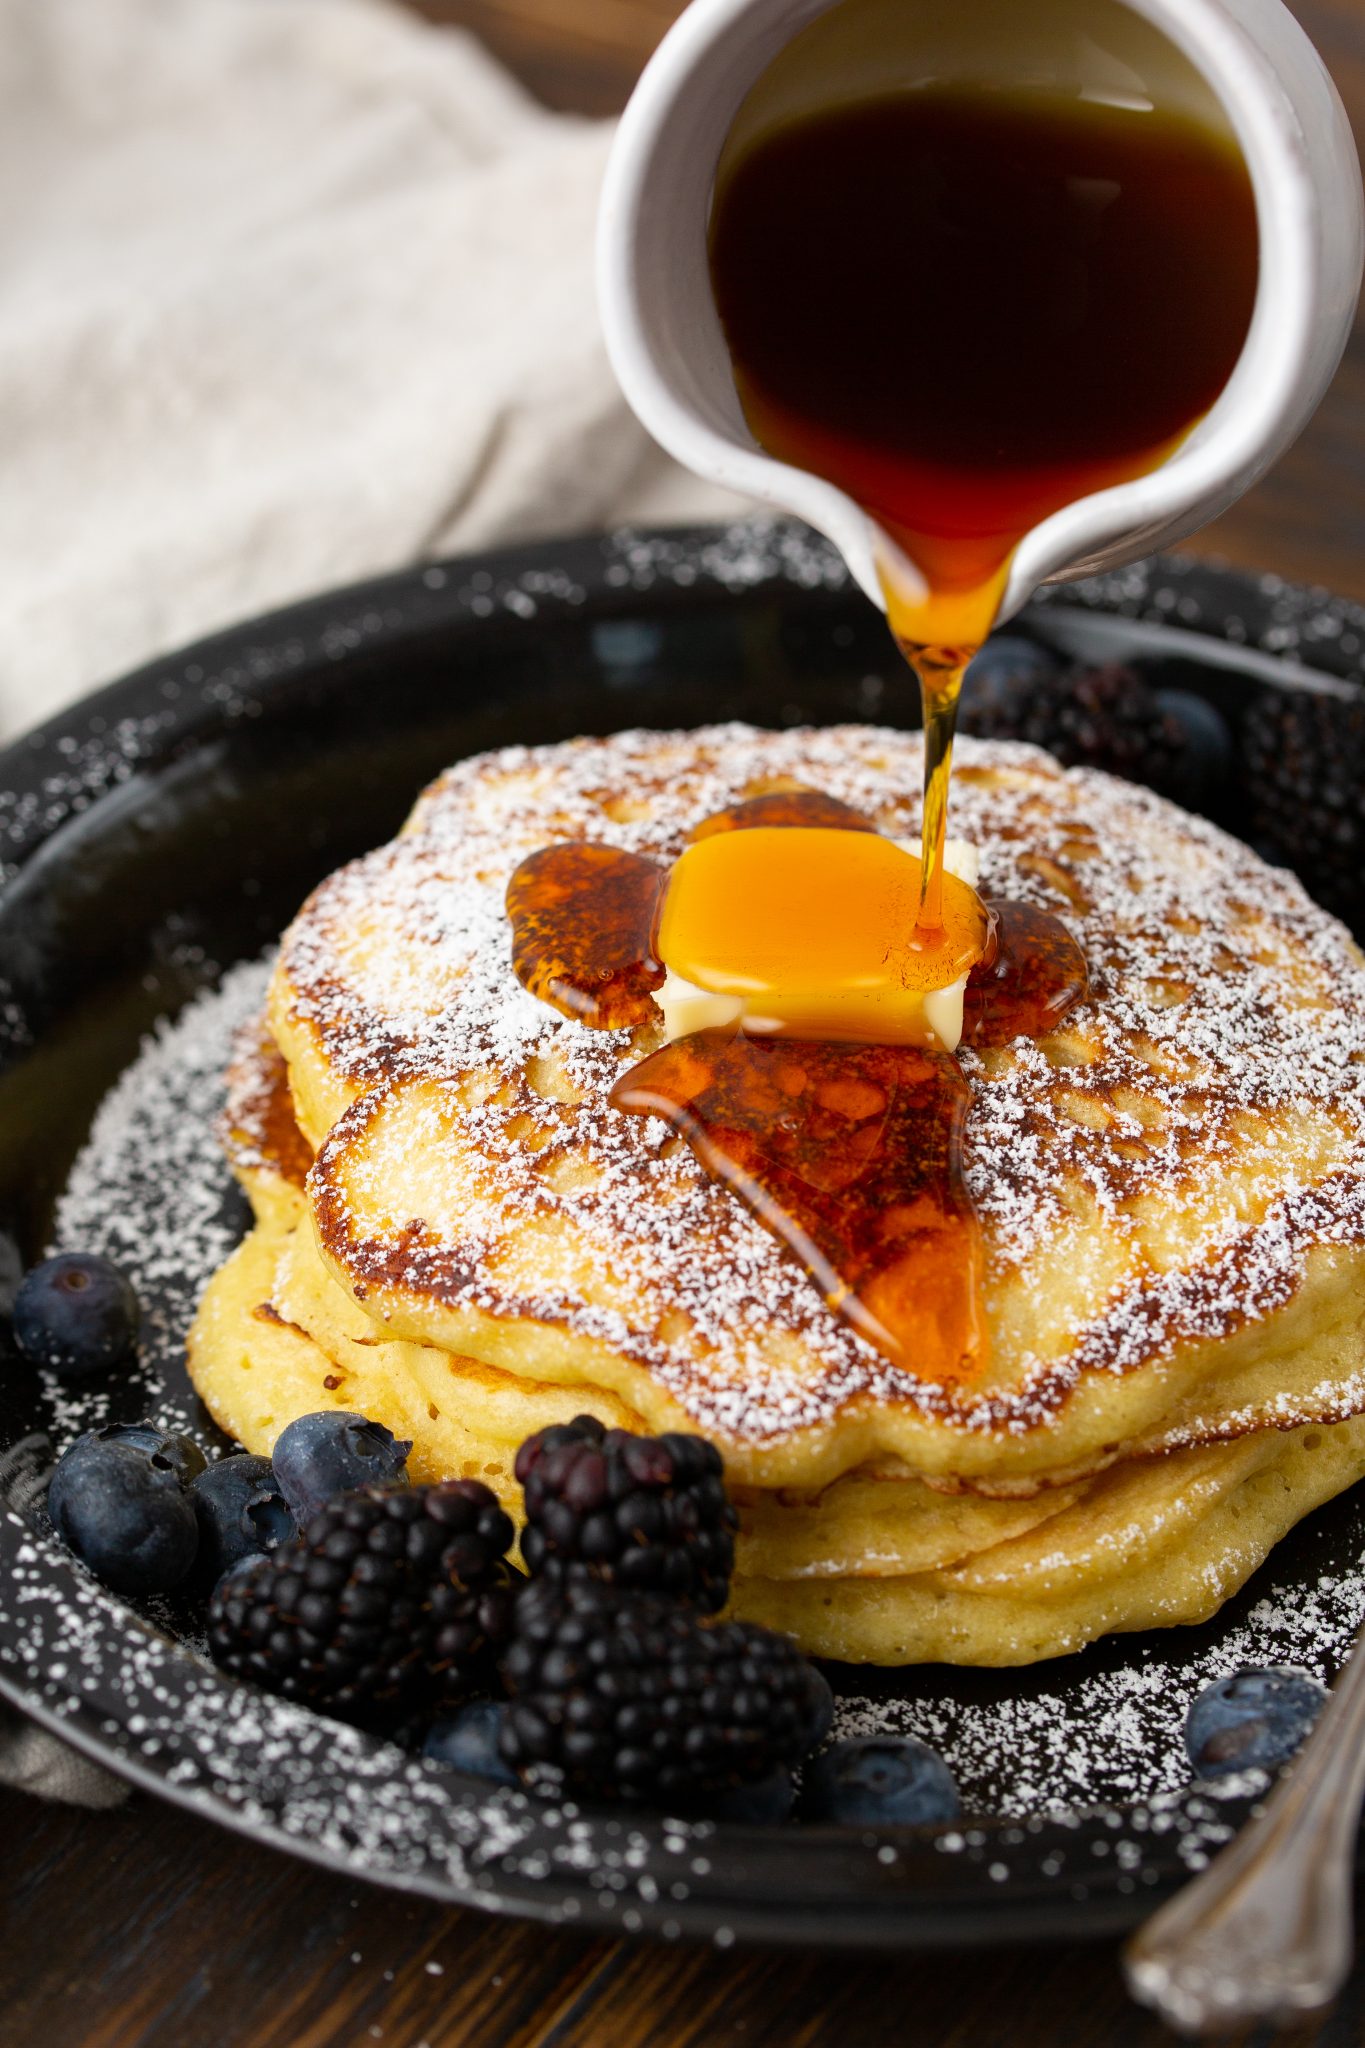
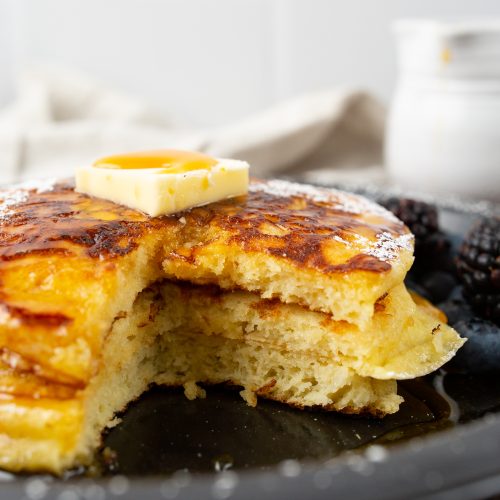
There’s nothing quite like fresh made Buttermilk Pancakes, stacked high with a pad of butter and drizzled with Maine maple syrup. Crunchy in texture on the outside, yet tender and fluffy on the inside. This post is packed with tips and tricks for the perfect Buttermilk Pancakes every time!
Serve these Buttermilk Pancakes with a side of Skillet Fried Potatoes, Apple Butter, or a Mexican Frittata for the ultimate breakfast or brunch feast!
What makes pancakes Diner-Style?
My husband LOVES diner-style pancakes. We’ve been trying for years to make Cracker Barrel style pancakes at home. Pancakes have always been a sore spot for me. Often they would end up super dense, burned, and underdone at the same time. I started pastry school lately though, and all that changed!
Diner-Style pancakes are the perfect blend of light and fluffy inside with a crunchy texture on the golden brown outside. They’re buttery, nutty, a bit sweet, and can still withstand a generous pour of maple syrup. Try warming up your maple syrup like Cracker Barrel does before pouring it for the ultimate in home diner experience!
This recipe provides the perfect fluffy pancakes in a cast iron skillet, meaning you can take the diner on the road with you! Pack your skillet or griddle next time you go camping for an outdoor breakfast experience your family won’t soon forget!
Top Tip for Diner-Style Pancakes
There are many recipes out there that call for slightly obscure ingredients like malt that you would use in a malted milkshake. And while I am going to culinary school and will have some restaurant experience, I’m still a mom and home cook first. That means, I really don’t have time or desire to keep those seemingly random ingredients in my pantry taking up space. At least not until I have a bunch of recipes I use with it on the regular.
So without something like malt, what is it that provides these pancakes with a crunch on the outside and yet be tender and fluffy inside? It’s two things really: clarified butter and under-mixing the ingredients. Keep reading below in the How to Make section for more detail.
Ingredients for Buttermilk Pancakes
Very rarely do I insist on this, but PLEASE make sure to weigh your ingredients for perfect pancakes! Seriously, do not come at me in the comments if you don’t take the time to weigh your ingredients!
- All-Purpose Flour: Be sure to weigh the flour to ensure you truly have the right amount.
- Sugar: White granulated will work best.
- Salt: Salt is used to offset the sweetness and bring balance to the dish.
- Baking Powder & Baking Soda: Using both produces a quick rise seen in the dough as well as a lasting rise that’s witnessed during the cooking process.
- Eggs: Farm fresh are best! Where we are weighing the ingredients, be sure to whisk the eggs prior to measuring so you can get the exact amount needed.
- Clarified Butter: This is a must! Make clarified butter or use Ghee purchased from the store.
- Buttermilk: If you don’t have buttermilk on hand use the appropriate amount of whole milk and add a Tablespoon of lemon juice or white vinegar to the milk and let set for 10 minutes.
- Extras: Feel free to add vanilla extract, blueberries, lemon zest, chocolate chips or any other little extras like that to customize your pancake experience!
How to Make Buttermilk Pancakes
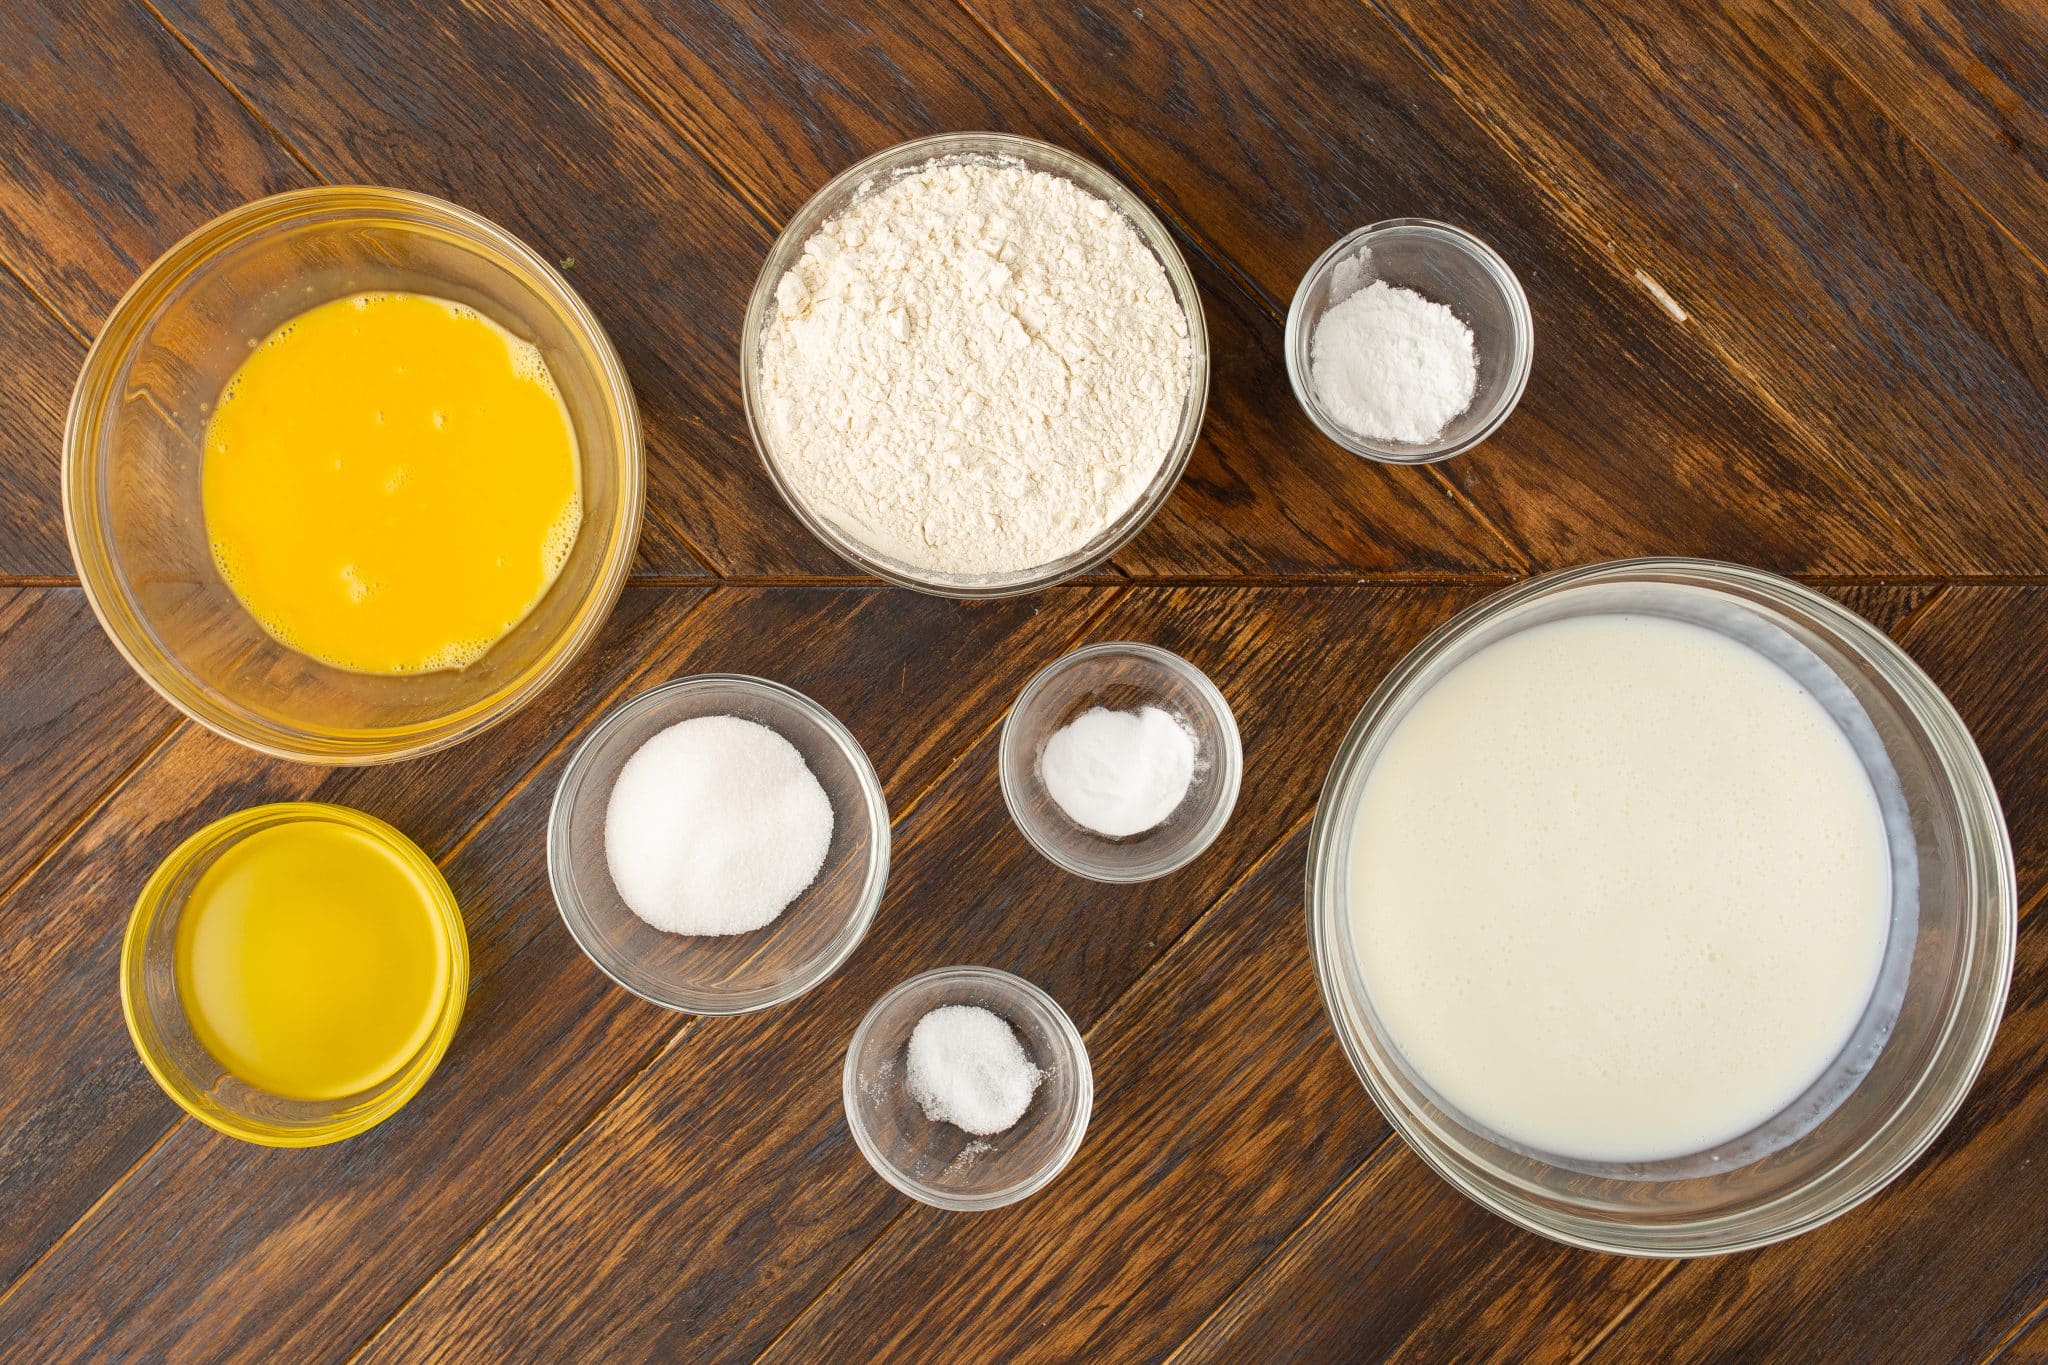
Start by weighing out all your ingredients. This will make things go faster in the assembly and cooking process. This is not a batter that you want sitting around longer than needed as it will start to deflate. So take the extra care to assemble your mise en place (get all your ingredients out, weighed, and ready).
Next, sift together the dry ingredients: flour, sugar, salt, baking powder, and baking soda. This will remove any lumps and ensure the leavening agents are well incorporated.
Then whisk the buttermilk, whisked eggs, and clarified butter in a large bowl.

Next, sift together the dry ingredients: flour, sugar, salt, baking powder, and baking soda. This will remove any lumps and ensure the leavening agents are well incorporated.
Then whisk the buttermilk, whisked eggs, and clarified butter in a large bowl.
Add the wet ingredients to the dry ingredients and whisk until all the dry ingredients are wet. Be sure not to whisk until lump free! That is a common mistake! You want the batter to look like cottage cheese. It is perfectly fine if there are a few lumps of dried powder. Have a look at image #3 above for the best consistency.
Heat a skillet or a griddle over medium heat. DO NOT use your power burner if using a skillet. Use the next size down. Use a pastry brush to coat the skillet or griddle with clarified butter. This is what will create a beautiful crust on the pancake without burning it. Again, be sure to use clarified butter! Clarified butter has the milk solids removed and thus a higher smoking point. If you use regular butter, the milk solids will burn on the skillet and provide an unpleasant taste.
Add about 1/4 cup of the batter to the skillet, right in the center. Allow 2-3 minutes on one side before flipping for an additional 1 minute. The bottom of the pancake should be golden brown with veins of caramelization. The edges on top, about 1/4 inch in circumference, should look dry. The center top should still be wet, slightly shiny, and a bubble popping every now and then. The bubbles should all but stop forming and popping when ready to flip. See image #4 above for what to look for when ready to flip.
Pancake Substitutions
If there’s one thing I’ve learned so far in culinary school it is that recipes are written for a very specific reason and purpose. Especially when it comes to baking and pastries, substitutes are not as easy to make. It can change the entire structure and taste of the final product if something is done differently without adjusting the other ingredients. So the only modifications I would suggest here are adding in blueberries, chocolate chips, etc. making your own buttermilk or clarified butter. Butter substitutes do not bake the same and flour is not a direct 1:1. You might be able to make these gluten-free with 1:1 gluten-free baking flour, but I haven’t tried it yet so I can’t say for sure. Also, should you choose to make this in a non-stick skillet, still use the clarified butter on the skillet. Do not substitute oil or bacon grease.
I will have more pancake recipes coming! So if you’re looking for something specific, comment below or email me and I’ll get a specific recipe made up for it!
Topping Ideas for Buttermilk Pancakes
- Fresh Berries
- Jam
- Whipped Cream
- Honey
- Maple Syrup
- Chocolate Syrup
- Nutella
- Powdered Sugar
- More Butter!
How to Store, Reheat, and Make-Ahead Buttermilk Pancakes
Pancakes can all be stored the same way, in an airtight container with layers of parchment paper between each pancake for up to 3 days. They can even be frozen for a few months. Make a few mini stacks, wrap in plastic wrap, and store in a large freezer Ziploc bag. Thaw overnight in the refrigerator.
To reheat thawed pancakes, wrap in a moist paper towel and microwave for 30 seconds on high. I’ve also had luck adding them to a toaster oven or an air fryer for just a few minutes on 380F.
This recipe can be doubled or even tripled to make a bunch ahead of time. Once reheated, don’t be afraid to do a quick fry in the skillet or on the griddle with clarified butter to bring that crunchy texture back.
Diner Style Buttermilk Pancake Recipe
Equipment
- 10-inch skillet or griddle
- Whisk
- 2 large bowls
- fine mesh strainer
- ladle or 1/4 cup measuring cup
- pastry brush
Ingredients
- 250 grams all-purpose flour 2 cups
- 31 grams sugar 3 Tablespoons + 3/4 teaspoon
- 8 grams baking powder 1 Tablespoon + 2 teaspoons
- 4 grams baking soda 3/4 teaspoon
- 3 grams salt 1/2 teaspoon
- 500 grams buttermilk 2 cups + 2 Tablespoons
- 105 grams eggs, whisked 2-3 depending on size
- 63 grams clarified butter, or ghee 4-1/2 Tablespoons
- 4 grams vanilla extract 1 teaspoon
Instructions
- Start by weighing and measuring out all the ingredients. This recipe moves quickly and the batter should not sit out for long periods of time. Sift together the dry ingredients: flour, sugar, salt, baking powder, and baking soda to remove any lumps and ensure the leavening agents are well incorporated.
- Whisk the buttermilk, whisked eggs, and clarified butter in a large bowl.
- Add the wet ingredients to the dry ingredients and whisk until all the dry ingredients are wet. DO NOT whisk until smooth. The batter should look like cottage cheese. It is perfectly fine if there are a few lumps of dried powder.
- Heat a skillet or a griddle over medium heat. DO NOT use your power burner if using a skillet. Use the next size down. Use a pastry brush to coat the skillet or griddle with clarified butter. Do this between each pancake as well.
- Add about 1/4 cup of the batter to the skillet, right in the center. Allow 2-3 minutes on one side before flipping for an additional 1 minute. The bottom of the pancake should be golden brown with veins of caramelization. The edges on top, about 1/4 inch in circumference, should look dry. The center top should still be wet and slightly shiny. The bubbles should all but stop forming and popping when ready to flip.
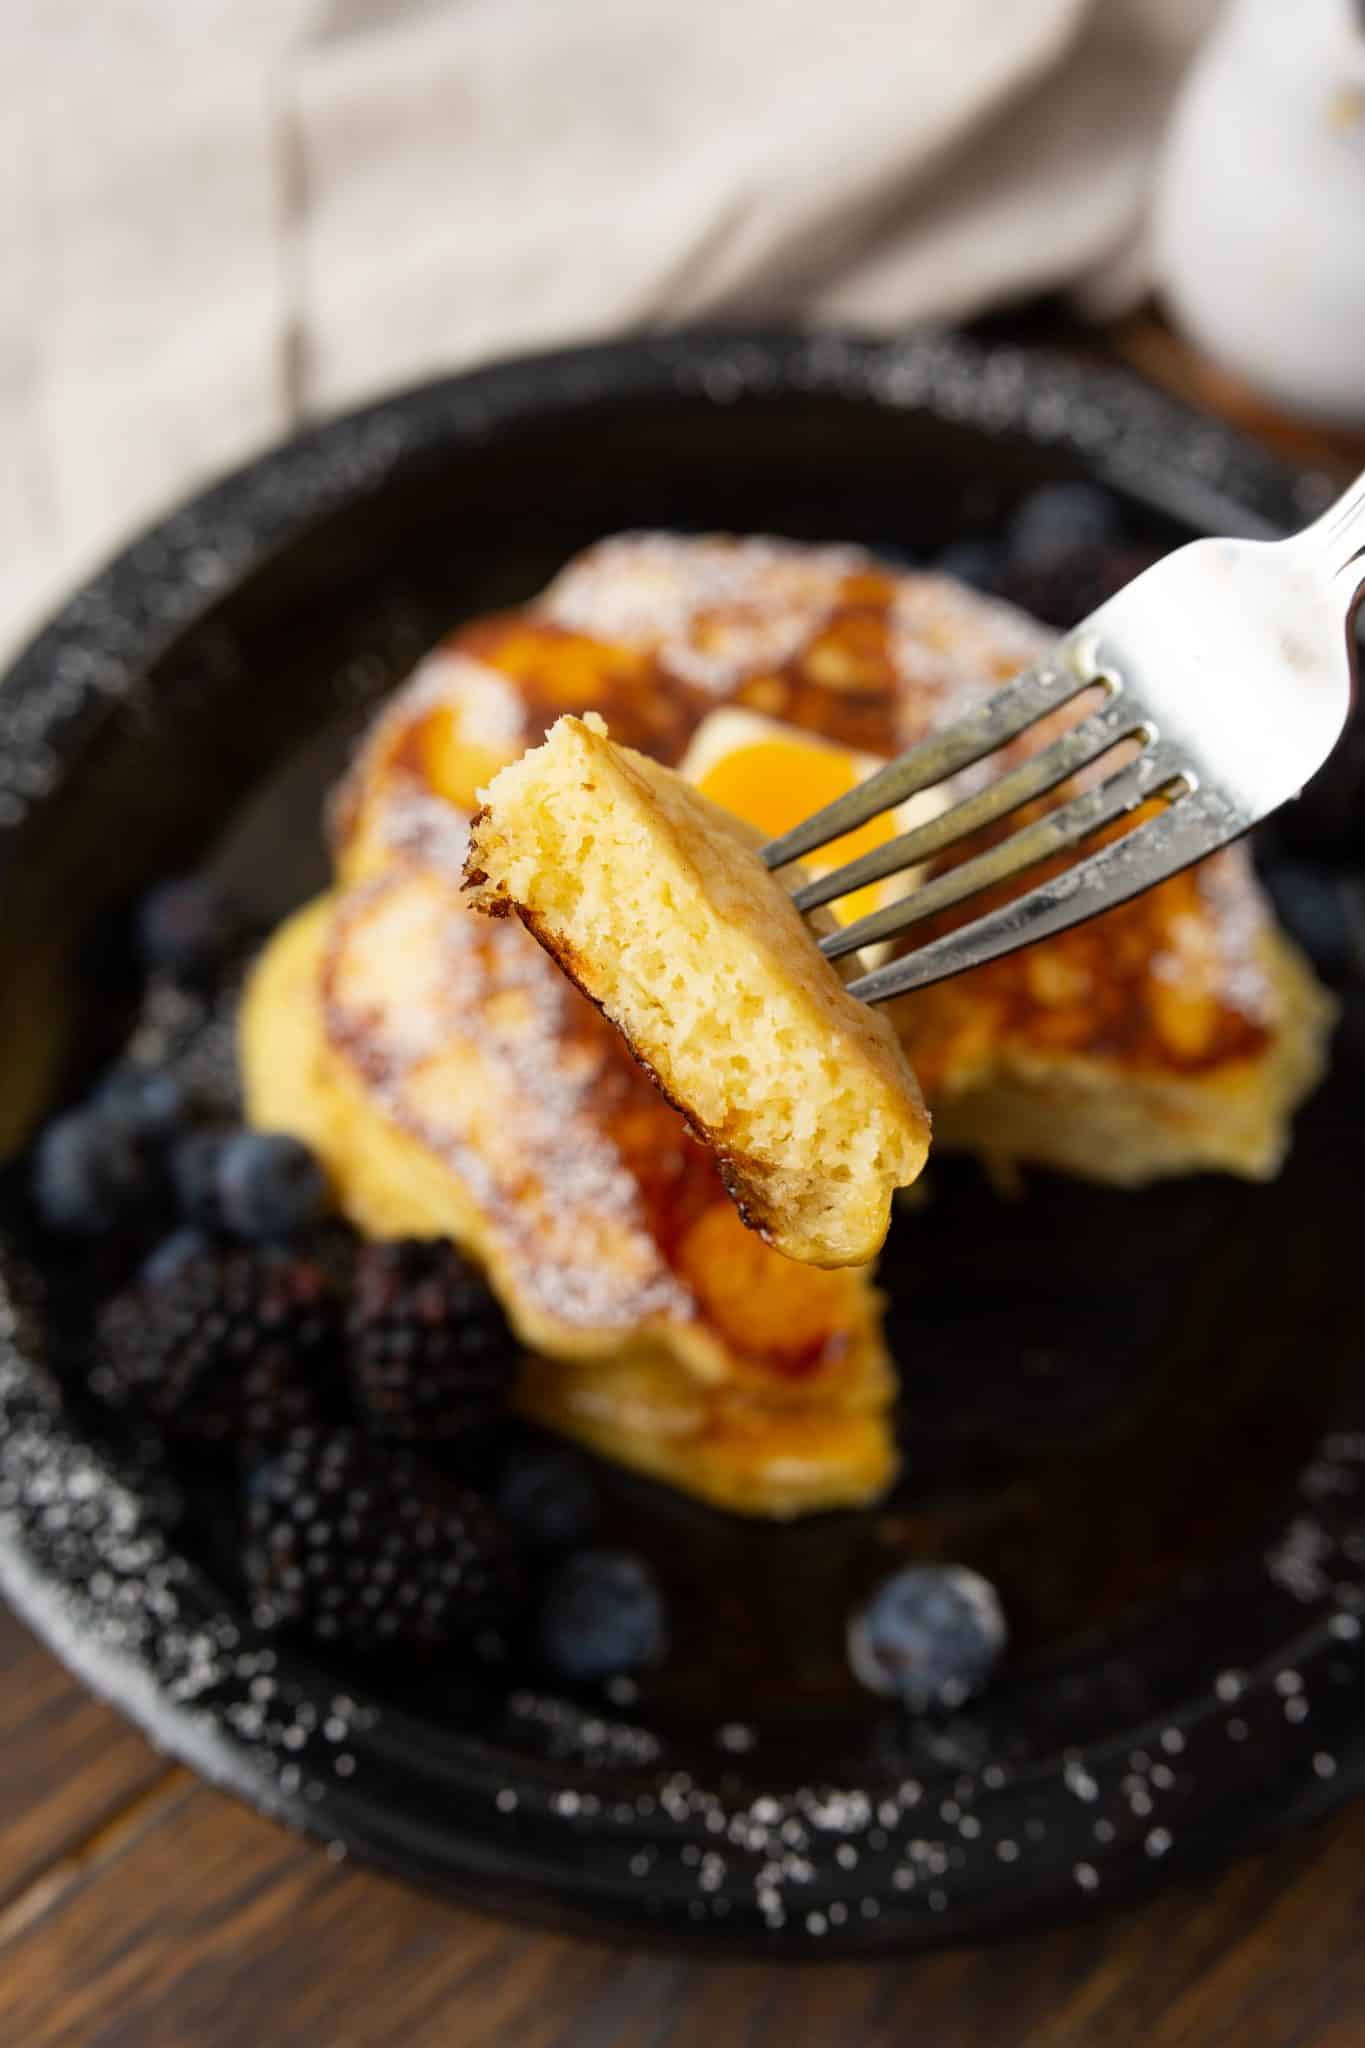
- Stack high on a plate to serve with butter and maple syrup.
Notes
Nutrition
Did You Make This Recipe?
Share it with me on Instagram @castironrecipesofficial and follow on Youtube @Cast Iron Recipes and Pinterest @castironrecipes for more!


Become A Recipe Insider!
Subscribe to the newsletter for all the latest scratch-made and family-friendly recipes
Leave A Review!
Love this recipe? Make sure to comment below and let me know your thoughts!