
Roasted Garlic Italian Herb Focaccia Bread
This post may contain affiliate links. We participate in the Amazon Services LLC Associates Program, an affiliate advertising program designed to provide a means for us to earn fees by linking to Amazon.com and affiliated sites at no extra cost to you.
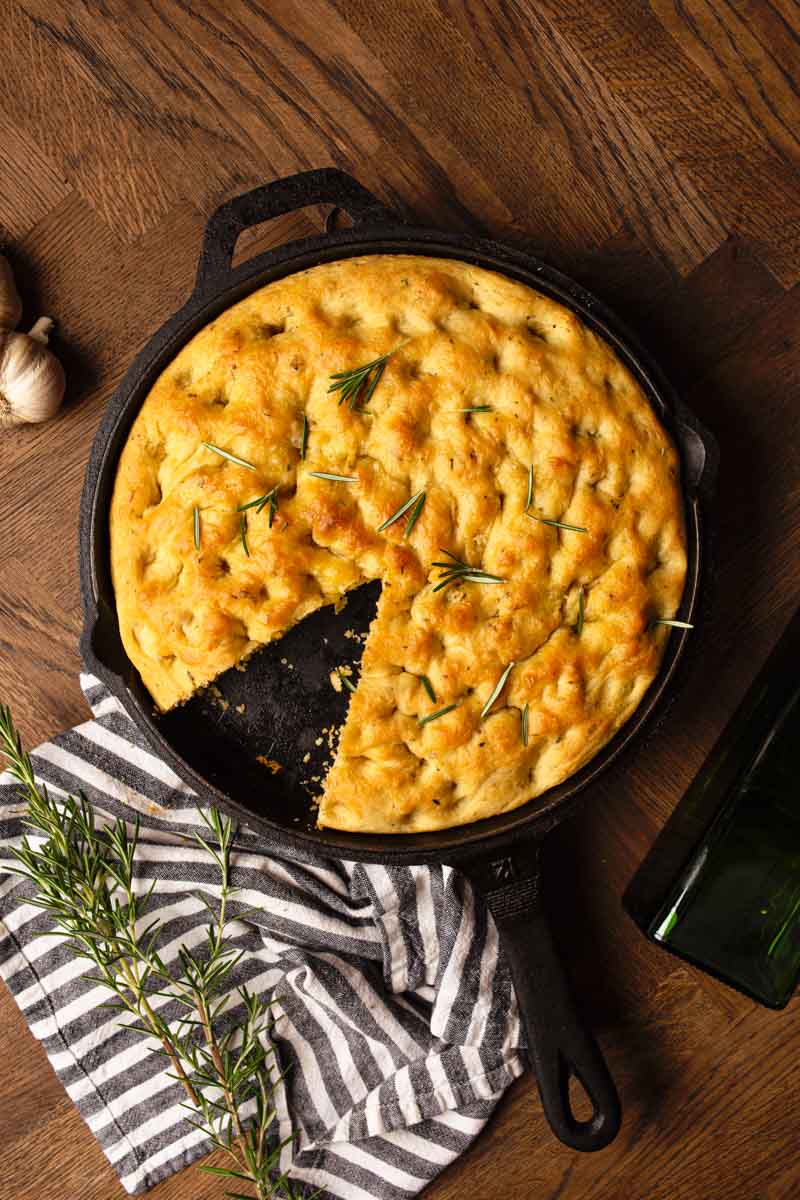
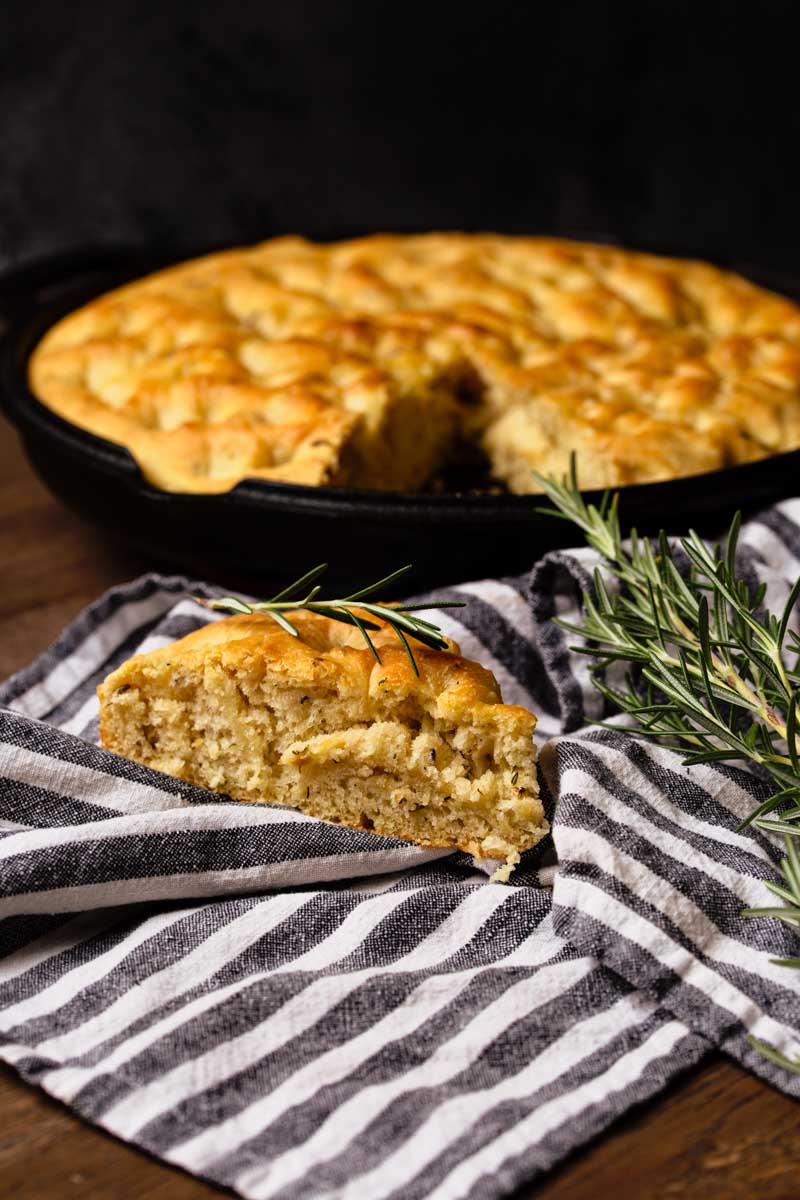
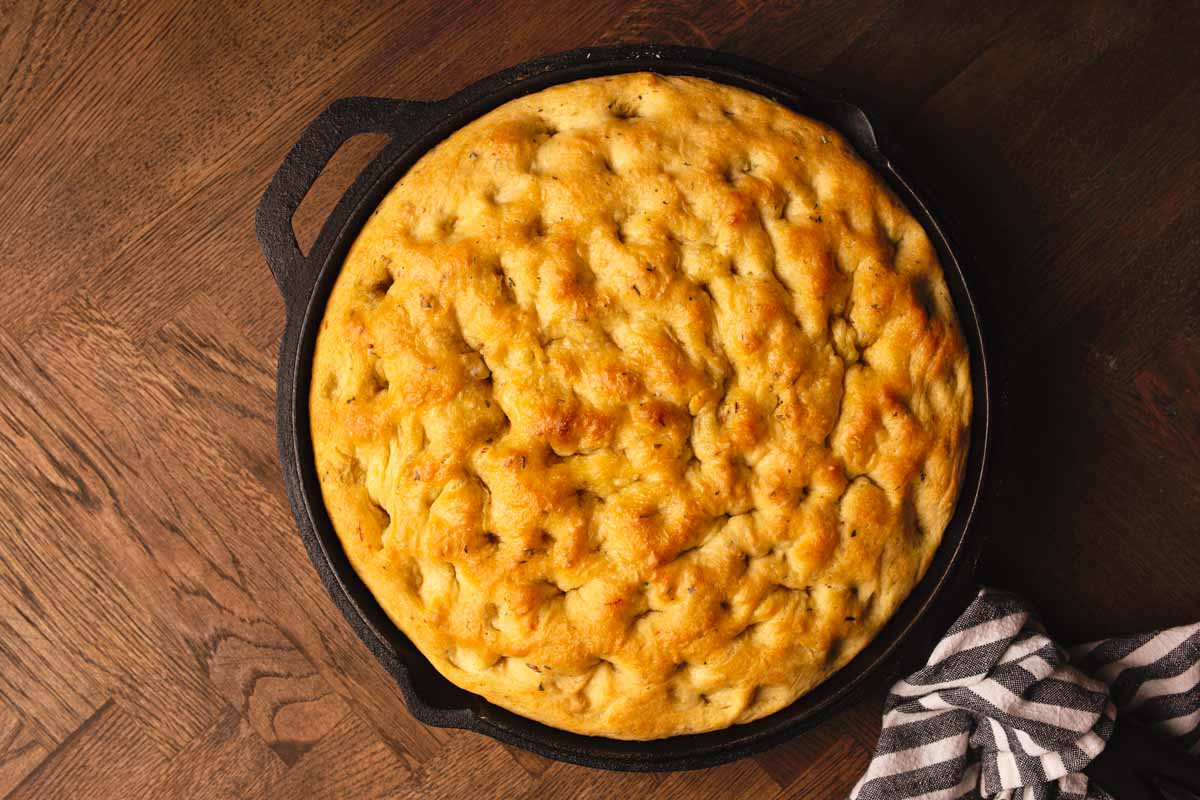
This Focaccia Bread has oven-roasted garlic and dried Italian herbs making it the perfect pairing to comfort foods as well as a satisfying appetizer among guests. Crispy Focaccia flatbread is filled with a sponge-like texture and nearly demands a basic dip to highlight the flavors and textures of the flatbread.
What is Focaccia Bread?
If you’ve never made it before, chances are you’ve had it and possibly just didn’t know it. If you love Italian food, this is as classic as lasagna. Focaccia is an olive oil based flatbread which when cooked, presents itself with a crispy outer texture and a sponge-like center. It’s dense and fluffy at the same time. It has many air pockets within the center dough and has a soft bounce when pressed. However, it also has a sturdy quality to it, making it the Italian cousin to cornbread, perfect for pairing with chilis, stews, and winter soups.
How to Make Focaccia Bread
Focaccia is a great bread for baking beginners. With minimal prep, ingredients, and intervention you can have a delicious bread working its magic in no time.
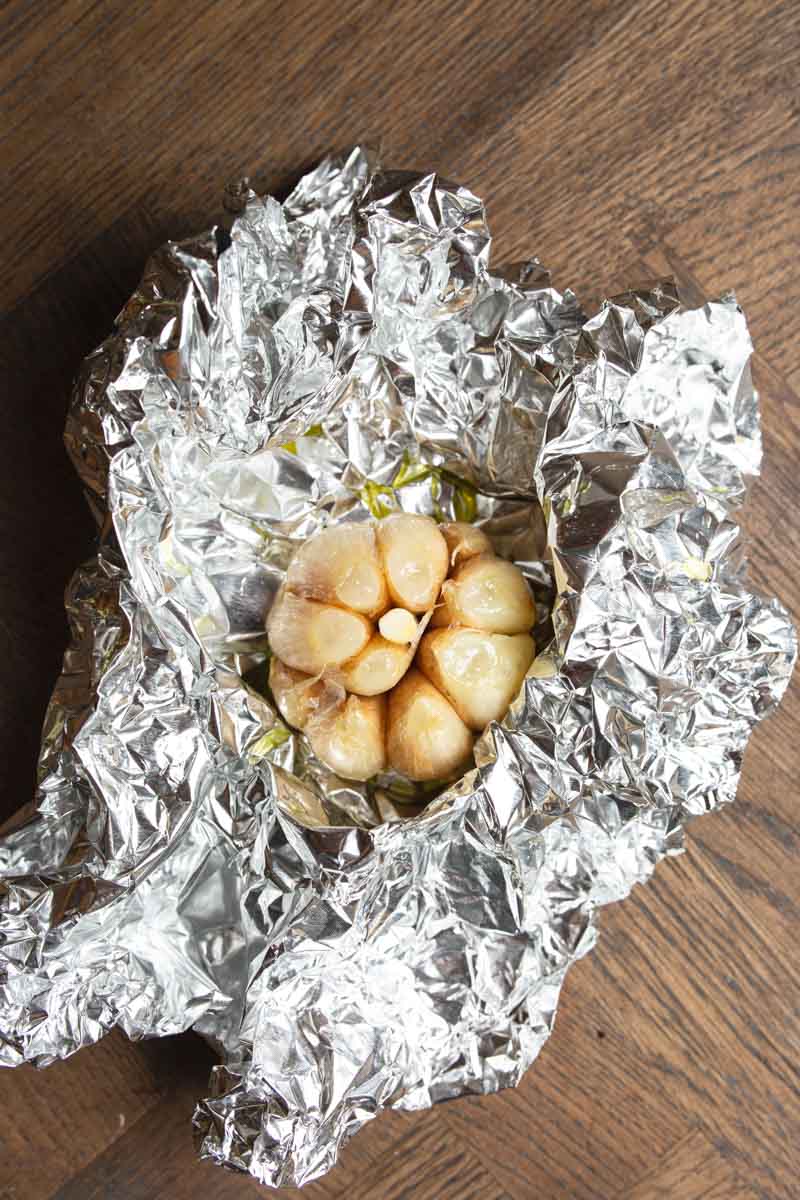
Start by roasting your garlic, as this will take a while. Cut the top 1/2 inch off of the bulb to expose all of the cloves within the head. Remove any excess skin around the garlic, while still leaving it intact. Place the bulb on a piece of tin foil and drizzle with olive oil. Close up the tinfoil wrapping the garlic in a ball. Place into a 400F oven for 50 minutes. Remove from the oven and allow to cool until you’re able to handle it. From the bottom, squeeze the garlic out onto a plate and mash with a fork before adding to the flour mixture.
Next proof the yeast with warm water (between 110-120F) in the bowl of your stand mixer. Add a Tablespoon of sugar or honey to help feed the yeast. Let that sit for about 5 minutes until the mixture looks foamy and you know your yeast is activated.
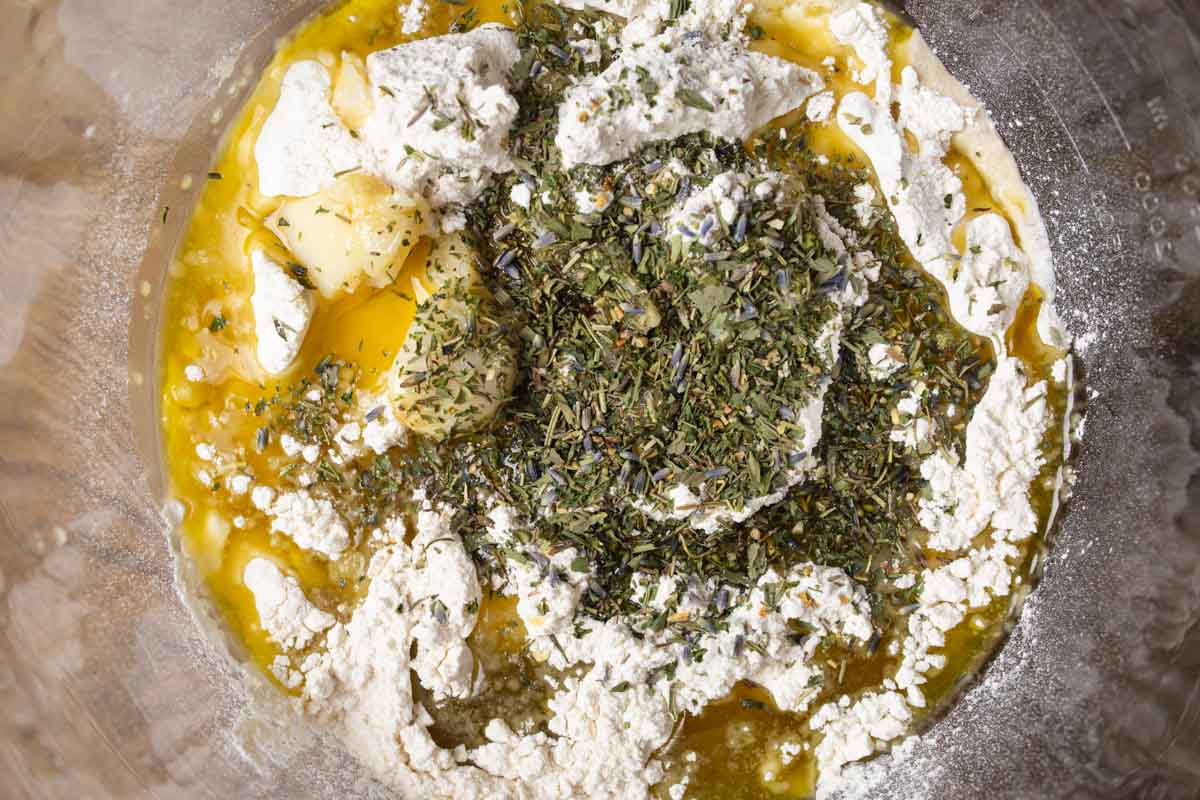
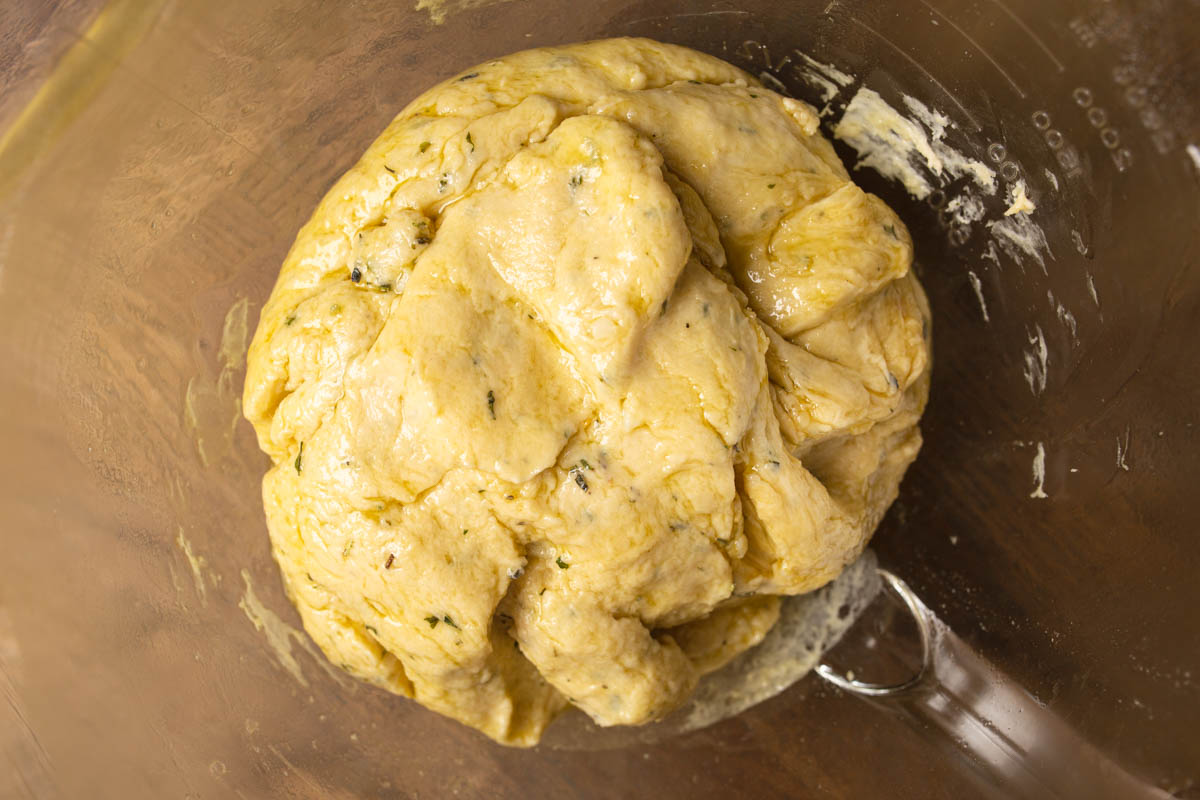
To this mixture add the olive oil, salt, roasted garlic, dried herbs, and flour. Using a dough hook, combine the ingredients and knead for about 5 minutes, until it all comes together. Note that the focaccia dough is much stickier than traditional white bread dough. This is completely fine and just as it should be.
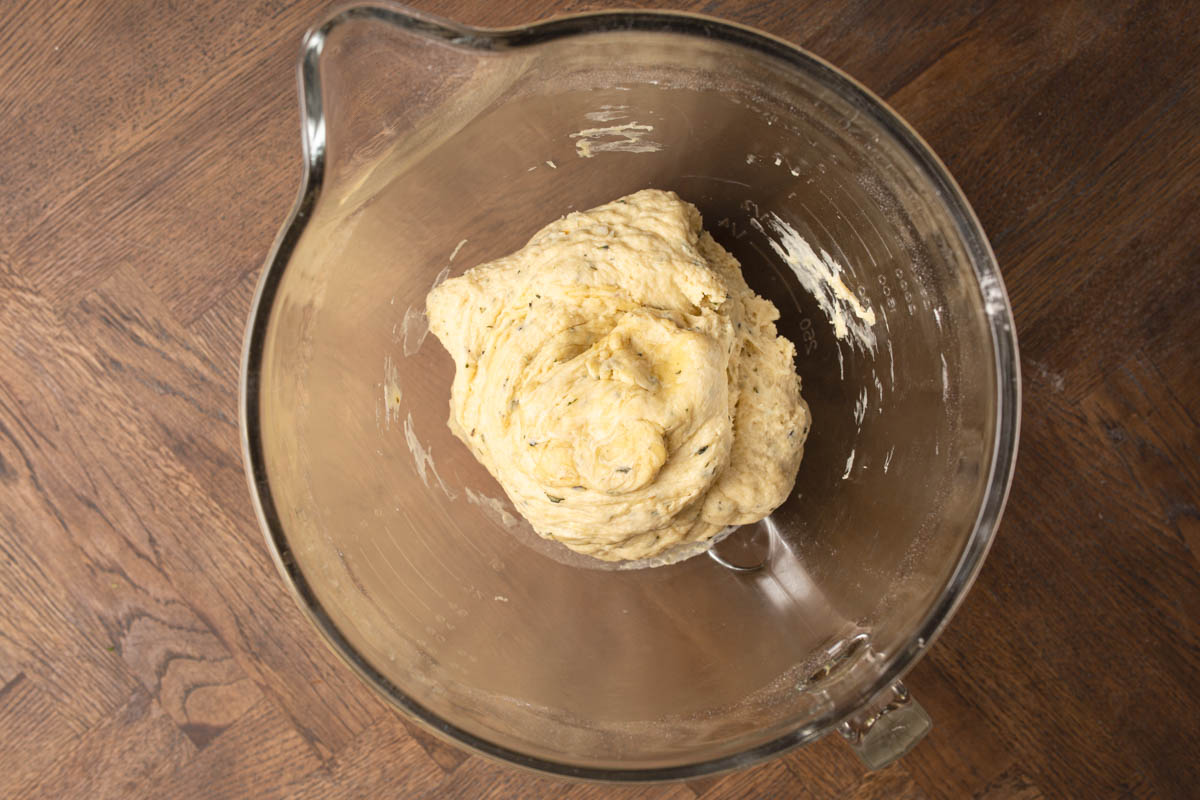
Add more olive oil to the bowl and toss the dough so it is liberally covered in oil. Keep the dough right in the same bowl, covering with plastic wrap and storing in a warm section of the kitchen to double in size. Depending on a few factors, this can take an hour or more.
Now, for a true test of patience. Right in the bowl, punch down the dough and work slightly to form back into a ball. It should still be sticky and loose, not dense like white bread dough. Add another drizzle of olive oil, yes really, recover with the plastic wrap and set in the refrigerator overnight. This gives the yeast time to develop a nutty flavor while slowing down the fermentation process. While you could complete a second rise and bake right away, the result would be much more bland in flavor.
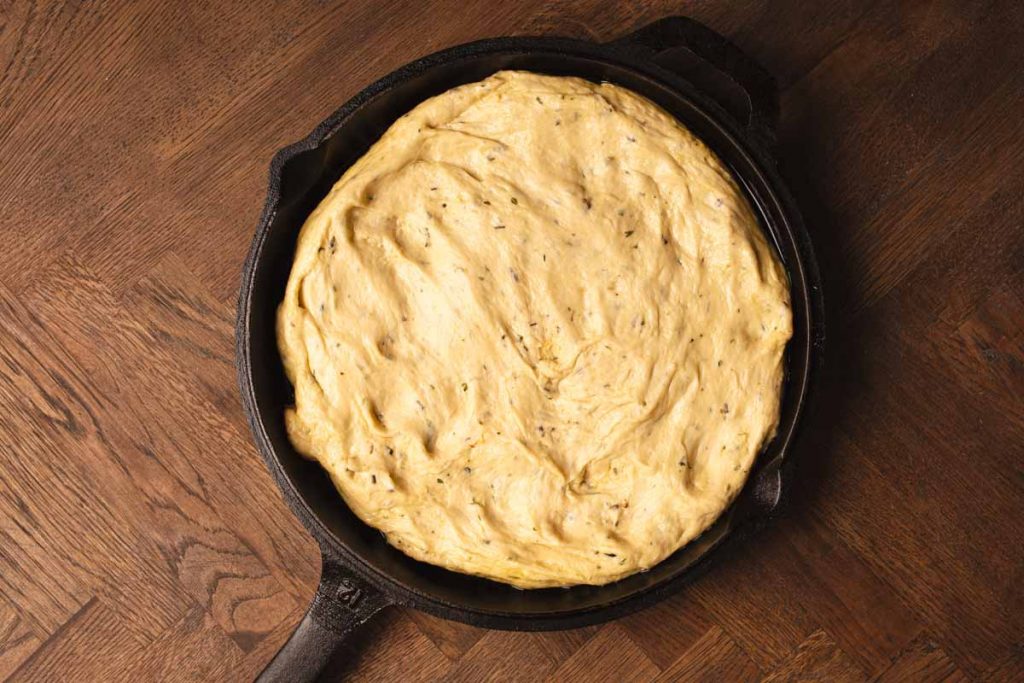
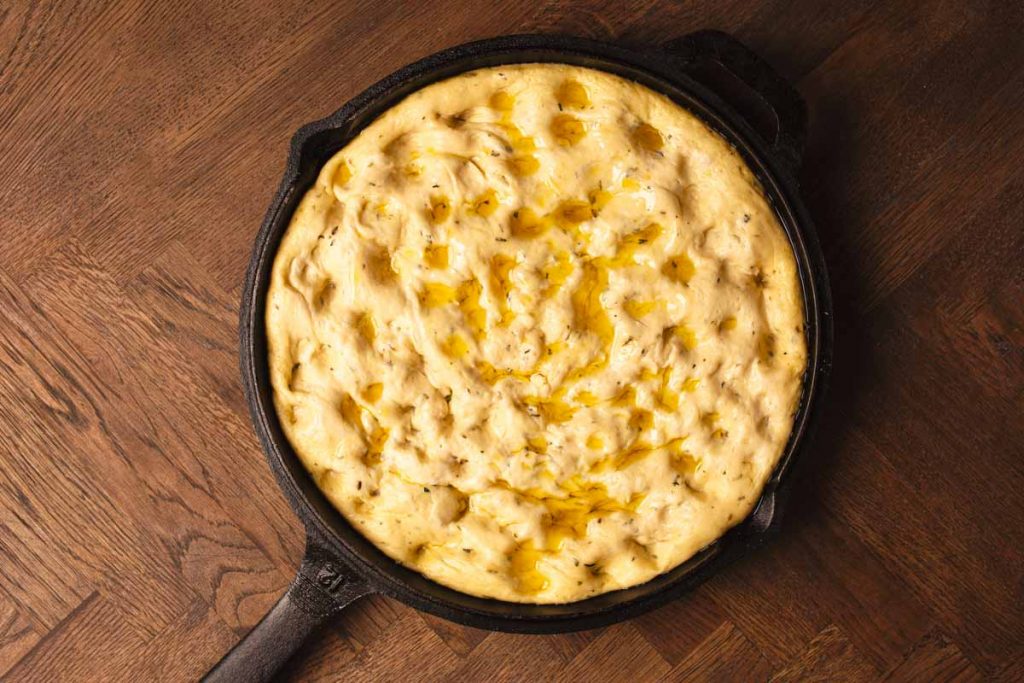
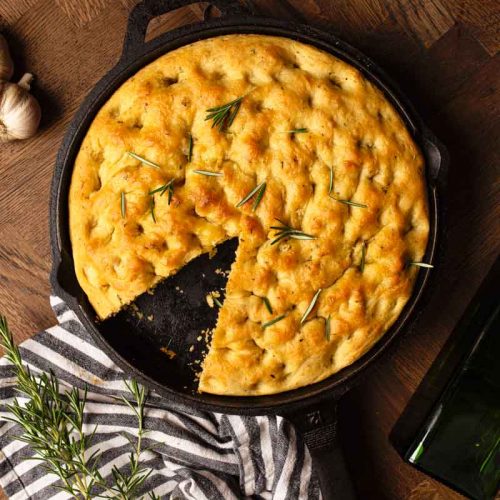
The next day, remove the bowl from the fridge. With olive oiled hands, work the dough into the cast iron skillet or cast iron casserole dish. Allow the focaccia to rise again about an inch or two while preheating the oven to 450F. Just before baking, use oiled fingers to create many dimples on the top of the dough. Sprinkle on any last-minute herbs or sea salt, and finish with a drizzle of olive oil. Pop in the oven and wait about 30 minutes for the focaccia to be complete.
Taking Focaccia to the Next Level
One common complaint about focaccia bread is the lack of flavor. But I’ve got a few tips and tricks that will make this simply the best focaccia bread you’ve ever had!
Infused Olive Oil: Focaccia bread is all about the oil. Extra-Virgin Olive Oil brings a beautiful flavor to focaccia and is the highest quality you can get when it comes to olive oil. My secret tip here is to use infused extra-virgin olive oil when available. You can make your own or purchase it at your local grocer.
Top with Herbs and Vegetables: Use whatever is fresh in the garden or on sale at your local co-op. Topping even your most basic focaccia recipe with fresh herbs, slices of red onion, pickled peppers, canned olives, and even edible flowers before baking in the oven can make a world of difference for your taste buds.
Let the Dough Set Overnight: While you can enjoy focaccia the same day, you’ll taste and smell a striking difference between focaccia made the same day and focaccia allowed to rest overnight. This is due to the fermenting process of the yeast. Allowing the dough to rest refrigerated overnight after the first rise, ensures that the yeast has had time to develop a nutty flavor and aroma once baked.
Storing Focaccia
Make-Ahead Dough: Like other yeast bread doughs, focaccia bread can be frozen after the first rise. Pat down and shape, place on a parchment-lined baking sheet, and freeze solid. Once solid, wrap in plastic wrap, followed by tin foil. When planning to use, defrost in the refrigerator overnight and continue as normal.
Leftovers: While this bread is best served warm from the oven, leftovers can be stored wrapped in plastic wrap on the counter for 3-5 days. It can also be wrapped and stored in the freezer for up to a month. Reheating of focaccia is best done in the toaster oven or on a sheet pan in the oven at 450F for 5 minutes to keep the top and bottom crispy.
How to Serve Focaccia
Focaccia is an Italian classic. Therefore, you can truly serve it with any Italian meal, a simple marinara sauce, or garlic ricotta dip. Depending on the variations of herbs and flavors incorporated into your focaccia bread, you could also serve it with American classics such as chili, as the bread for a robust sandwich, or as part of a charcuterie board.
More of our favorite
Seafood Dishes
Garlic Italian Herb Focaccia Bread
Equipment
- stand mixer
- Dough Hook
- plastic wrap
Ingredients
- 1 head garlic
- 2 cups extra virgin olive oil used throughout the recipe
- 1-1/2 cups warm water 110-120F
- .25 ounces dry active yeast
- 1 Tablespoon honey
- 3-1/2 cups flour all-purpose or bread
- 2 Tablespoons Herbs de Provence or Italian seasoning
- 2 teaspoons sea salt
Instructions
- Preheat the oven to 400F. Cut the top 1/2 inch of the garlic head off, exposing the cloves inside. Remove any excess garlic skin while still keeping the bulbs intact. Drizzle 2 Tablespoons olive oil over the garlic and rub in. Wrap in tinfoil with cut side up. Roast in the tinfoil for 50 minutes. Remove from oven and cool until able to handle by hand. Squeeze the garlic cloves out of the skin from the bottom of the bulb onto a plate and mash with a fork. Set aside.
- Proof the yeast by adding the warm water and yeast to the bowl of the stand mixer. Add 1 Tablespoon of honey to feed. Allow 5 minutes to activate.
- Add flour, dried herbs, mashed garlic, 1/4 cup of extra virgin olive oil, and sea salt to the mixing bowl with the yeast. Use the dough hook to combine. Mix for about 5 minutes until the dough has come together and is still sticky.
- Drizzle another 1/4 of oil over the dough within the bowl and toss, coating on all sides. Cover with plastic wrap and allow to proof until doubled in size, about an hour.
- Once doubled, punch down and refrigerate for 8 hours to overnight.
- Remove from the refrigerator and shape into your baking dish or skillet after drizzling oil into the bottom. Preheat the oven to 400F. Allow to rise a second time. Use well-oiled fingers to create dimples on the top. Add any extra herbs, sea salt, and a drizzle of olive oil to the top. Bake for 25-30 minutes until golden brown. Serve immediately.
Nutrition
Did You Make This Recipe?
Share it with me on Instagram @castironrecipesofficial and follow on Youtube @Cast Iron Recipes and Pinterest @castironrecipes for more!


Become A Recipe Insider!
Subscribe to the newsletter for all the latest scratch-made and family-friendly recipes
Leave A Review!
Love this recipe? Make sure to comment below and let me know your thoughts!