
Homemade White Bread
This post may contain affiliate links. We participate in the Amazon Services LLC Associates Program, an affiliate advertising program designed to provide a means for us to earn fees by linking to Amazon.com and affiliated sites at no extra cost to you.
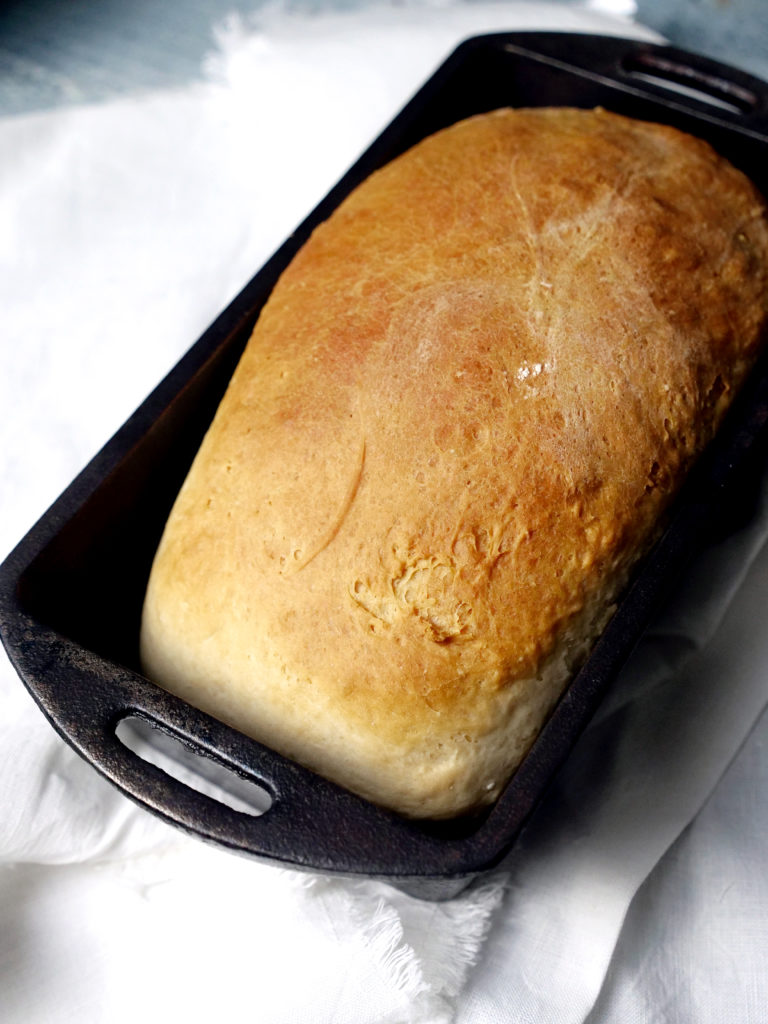
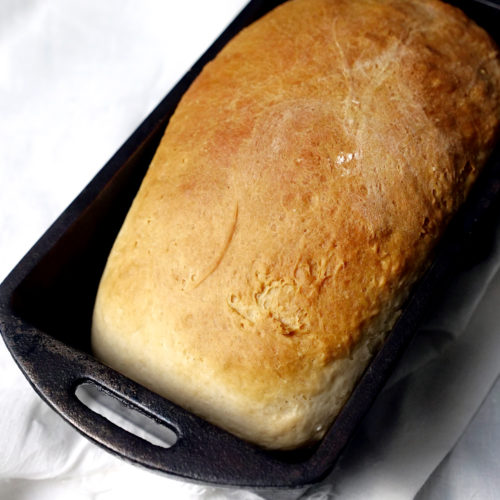
This Homemade White Bread recipe is classic and easy to whip up in batches of two. Enjoy the golden brown outside and buttery, fluffy inside as breakfast toast or sandwich bread.
Click here to jump to…
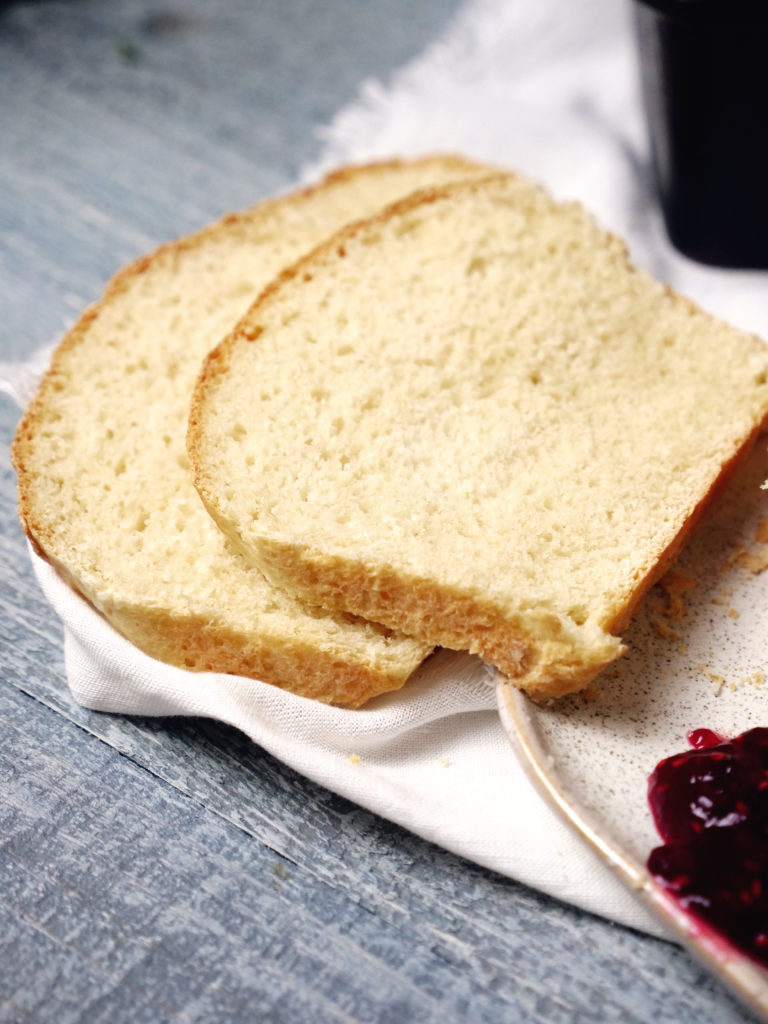
As a mother of a large family, white bread is one of the common household staples we go through quickly. Every morning there’s breakfast sandwiches, jam covered toast, french toast, eggs in a basket, or breakfast casseroles on special occasions. For a family of 7, that averages 1 or 2 loaves per week. So a quick, easy, homemade white bread that creates two loaves and can be made in just a few hours – is a winner to me.
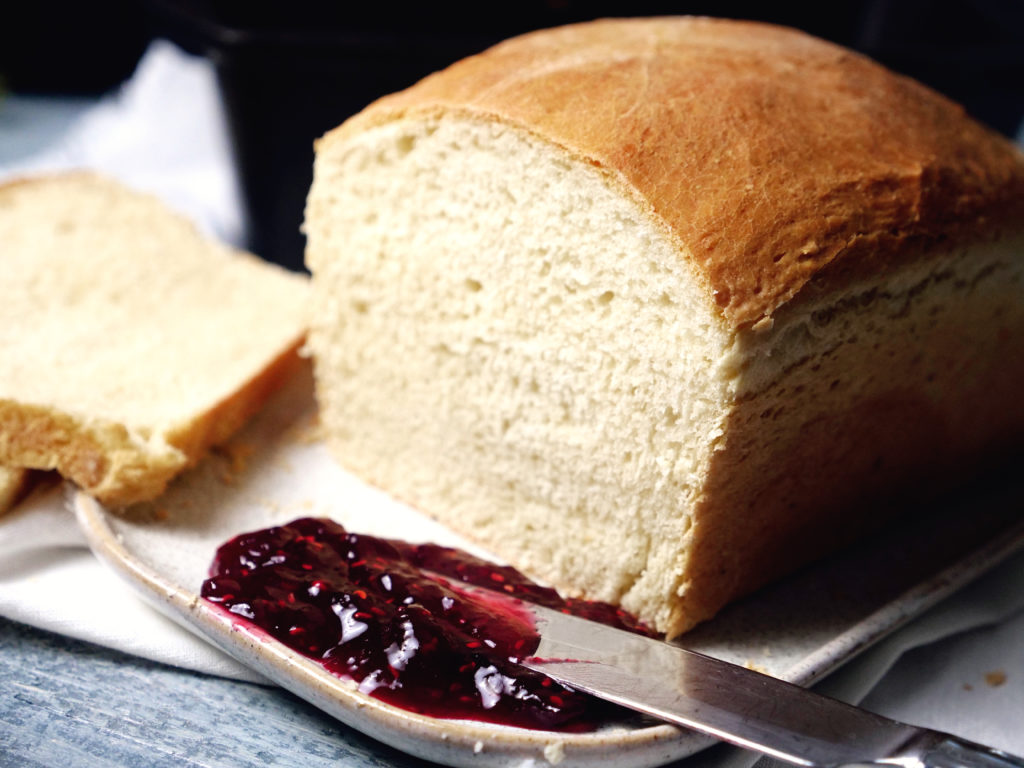
While most homemade bread comes out dense and dry, this is definitely the best white bread recipe ever! The original recipe I had called for lard, which was common in the older generations, but I switched it up for twice as much butter and a bit less of flour. That variation alone meant fluffy white clouds of bread for days!
What makes this the best homemade white bread?
- It has minimal steps, most of which can be completed with a kitchen aid stand mixer.
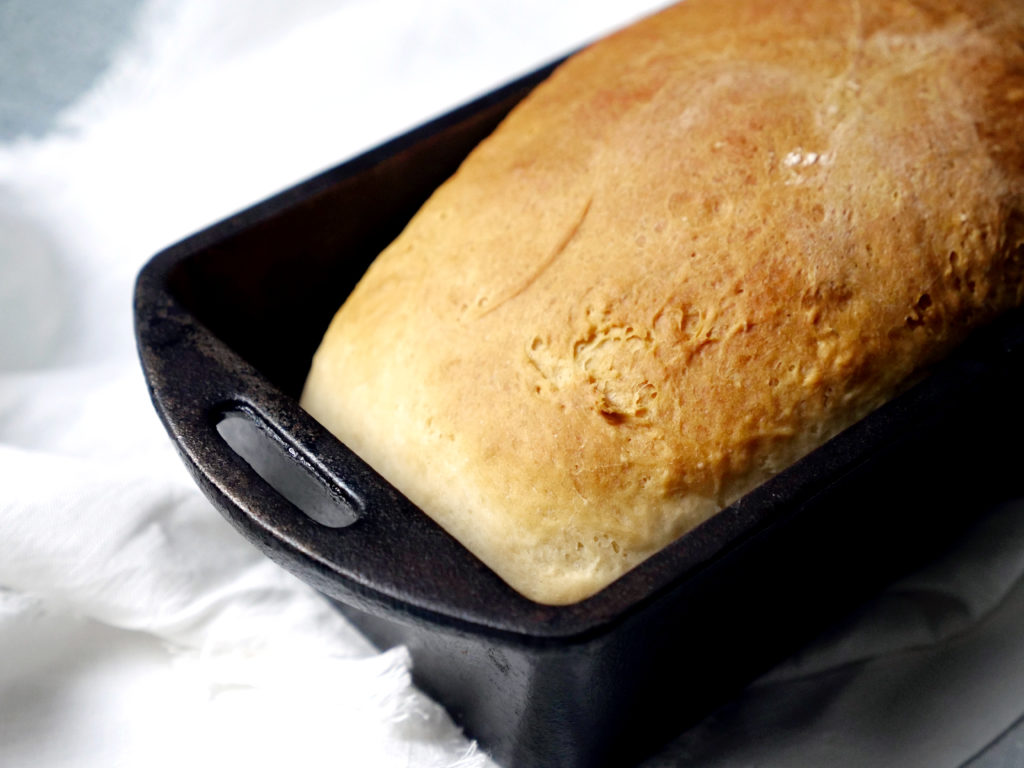
- The use of cast iron bread pans (love these ones <affiliate link) offers a quick, even baked loaf.
- Loaves only need to rise twice and bake for 40 minutes each before enjoying.
- The buttery flavor is subtle, enjoyable, and is balanced out by a slight tang of yeast.
- While the bread appears dense and can hold it’s own as toast, the texture is light and fluffy just as fresh bread should be.
Commonly asked questions about bread
Yes! If your family doesn’t go through bread like mine does or you’re amazing and batch several loaves one day, you can freeze bread in slices or as whole loaves.
No. A good rule of thumb and safety is to never refreeze something you have thawed. Once you have thawed your bread, you should consume within just a few days.
Bread is best stored and frozen by first wrapping the entire loaf in plastic wrap and then in an air-tight Ziploc bag. If freezing in slices, place a piece of parchment paper between slices and into an air-tight plastic bag. Slices can sometimes have a stale taste upon thawing. However, if you only need a couple of slices compared to a whole loaf, this will stretch your bread farther. The parchment paper prevents slices from freezing to each other.
If stored properly, frozen bread can last up to 2-3 months

Methods for defrosting bread
defrost slices of bread immediately or overnight
Slices can be microwaved for approximately 20 seconds and be ready to use as sandwich bread or into a toaster for breakfast. Your bread slices can be thawed overnight by removing from packaging and set on a plate in the refrigerator. The slices only take 2-3 hours to thaw in this method but can be left overnight.
How to defrost an ENTIRE loaf of bread overnight
To defrost a loaf of bread, remove bread from its plastic and allow it to thaw in the refrigerator overnight. Slices can also be thawed this way and only take approximately 2-3 hours.
Keep bread FROM GETTING SOGGY WHEN THAWED
Have no fear, you can keep your bread from a soggy fate. Stick the loaf or slices in a 380°F oven for approximately 5 minutes until “squishy”. Loaves may take a bit longer than 5 minutes. When the bread has reached the desired “squishy” state, remove from the oven and allow the bread to come to room temperature. Or, if desired, toast your bread.
Troubleshooting White Bread Recipes
Why is my homemade bread so dry?
This often is a problem with fat to flour ratio. It’s common during the mixing process to have more flour added than is needed. The amount of flour needed will depend on elevation, temperature, humidity… it’s a science that isn’t the same each time. Because of this, it is essential to know what white bread dough should look and feel like. It’s okay if your initial bread dough is a bit sticky in the bowl. Remember that you will be kneading it multiple times and adding flour during that process, making it less sticky.
You may also not be using enough fat. Butter or lard often are the recommended fat in a white bread recipe, however, you can substitute for oils as well. Oils can change the flavor slightly or you may discover you need a different amount than the recipe calls for. Be sure you don’t go overboard with the fat as this can prevent the yeast from behaving appropriately, resulting in a shorter rise.

Homemade White Bread
Equipment
- Cast Iron Loaf Pan
- Kitchen Aid Stand Mixer
Ingredients
- 1 cup milk
- 2 Tablespoons sugar
- 2 teaspoons salt
- 4 Tablespoons butter
- 1/2 Tablespoon yeast
- 1/2 cup warm water
- 2 eggs
- 5 cups flour possibly a little more
Instructions
Mixing
- In a small saucepan, scald the milk.
- Add the sugar, salt, and butter to the warm milk and keep stirring until combined. Then remove from heat.
- While milk is coming to temperature, add yeast to warm water and stir to activate.
- In a large bowl or stand mixer combine half the flour, eggs, yeast mixture, and room temperature milk mixture on low until smooth. This should take only a few minutes.
- Add the remaining flour 1/2 cup at a time until the dough pulls away from the sides of the mixer. Should you have any of the flour remaining from this step, use that to flour your board for kneading.
Kneading & Proofing
- Knead lightly into a ball and allow to rest on the floured board for 10 minutes. After which, come back and knead for approximately 10 minutes adding a dusting of flour as needed for stickiness.
- Grab a large bowl and grease or oil the inside of the bowl. Place your ball of dough in the center and cover with plastic wrap. This will help to seel in the humidity and temperature as it proofs.*
- Allow to rise, covered, for approximately 1 hour.**
- Remove dough from bowl and turn onto lightly floured surface, kneading again for only 2 minutes. Return to bowl, recover, and allow to rise for an additional 30 minutes.
- Turn onto floured surface and shape into a ball. Cut the ball in half and shape into your loaves as they fit into your greased loaf pan.*** Cover and let rise in a warm place until the dough has filled the loaf pan and top is rounded.
- Bake in a 400°F oven for 30-40 minutes. Bread should be golden brown on top and on the sides, as well as make a thunking sound when tapped in the top middle of the loaf. Allow to cool slightly in the loaf pan, then remove and allow to cool completely on a wired rack.
Notes
Nutrition
Did You Make This Recipe?
Share it with me on Instagram @castironrecipesofficial and follow on Youtube @Cast Iron Recipes and Pinterest @castironrecipes for more!


Become A Recipe Insider!
Subscribe to the newsletter for all the latest scratch-made and family-friendly recipes
Leave A Review!
Love this recipe? Make sure to comment below and let me know your thoughts!

Hi! can i use a cast iron pan with the lid on while baking it?
If you use a lid on your bread pan, you risk it overflowing.
If you only have one loaf pan can the extra dough sit until first loaf is done
Yes, though it may rise. Just be sure to knead it again, put into the cooled loaf pan and allow to rise again. 🙂 It will be just a bit extra fluffy!
If I’m using my Lodge 8.5 by 4.5 inch pans this recipe makes 2 loaves, Correct? The picture shows one loaf and elsewhere the directions say shape into loaves.
Yes! This recipe makes two loaves. 🙂
So the cast iron breadpan doesn’t need to be geared for the final rise in it/them?
I didn’t find that it needed to be but it depends on how seasoned your bread pan is. It wouldn’t hurt to add a spray of pam or a light wash of crisco if that’s your thing.