
Brown Sugar Cornbread
This post may contain affiliate links. We participate in the Amazon Services LLC Associates Program, an affiliate advertising program designed to provide a means for us to earn fees by linking to Amazon.com and affiliated sites at no extra cost to you.
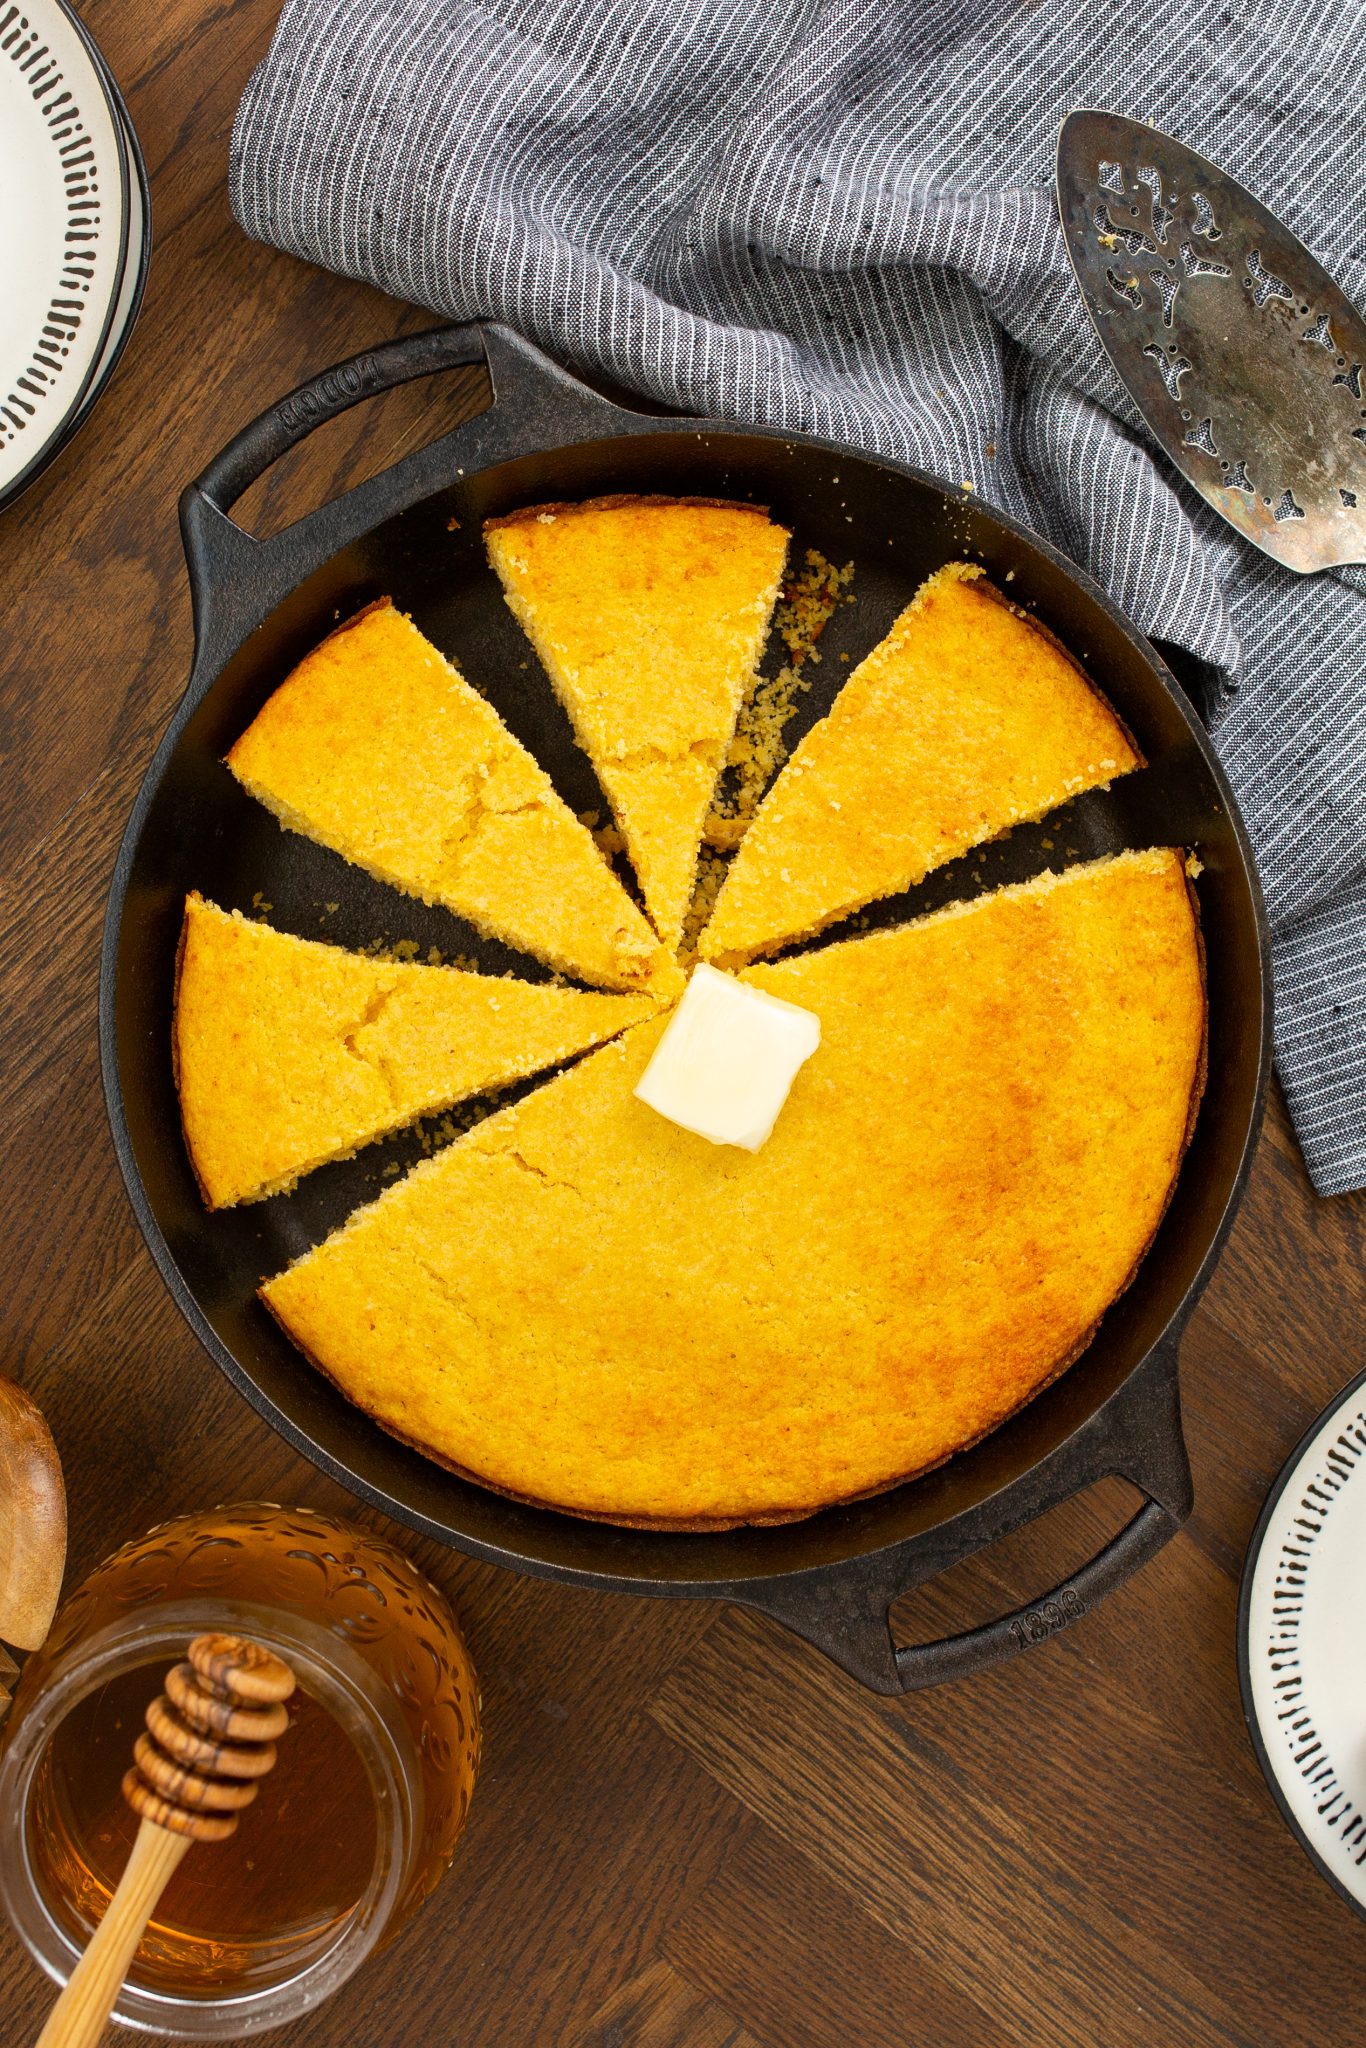
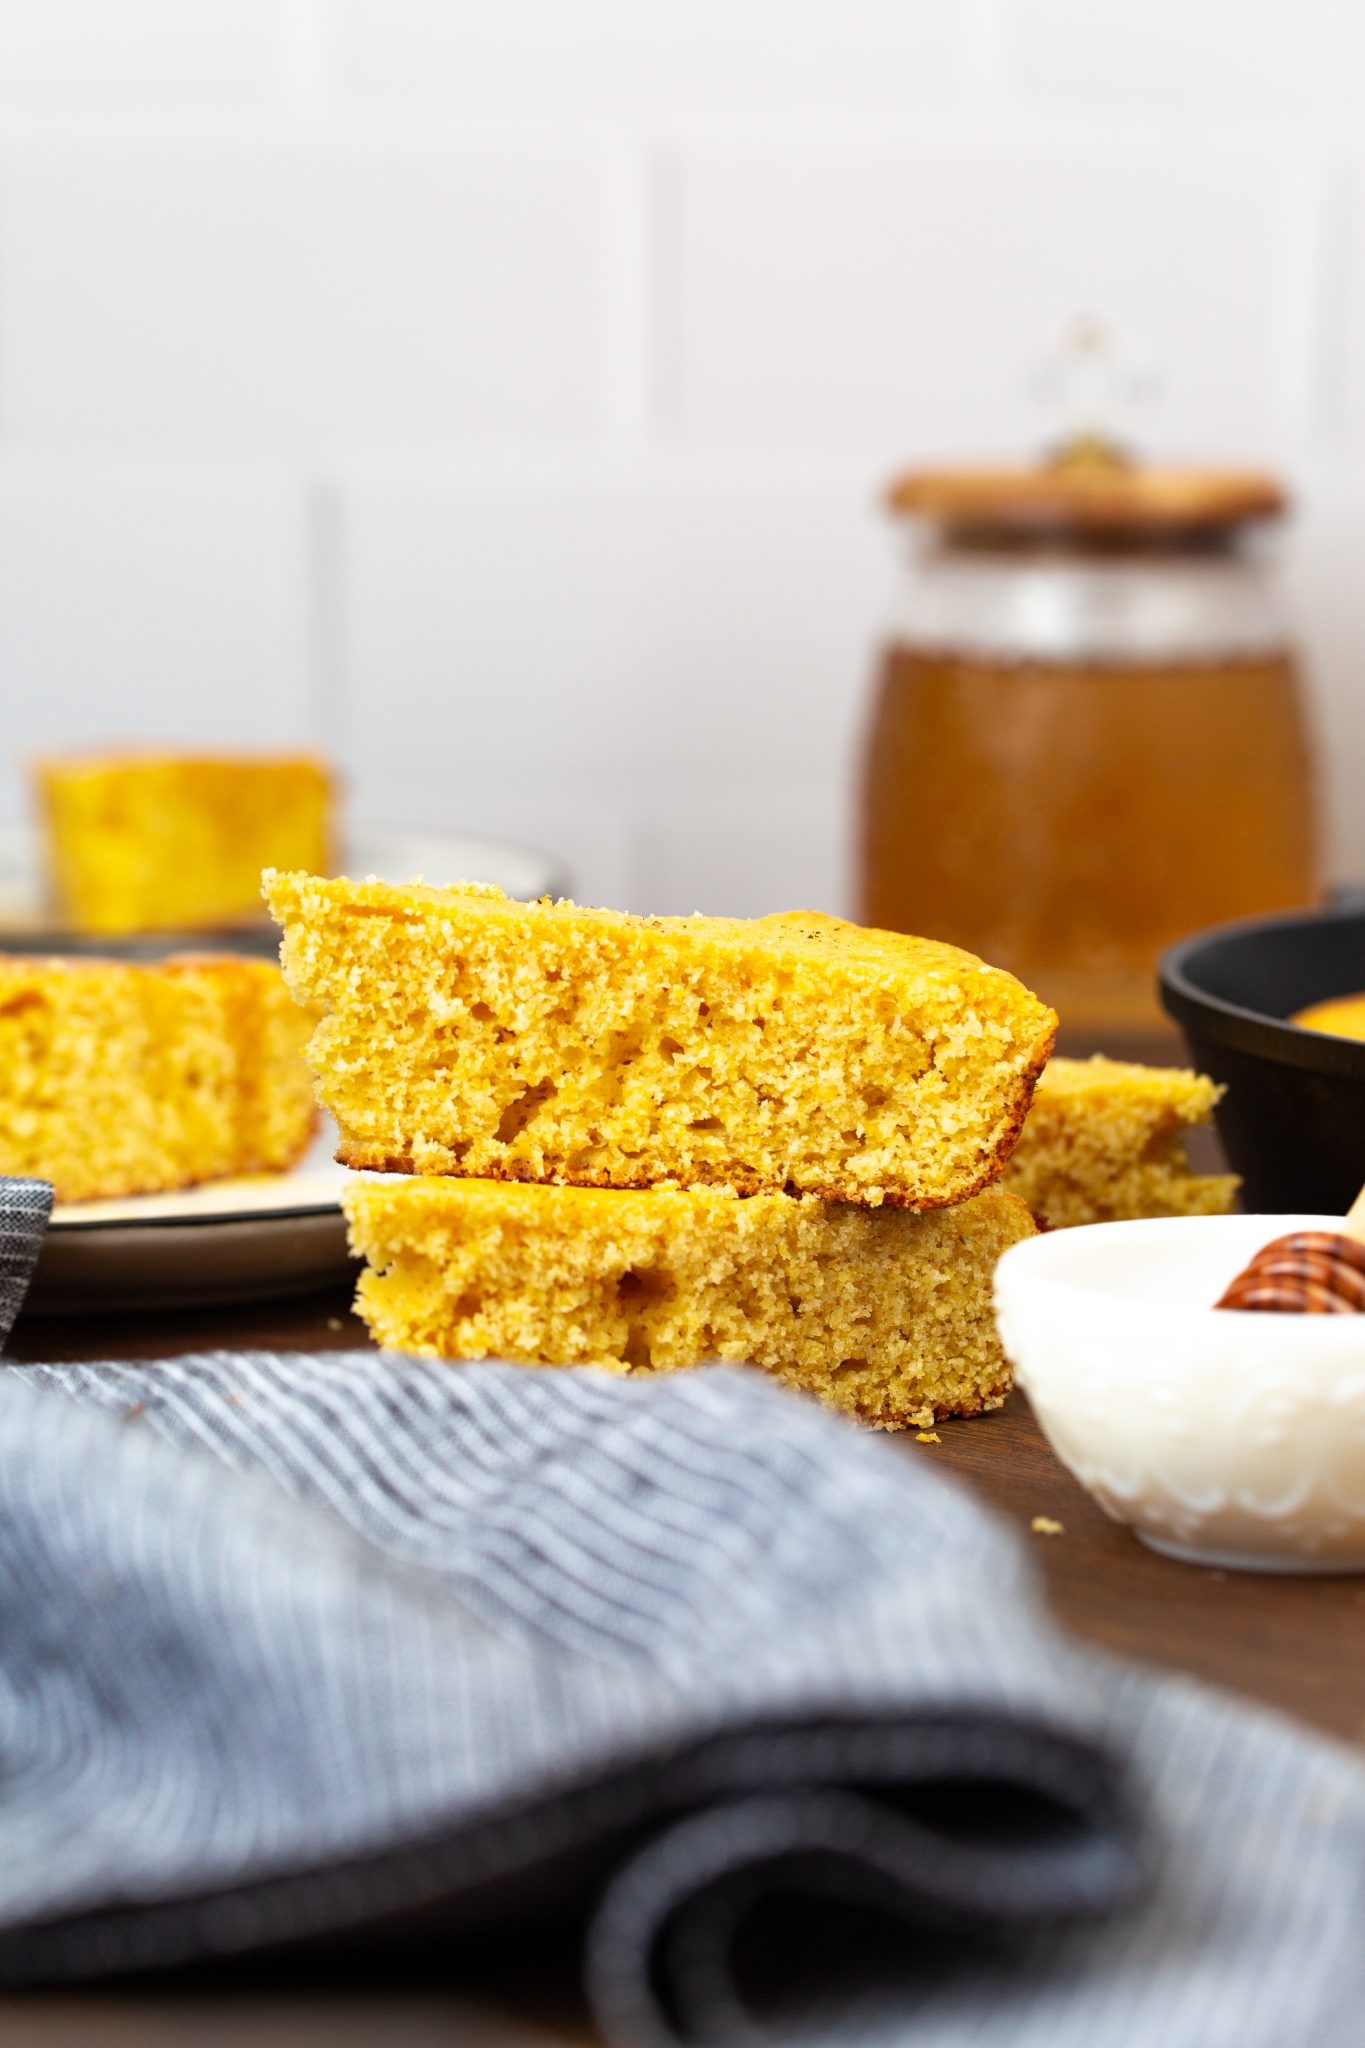
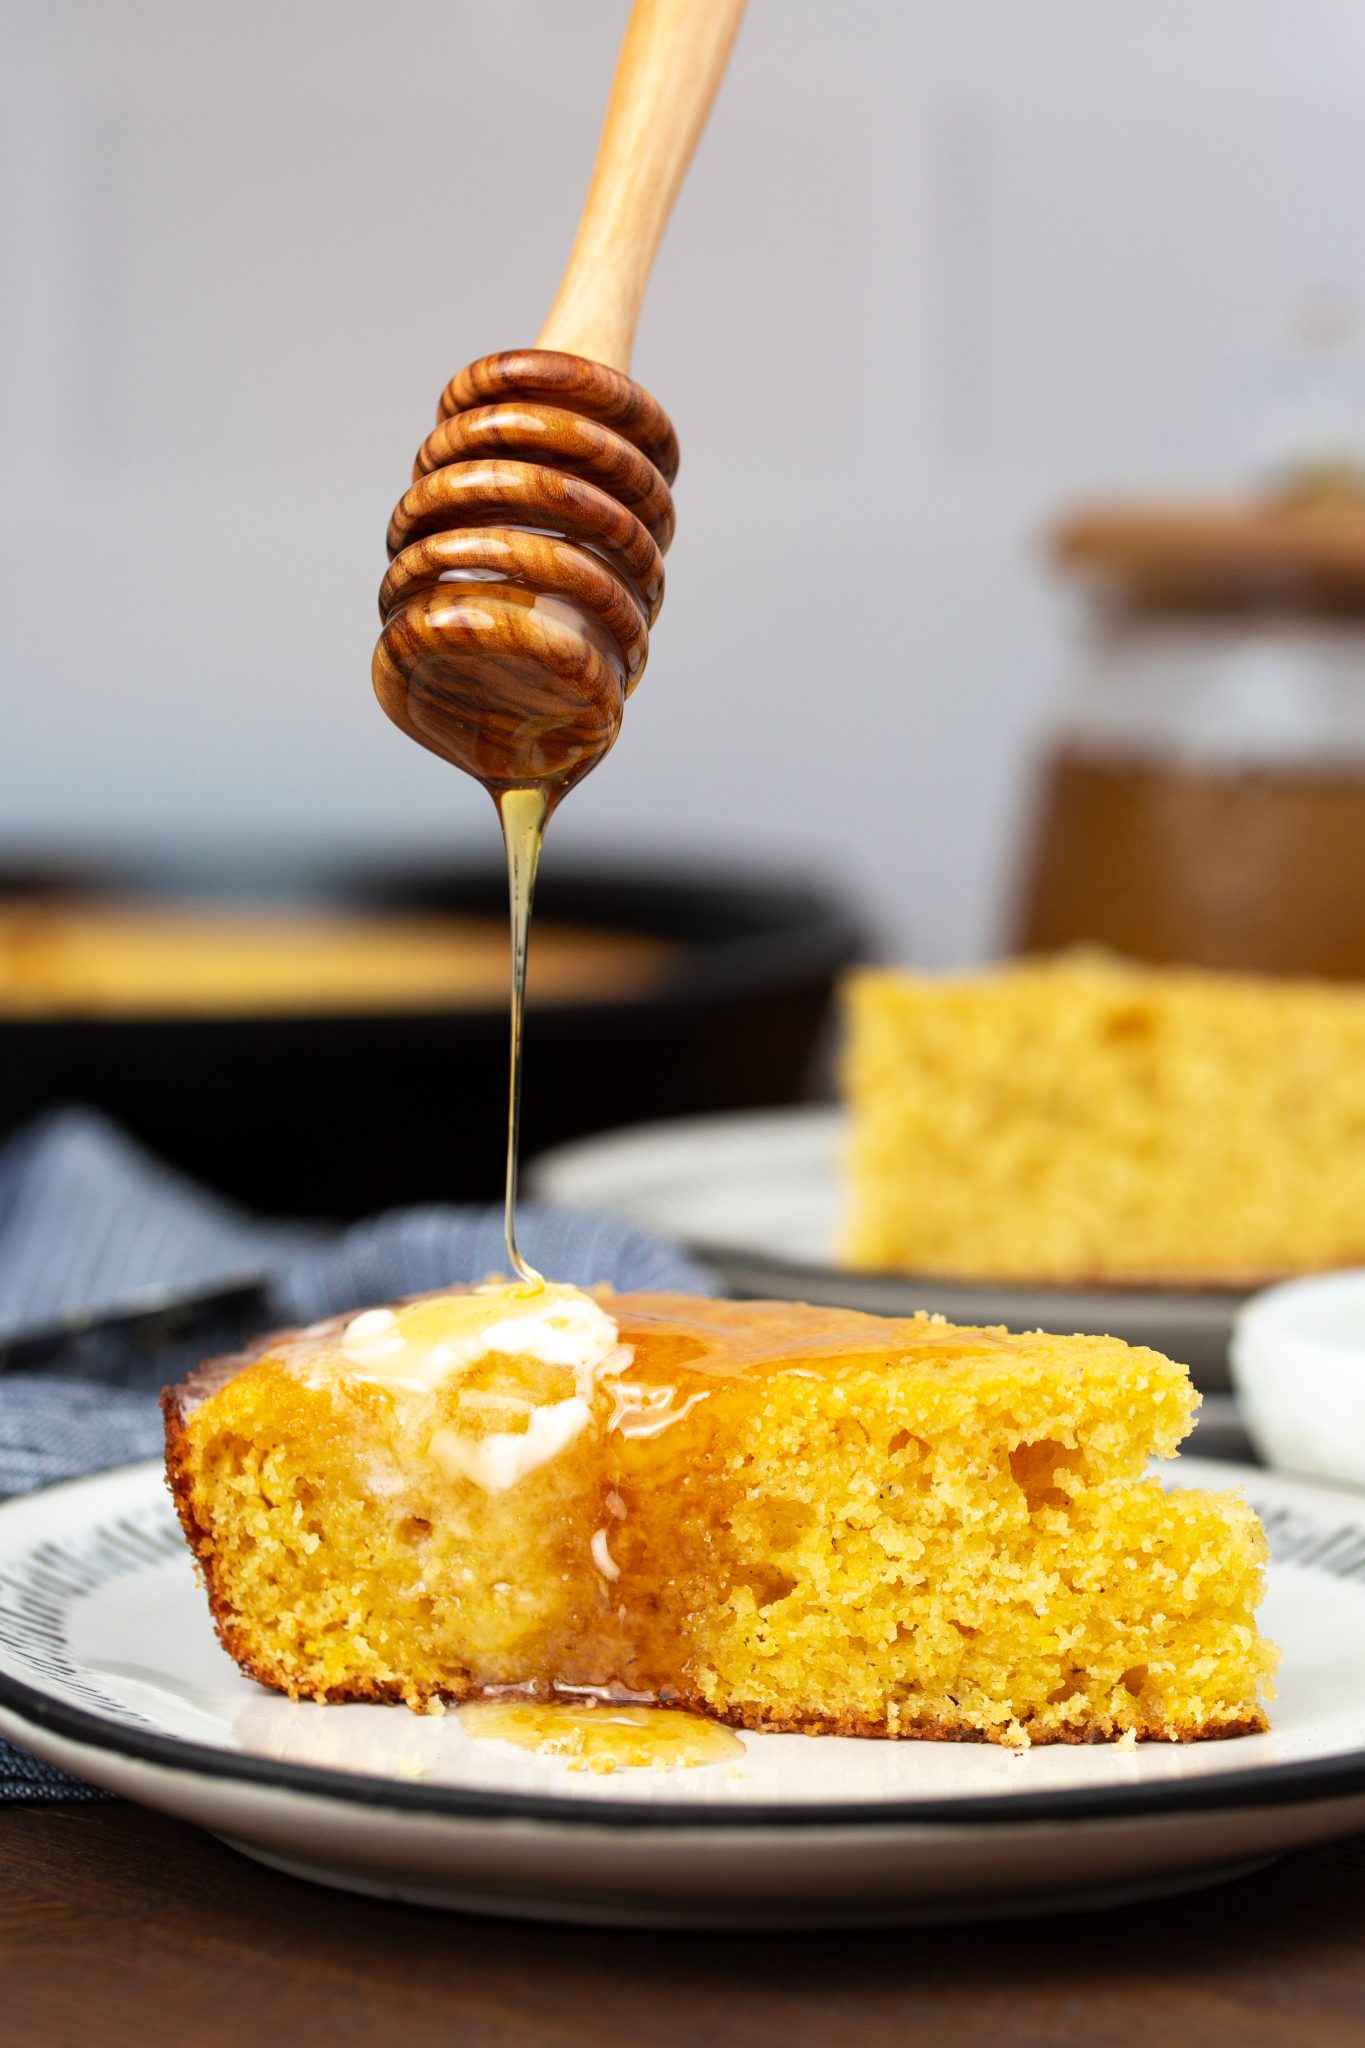
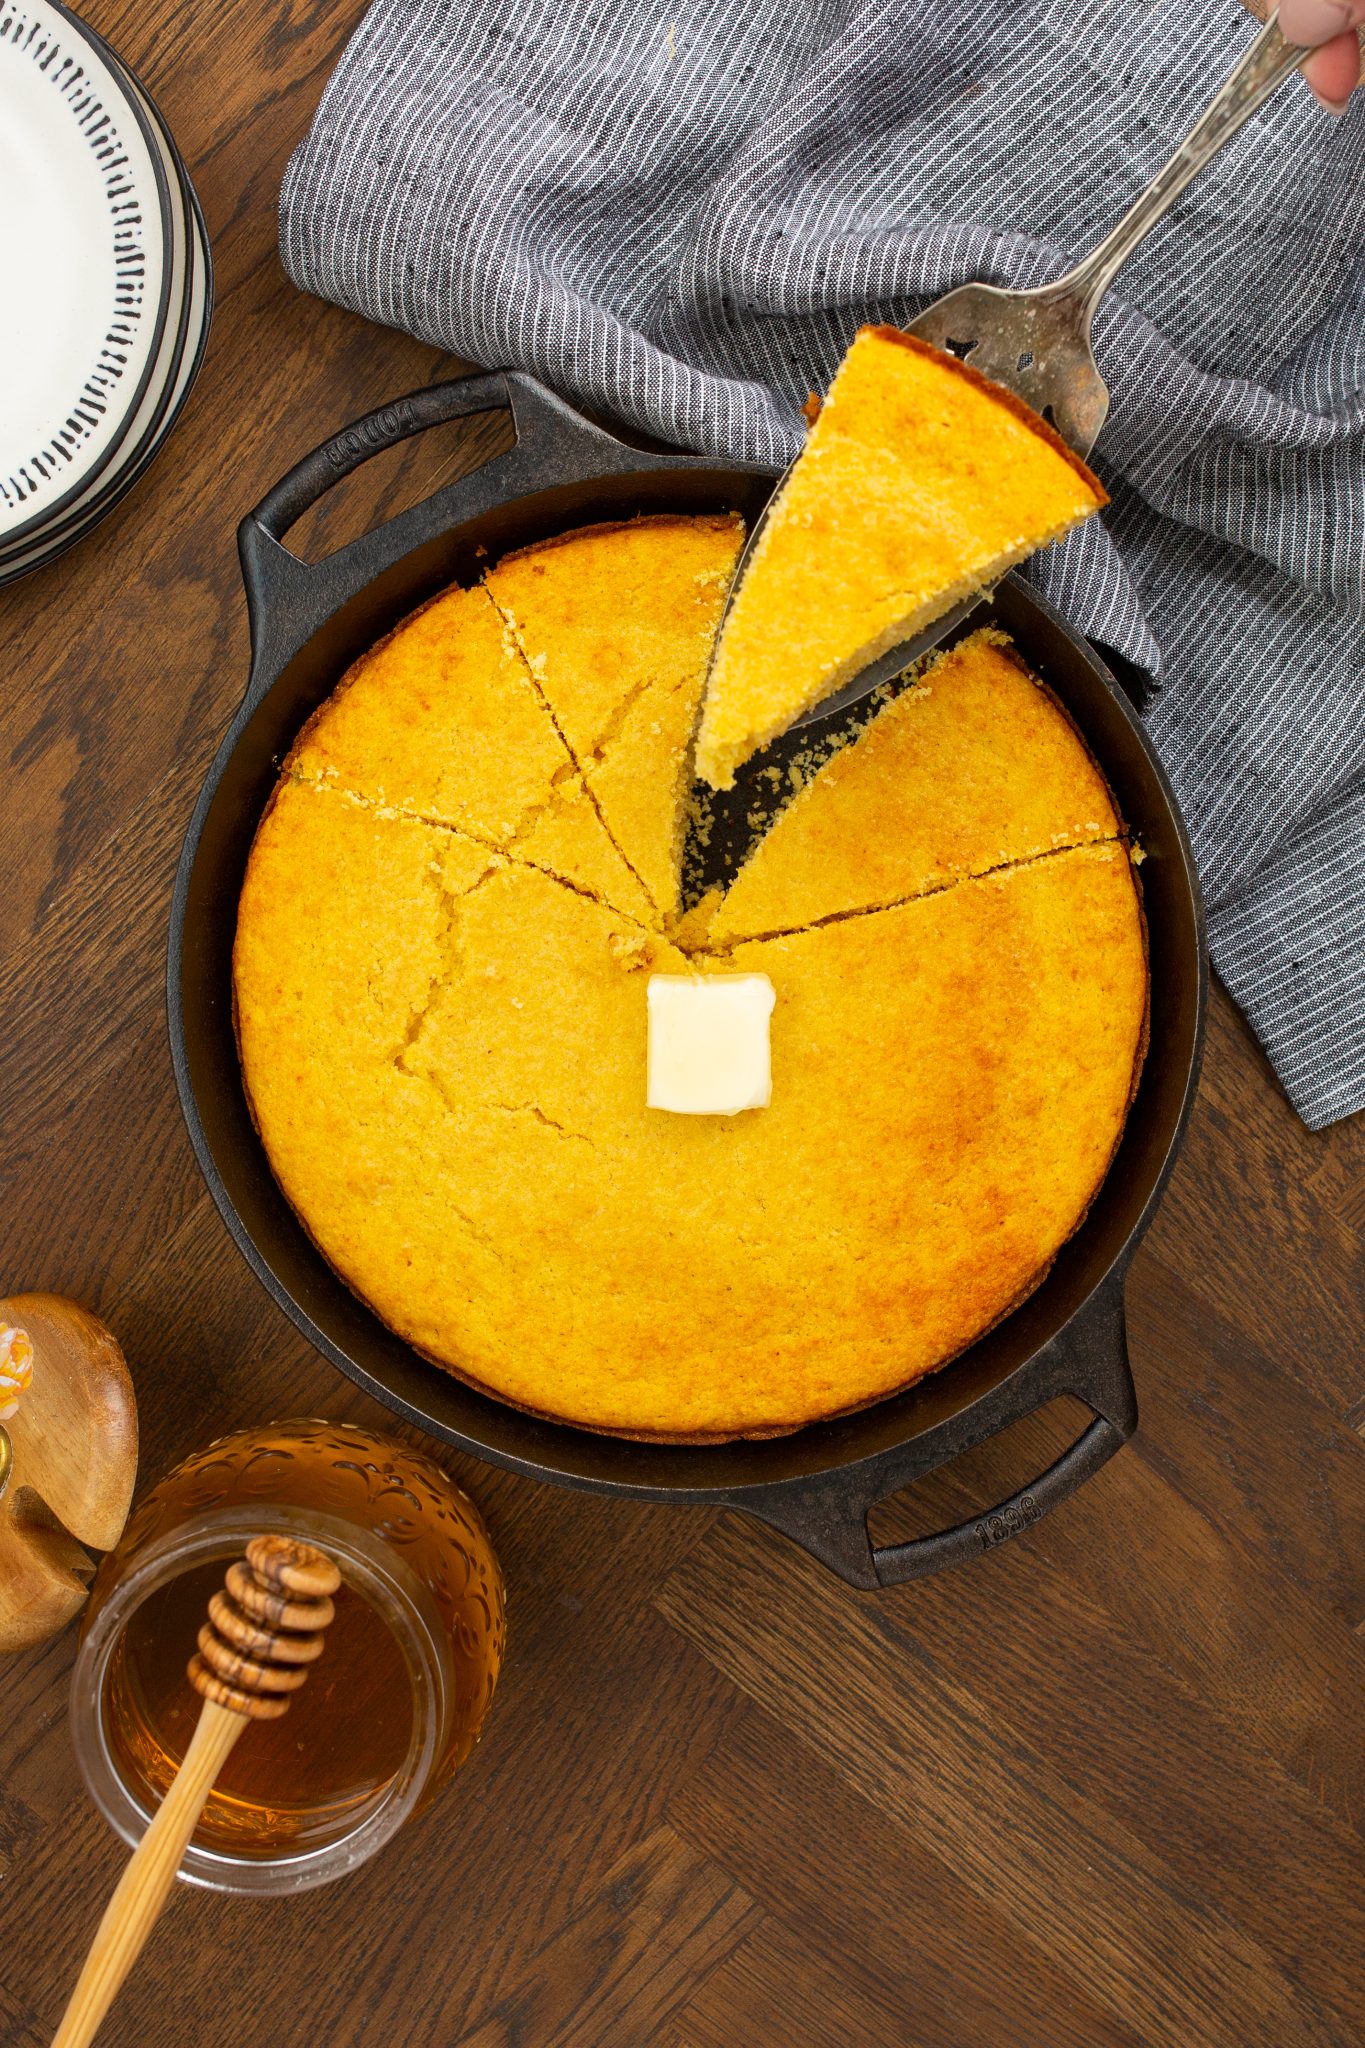
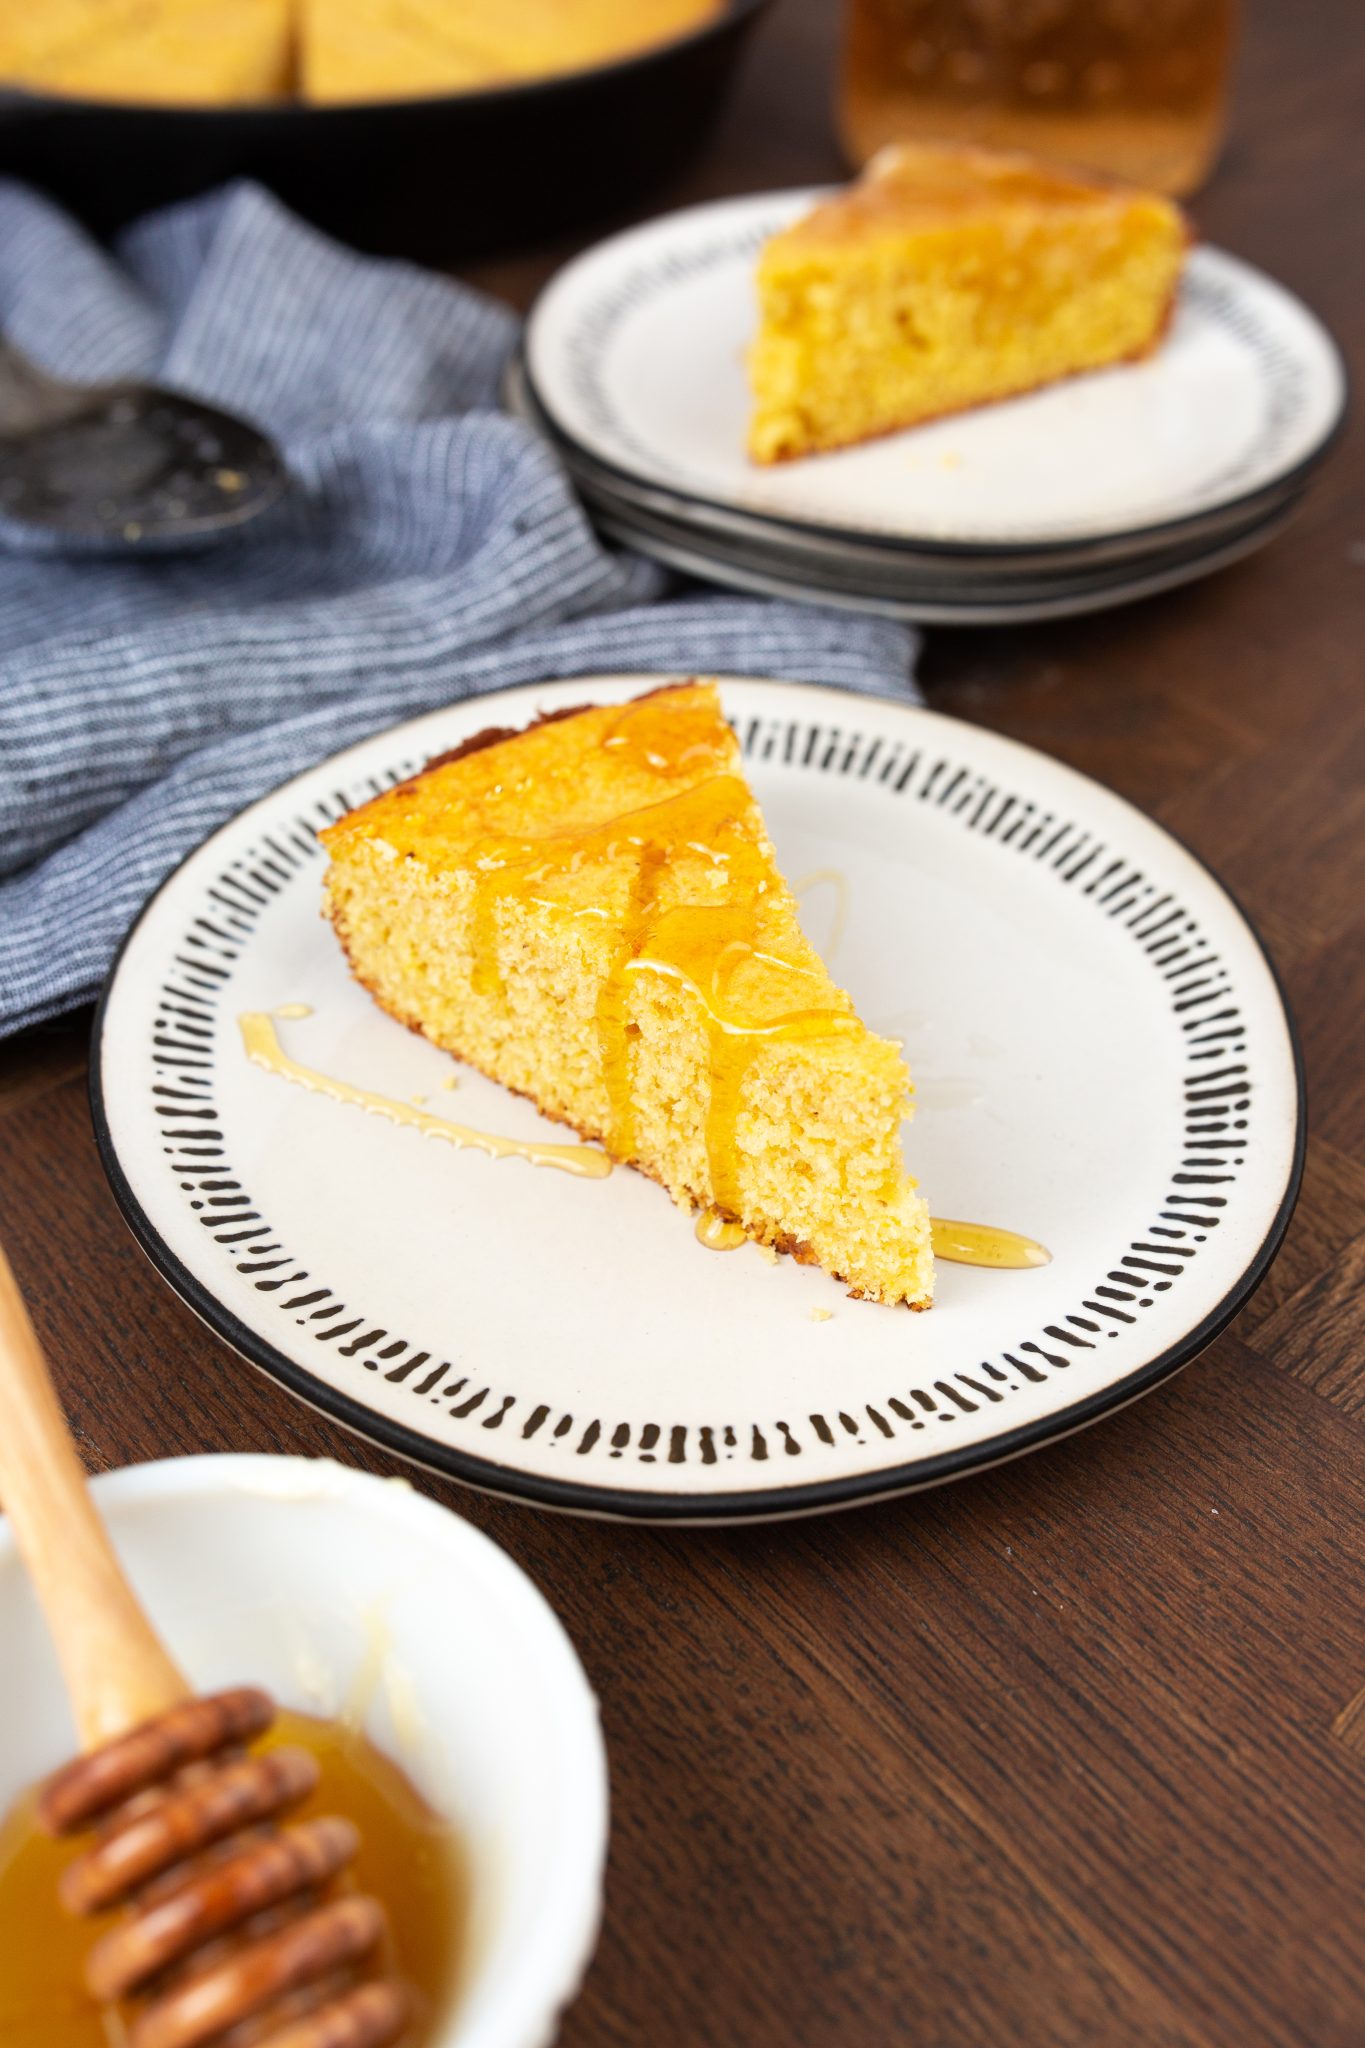
Subtly sweet and the best pairing with any lunch or dinner – Brown Sugar Cornbread! Thick and fluffy in texture with slightly caramelized edges, this cornbread is a hit with everyone. Top with honey, maple syrup, or a side of gravy.
Serve it next to a bowl of steaming hot Turkey Butternut Squash Chili or as a snack topped off with a drizzle of honey!
Click here to jump to…
Is cornbread better in a cast iron skillet?
I mean, I could be totally biased here but – definitely! A cast iron skillet retains heat better than other baking pans do. So, it creates a crispier edge while still maintaining that perfectly soft, fluffy center. Cast iron skillet cornbread for the win! But if you’re here, I’m sure I don’t need to tell you that.
Can you use brown sugar instead of white sugar in cornbread?
Oh, yes! Yes you can. In fact, I recommend it.
Again, kind of obvious since you’re here, but yes brown sugar is totally fine and delicious! Using brown sugar instead of white sugar adds another layer of depth and caramelization to the cornbread. That deep molasses flavor is subtle, but such a compliment to stews and sweet toppings.
Brown sugar takes it a step further by adding so much delicious moisture and a sweet, crunchy caramelization that just isn’t quite achieved with a white sugar cornbread. So, let’s get to it!
Ingredients for Brown Sugar Cornbread
This Brown Sugar Cornbread is a simple, 9-ingredient recipe. I bet you can find most (if not all) of these in your pantry without even having to make a trip to the store!
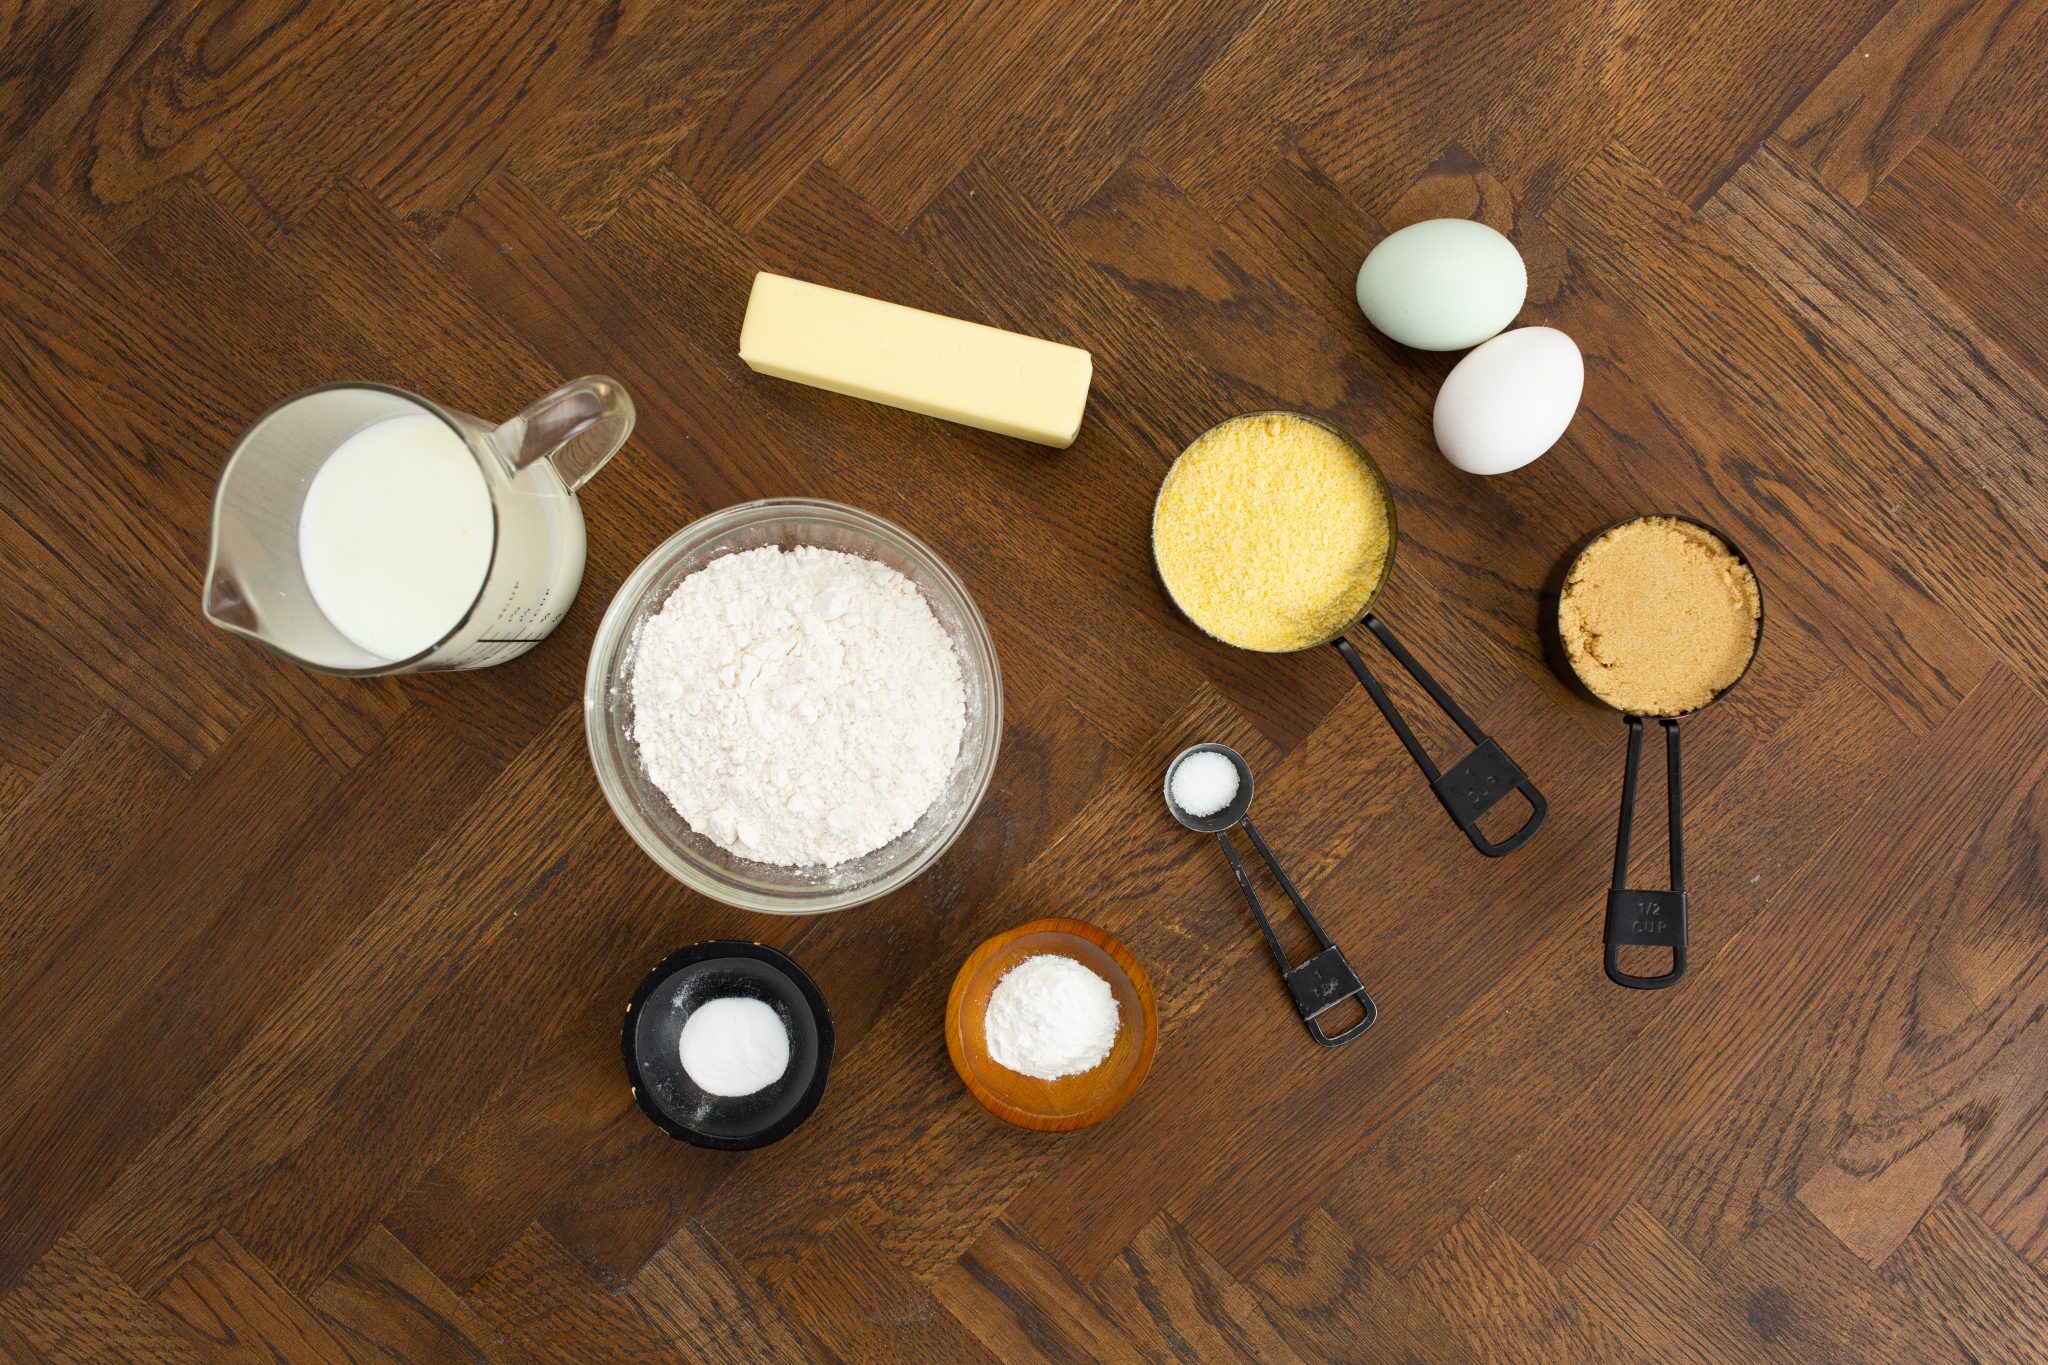
- Flour: Use all-purpose flour or make your cornbread gluten-free with a 1:1 gluten-free flour blend.
- Cornmeal: Yellow cornmeal is the key to that classic cornbread flavor, color, and texture.
- Salt: A pinch of salt enhances the delicious flavor of your sweet cornbread.
- Baking Powder and Baking Soda: Using both leavening agents keeps the bread light and fluffy.
- Unsalted Butter: Melted butter makes the bread so moist and gives it tons of flavor.
- Brown Sugar: It’s not brown sugar cornbread without the brown sugar! It’s what gives the bread those irresistible caramelized edges.
- Eggs: Use 2 farm-fresh eggs to bind everything together.
- Buttermilk: Buttermilk is the key to an even more moist and tender crumb. If you don’t have buttermilk on hand, combine regular cow’s milk with a Tablespoon of acid such as lemon juice or vinegar and allow to sit for about 10 minutes before using as you would buttermilk.
How to make Cast Iron Skillet Cornbread
This simple and sweet cornbread recipe takes just a few minutes to mix up and bake!
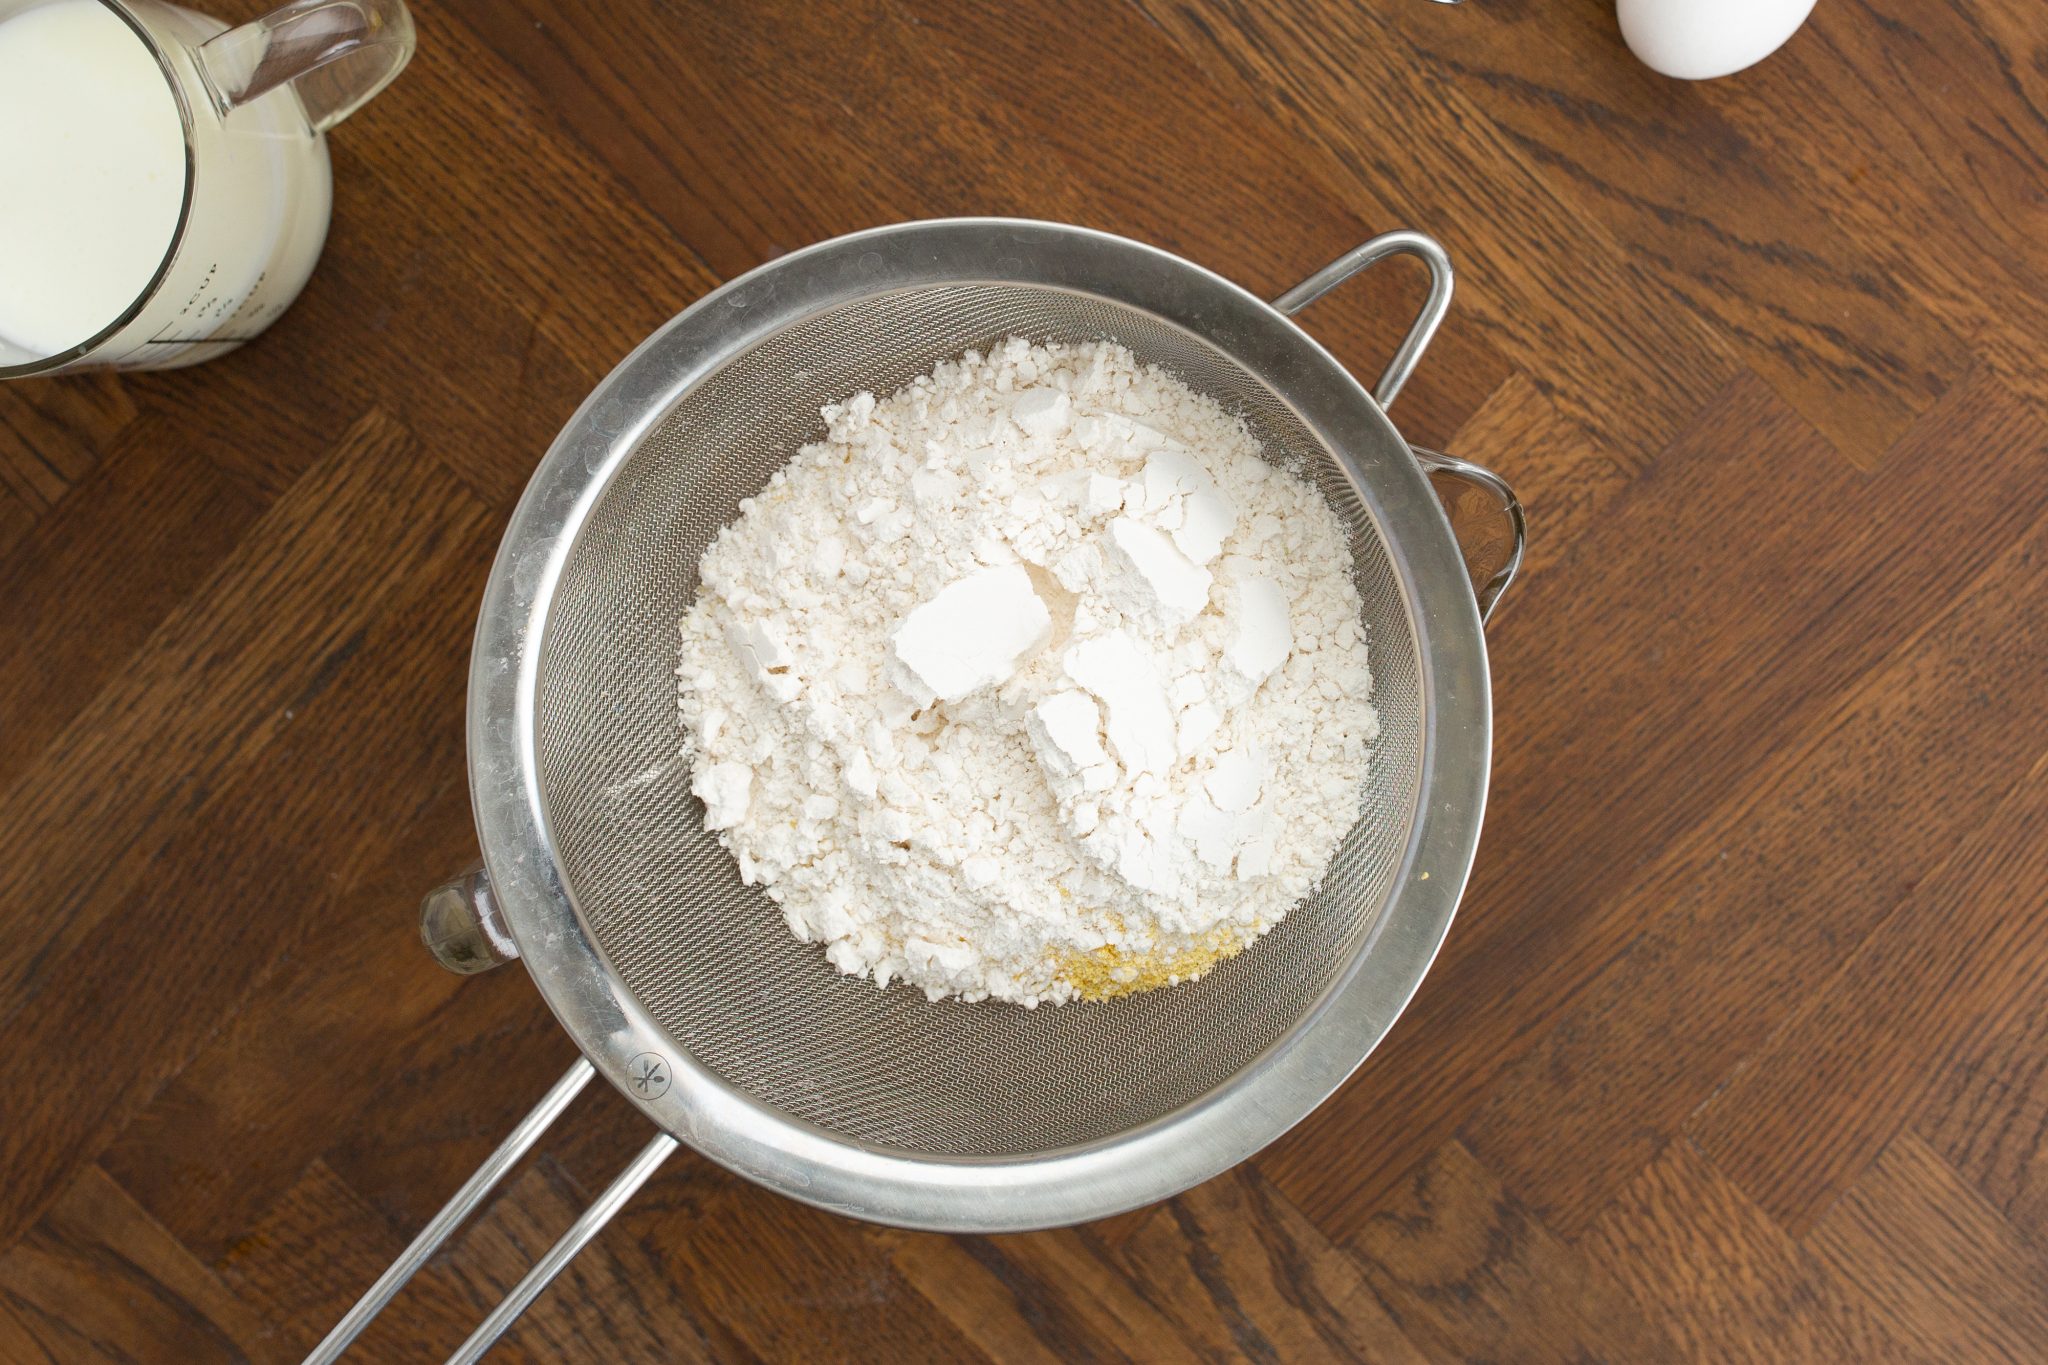
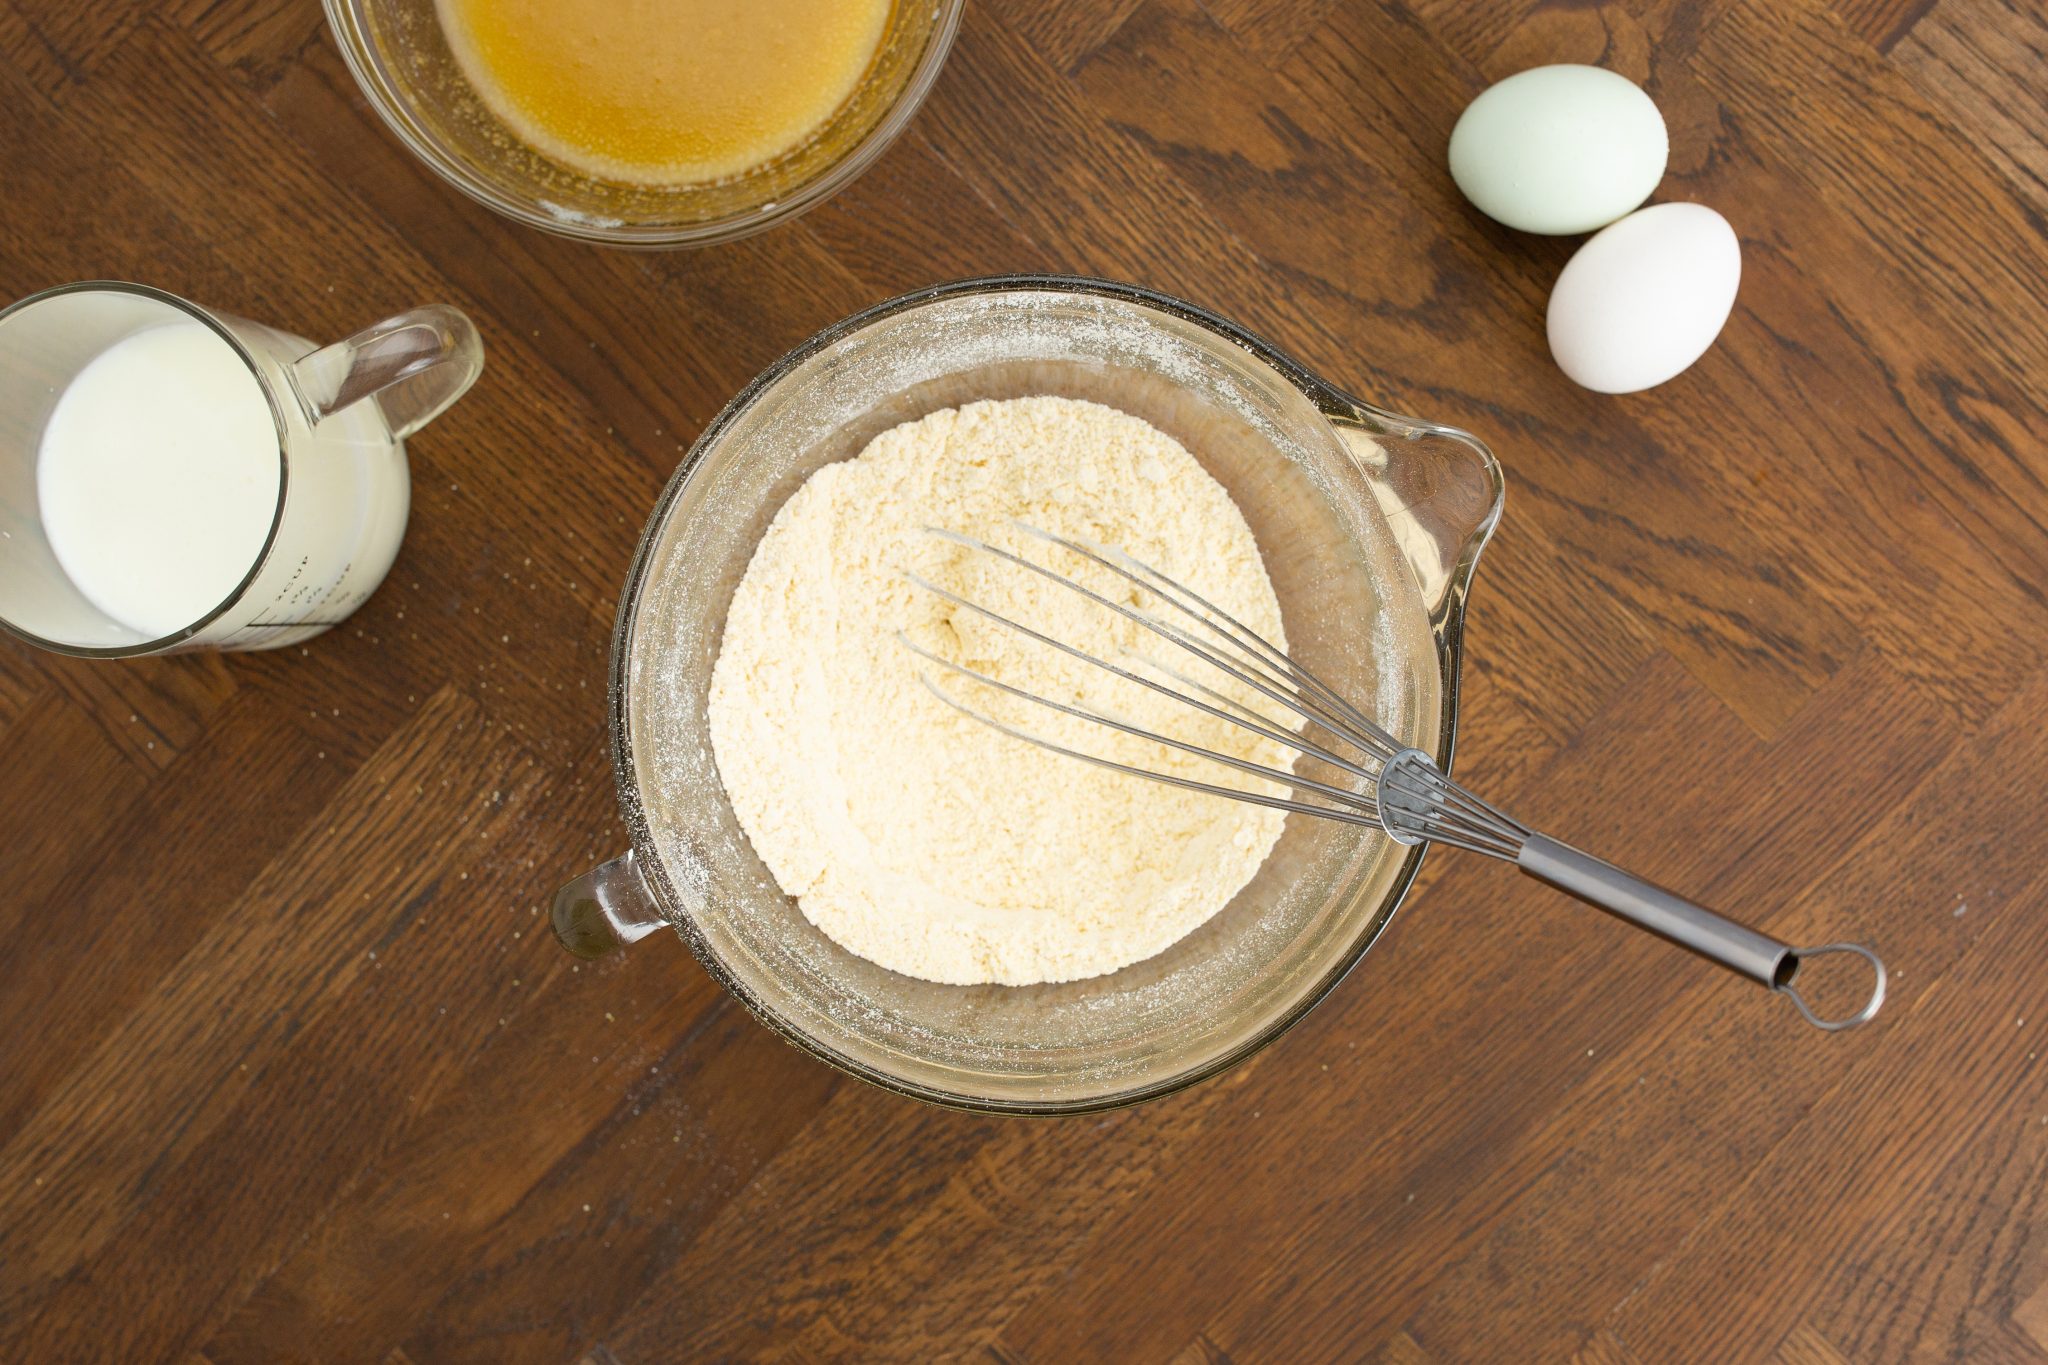
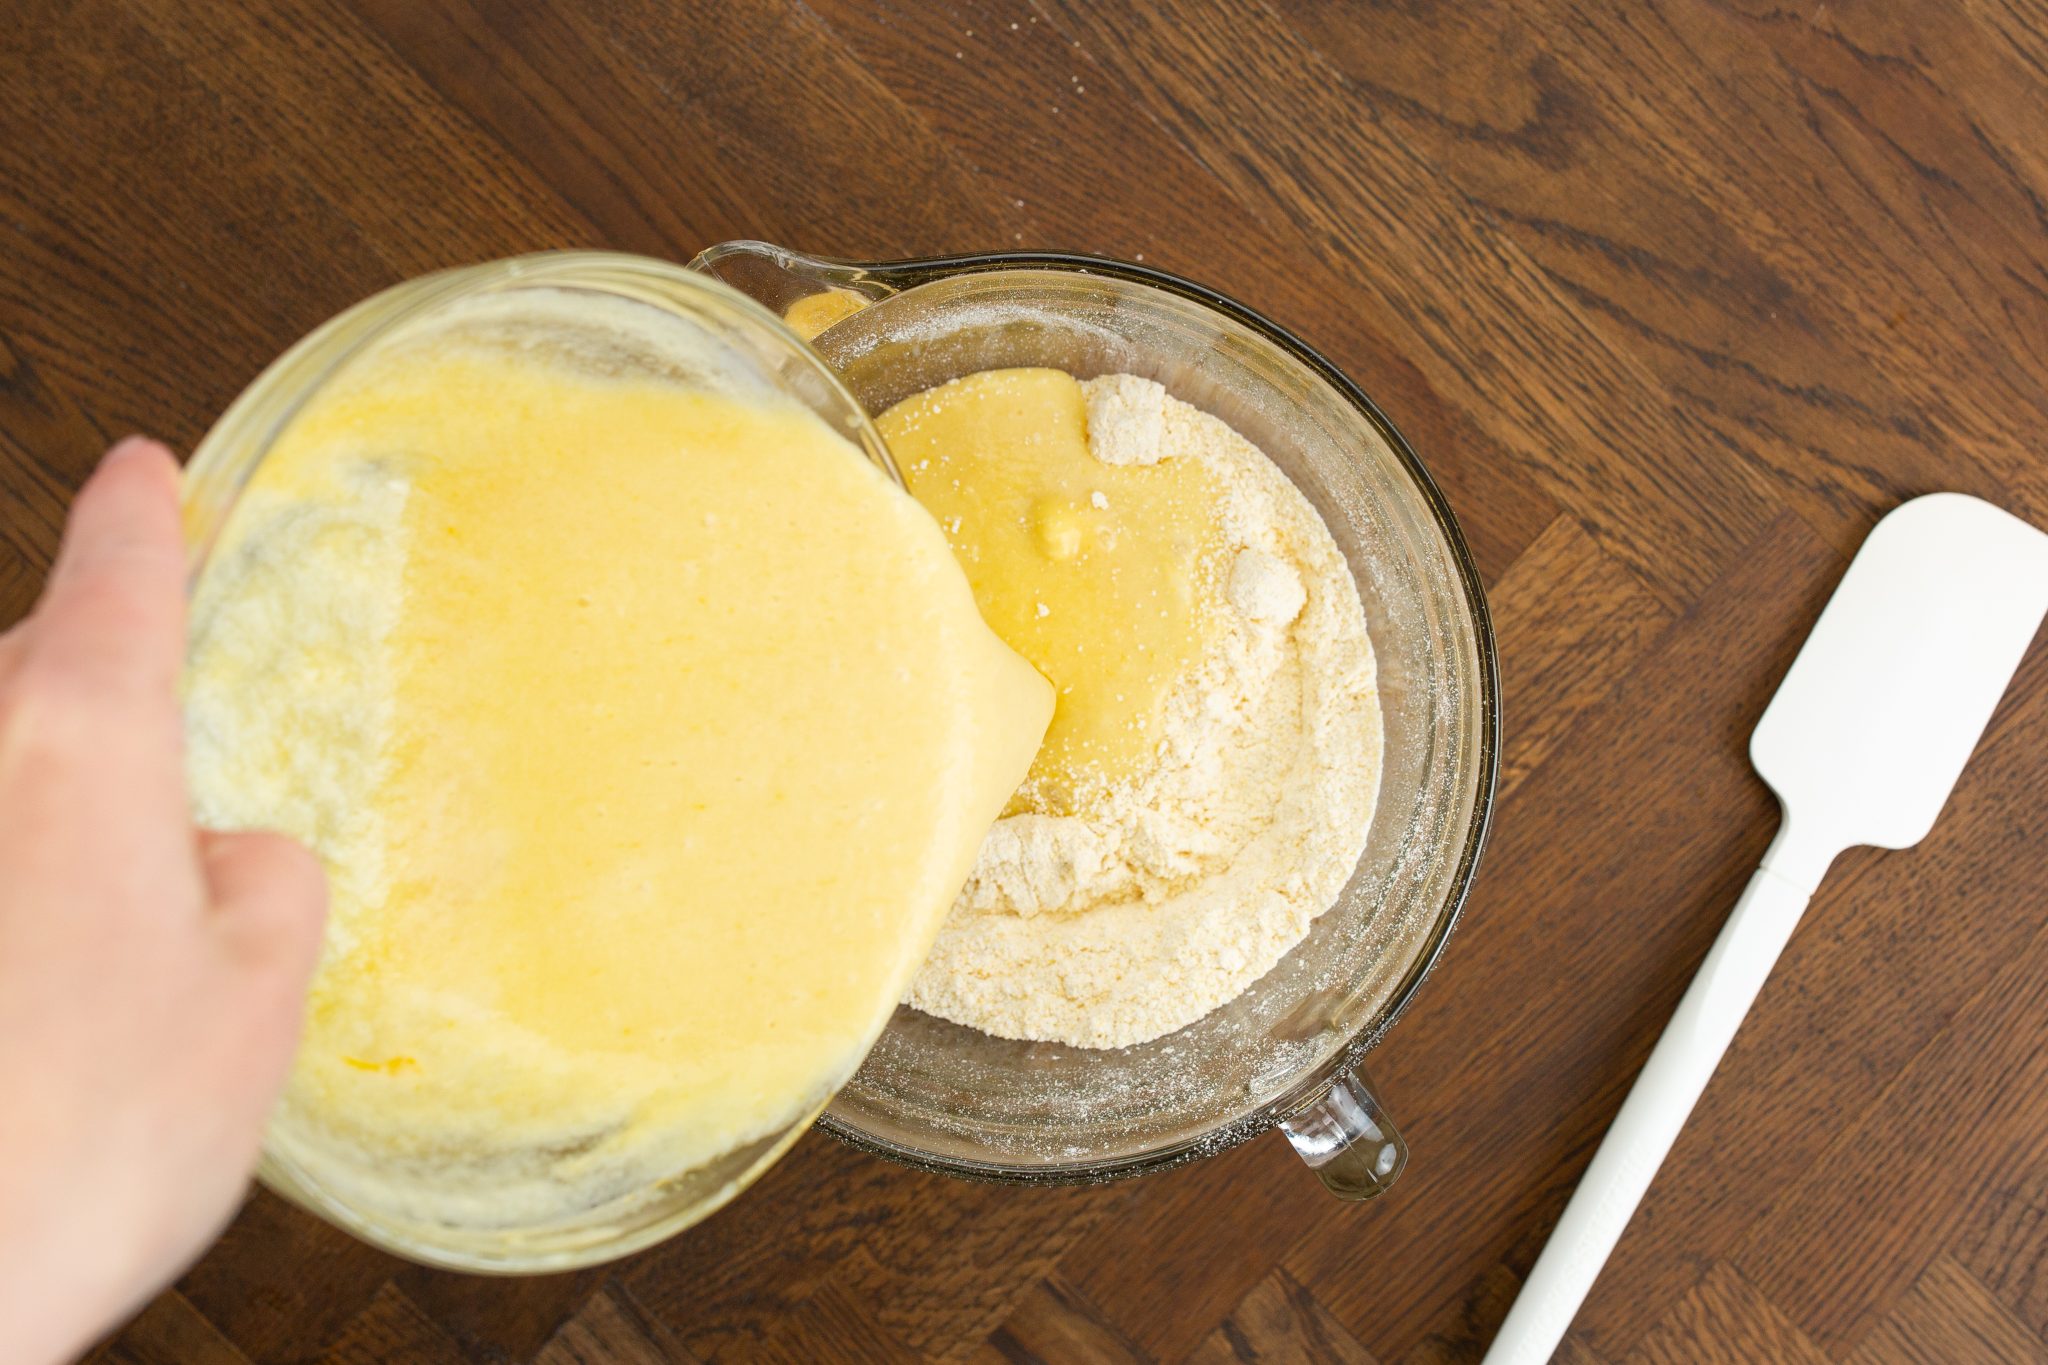
- Start by sifting the dry ingredients into a large bowl. This ensures that the batter is nice and smooth. No clumps here!
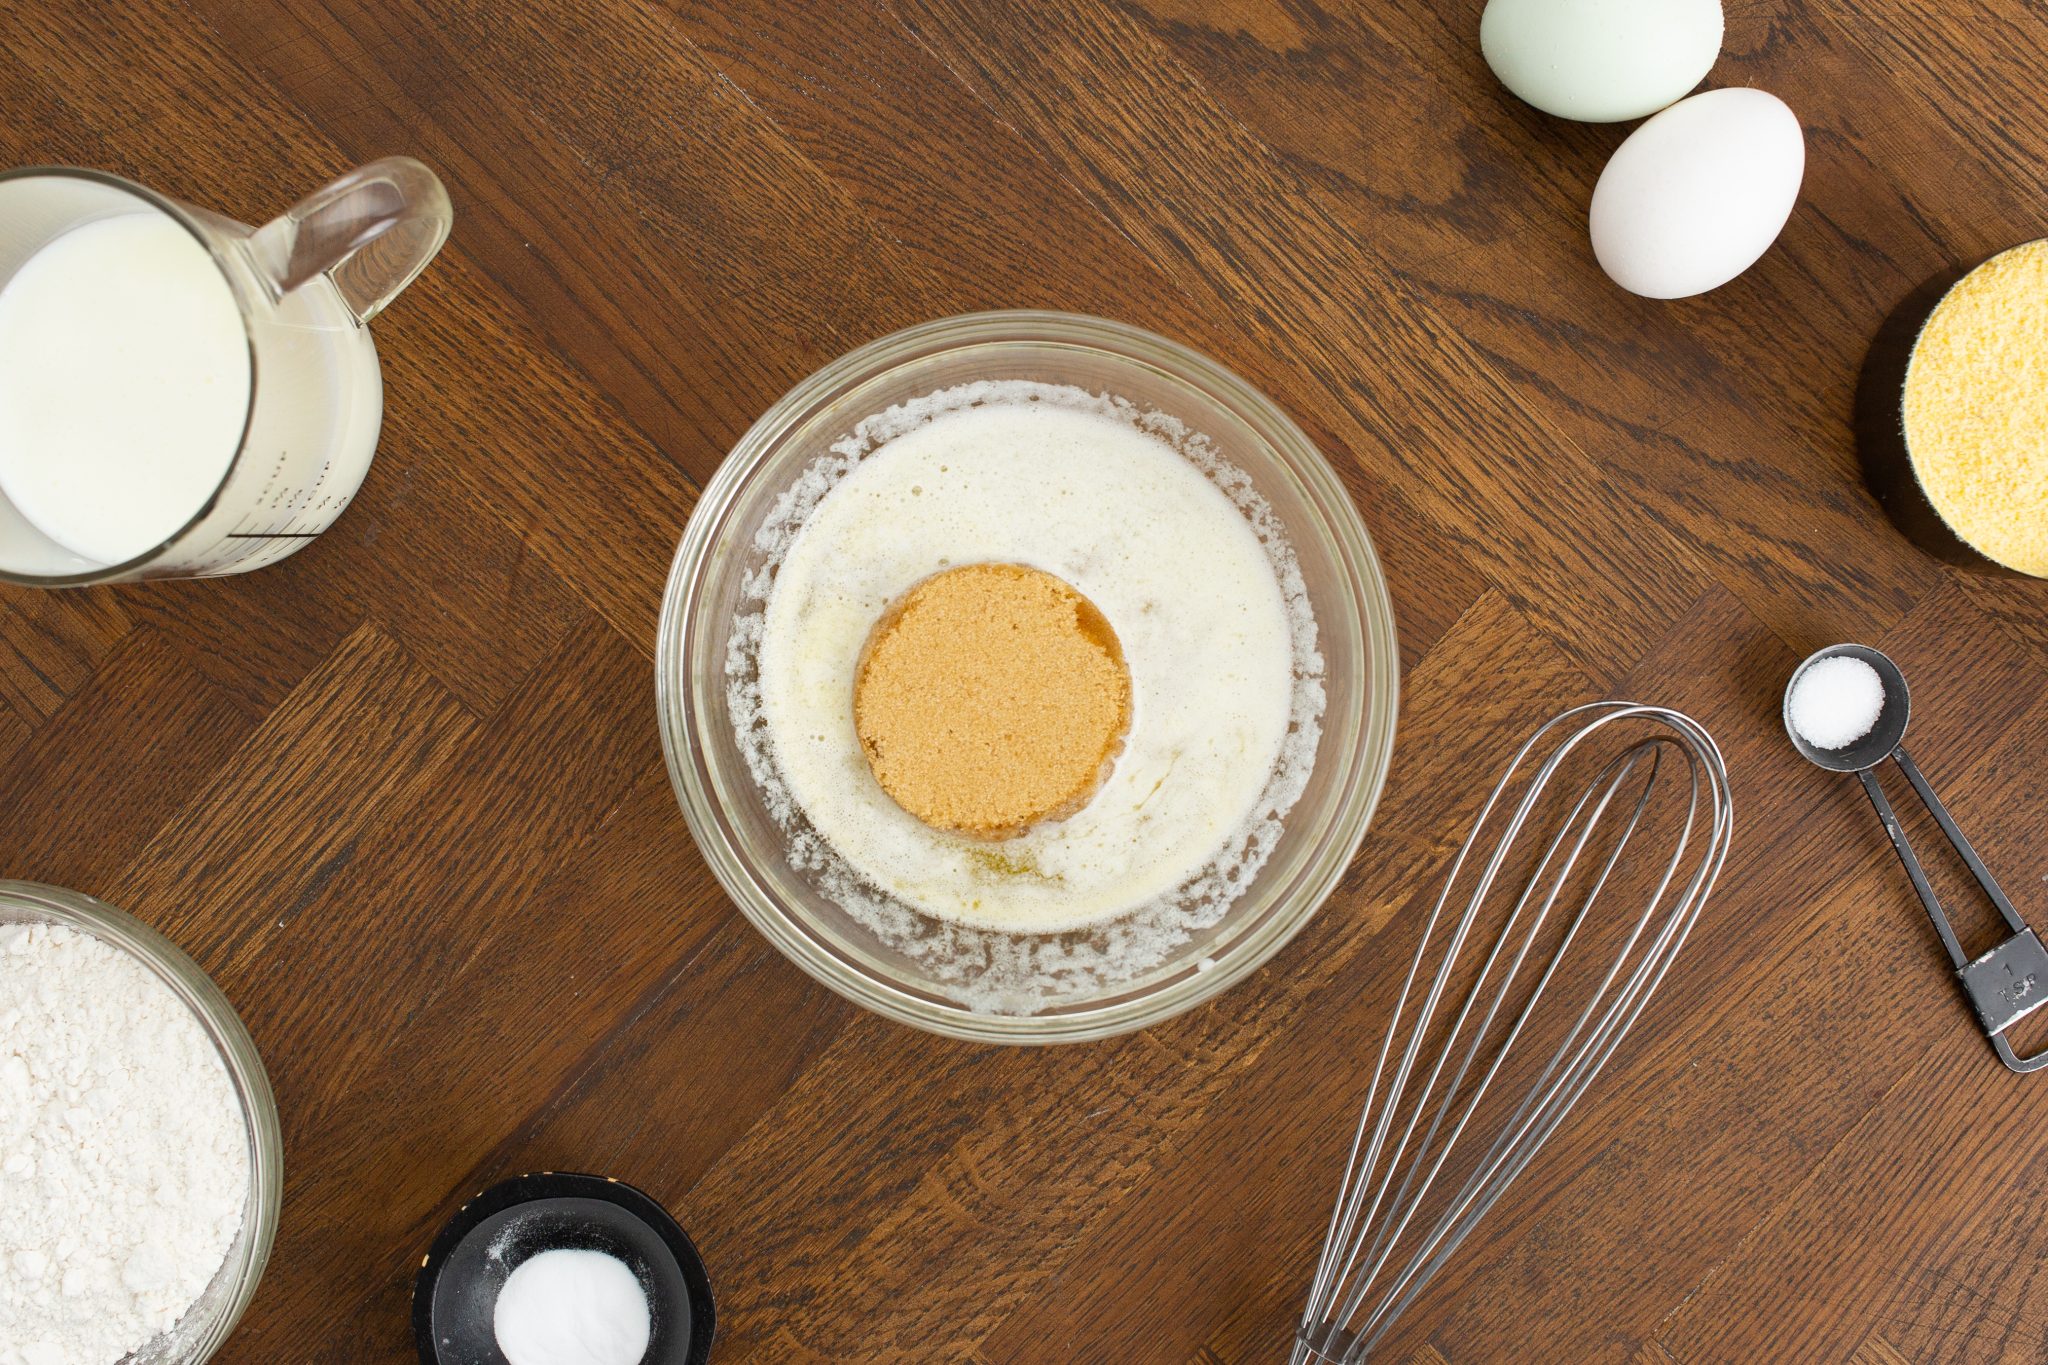
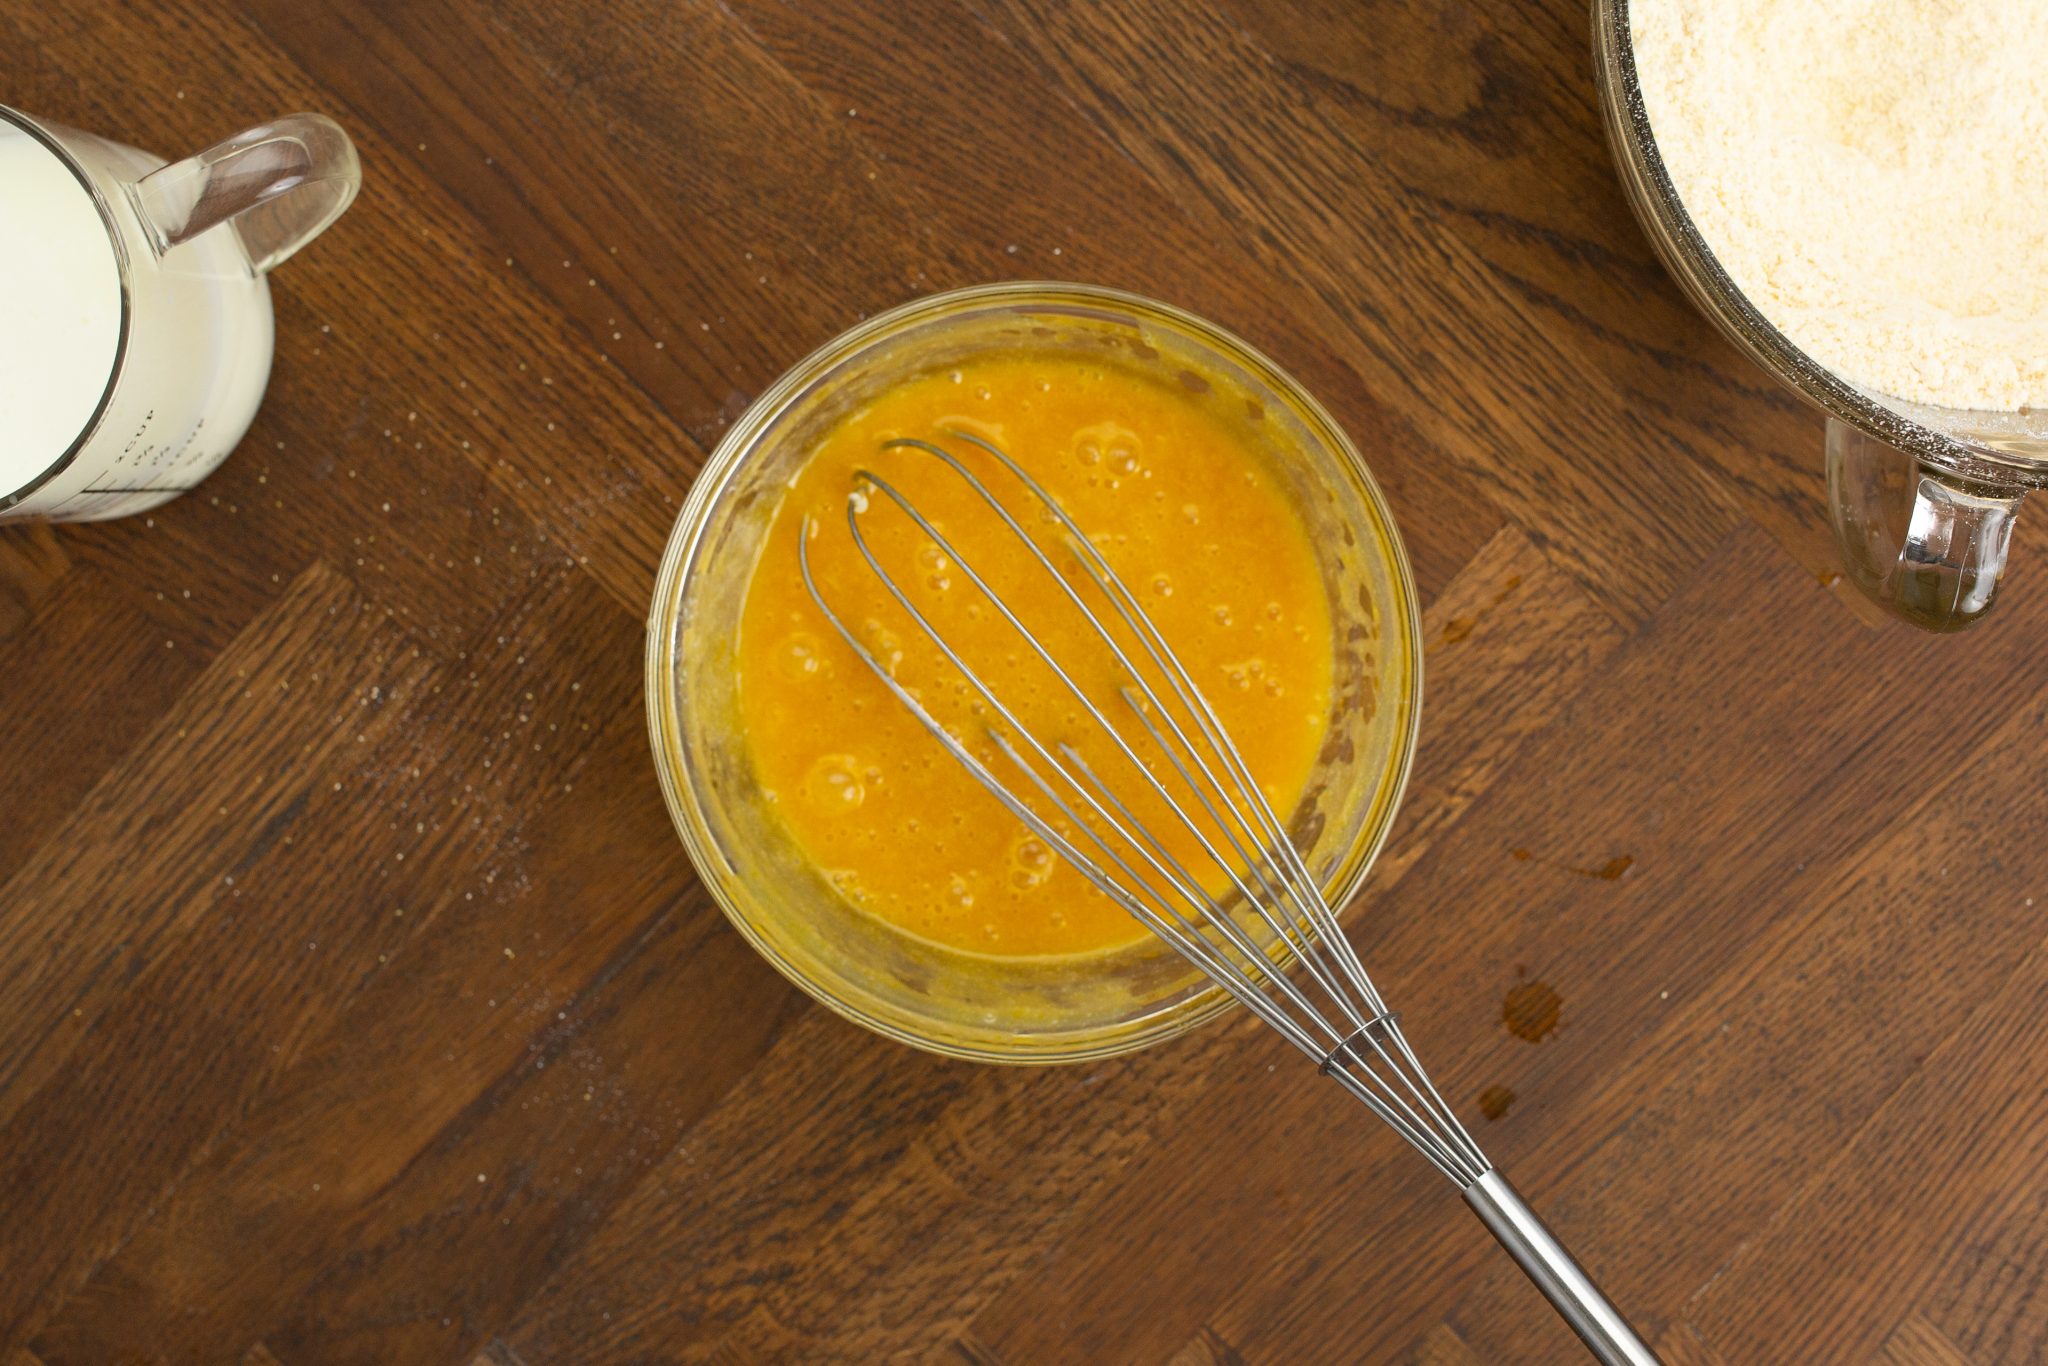
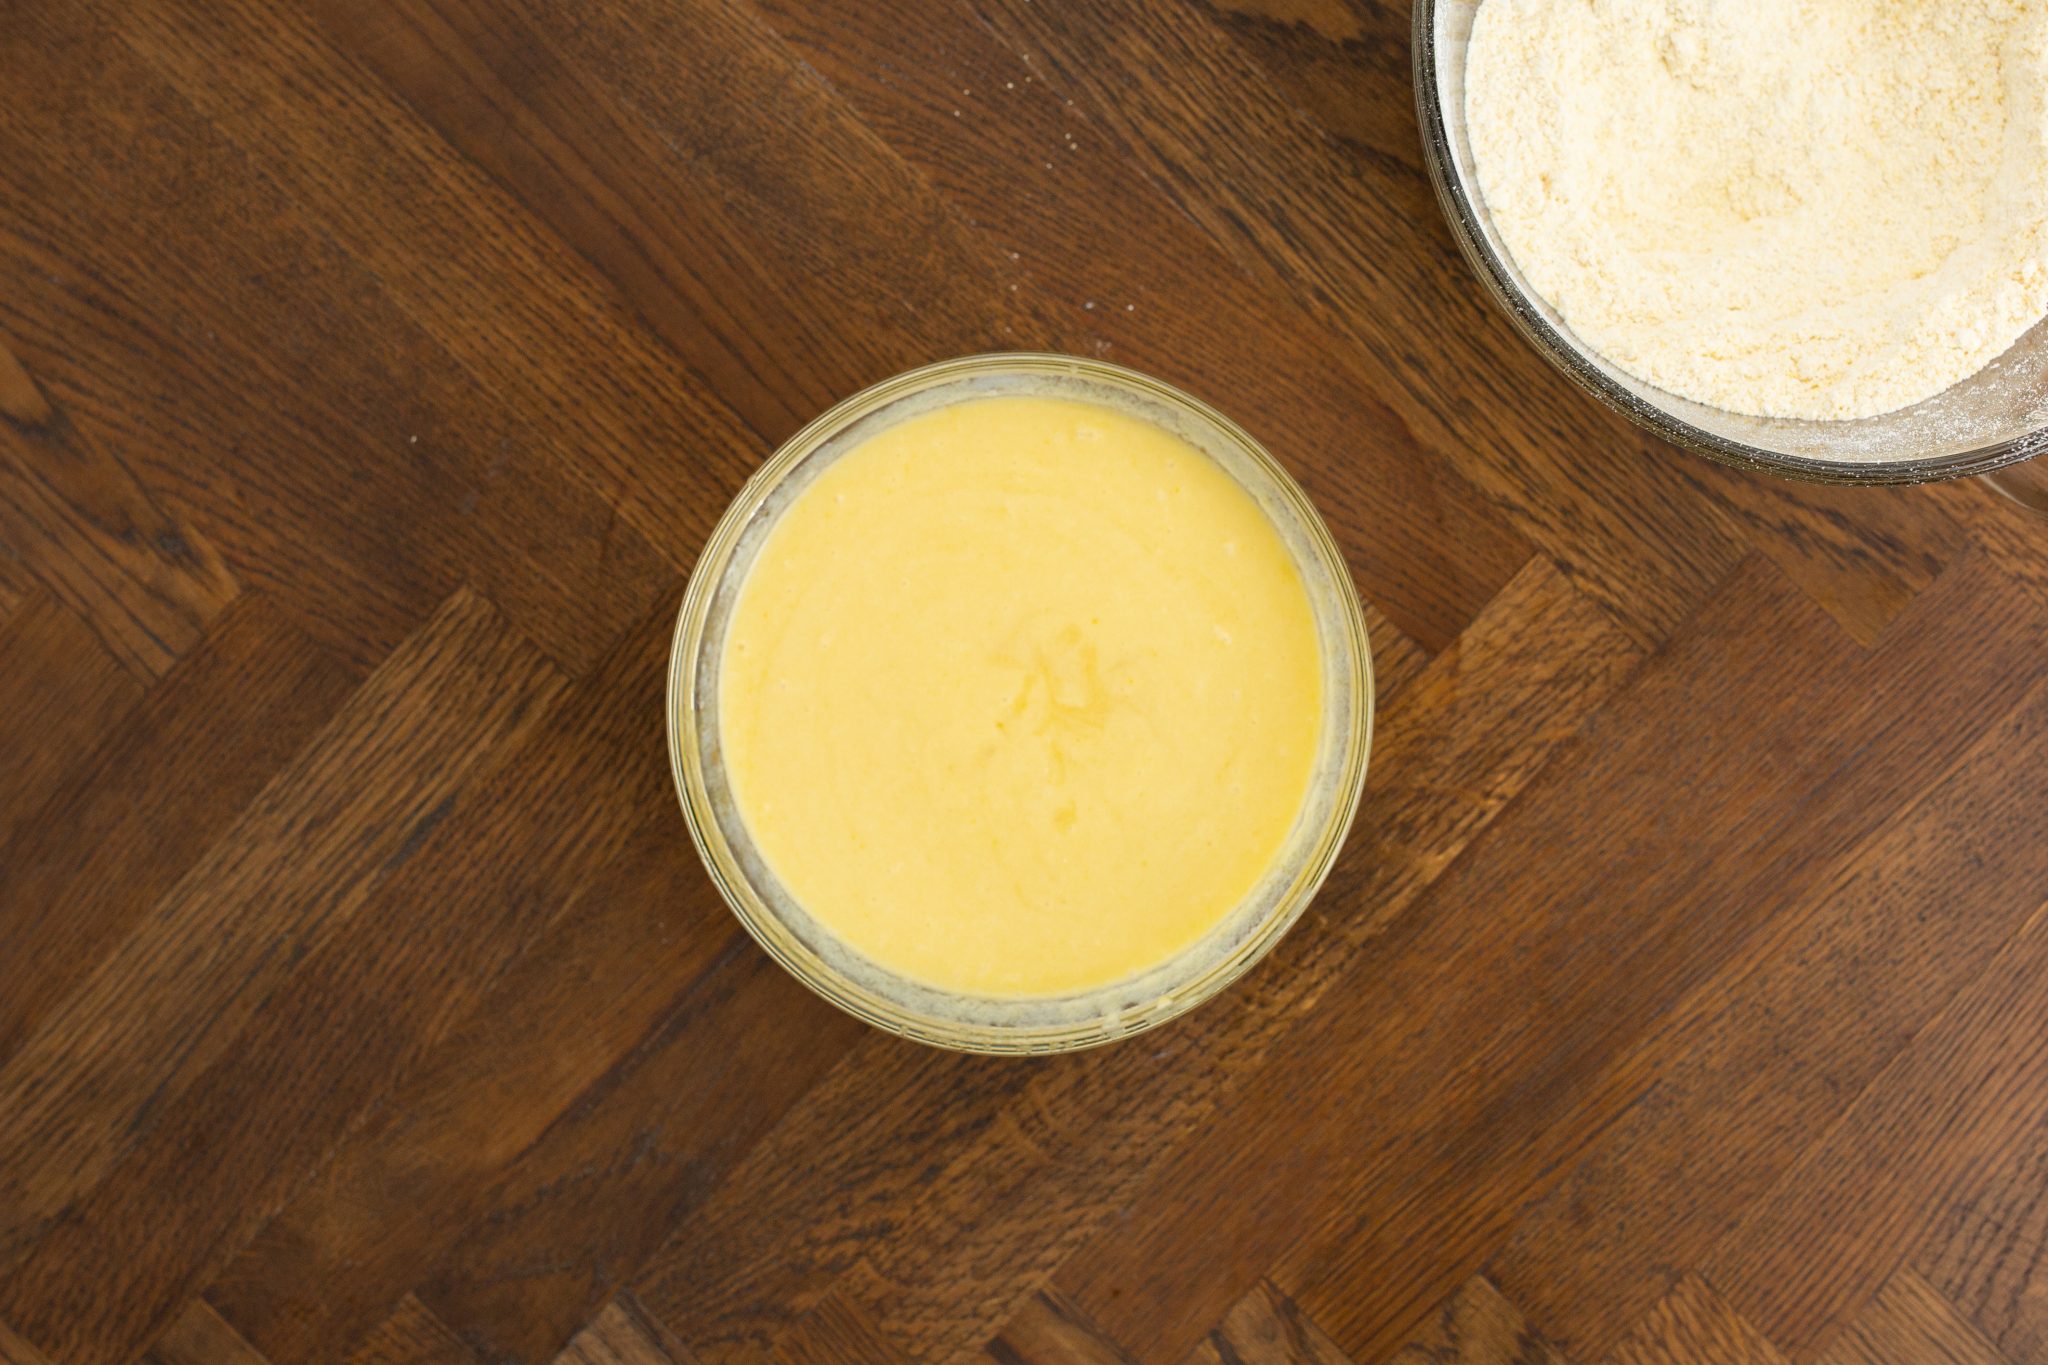
- In a separate bowl, whisk the melted but cooled butter and brown sugar. Add in the eggs and whisk to combine. Then mix in the buttermilk.
- Create a well in the dry ingredients, then pour in the wet mixture. Stir well, but don’t over-mix. Tip: I like to use a rubber spatula to easily mix/fold, so that I’m not tempted to over-mix with a whisk.
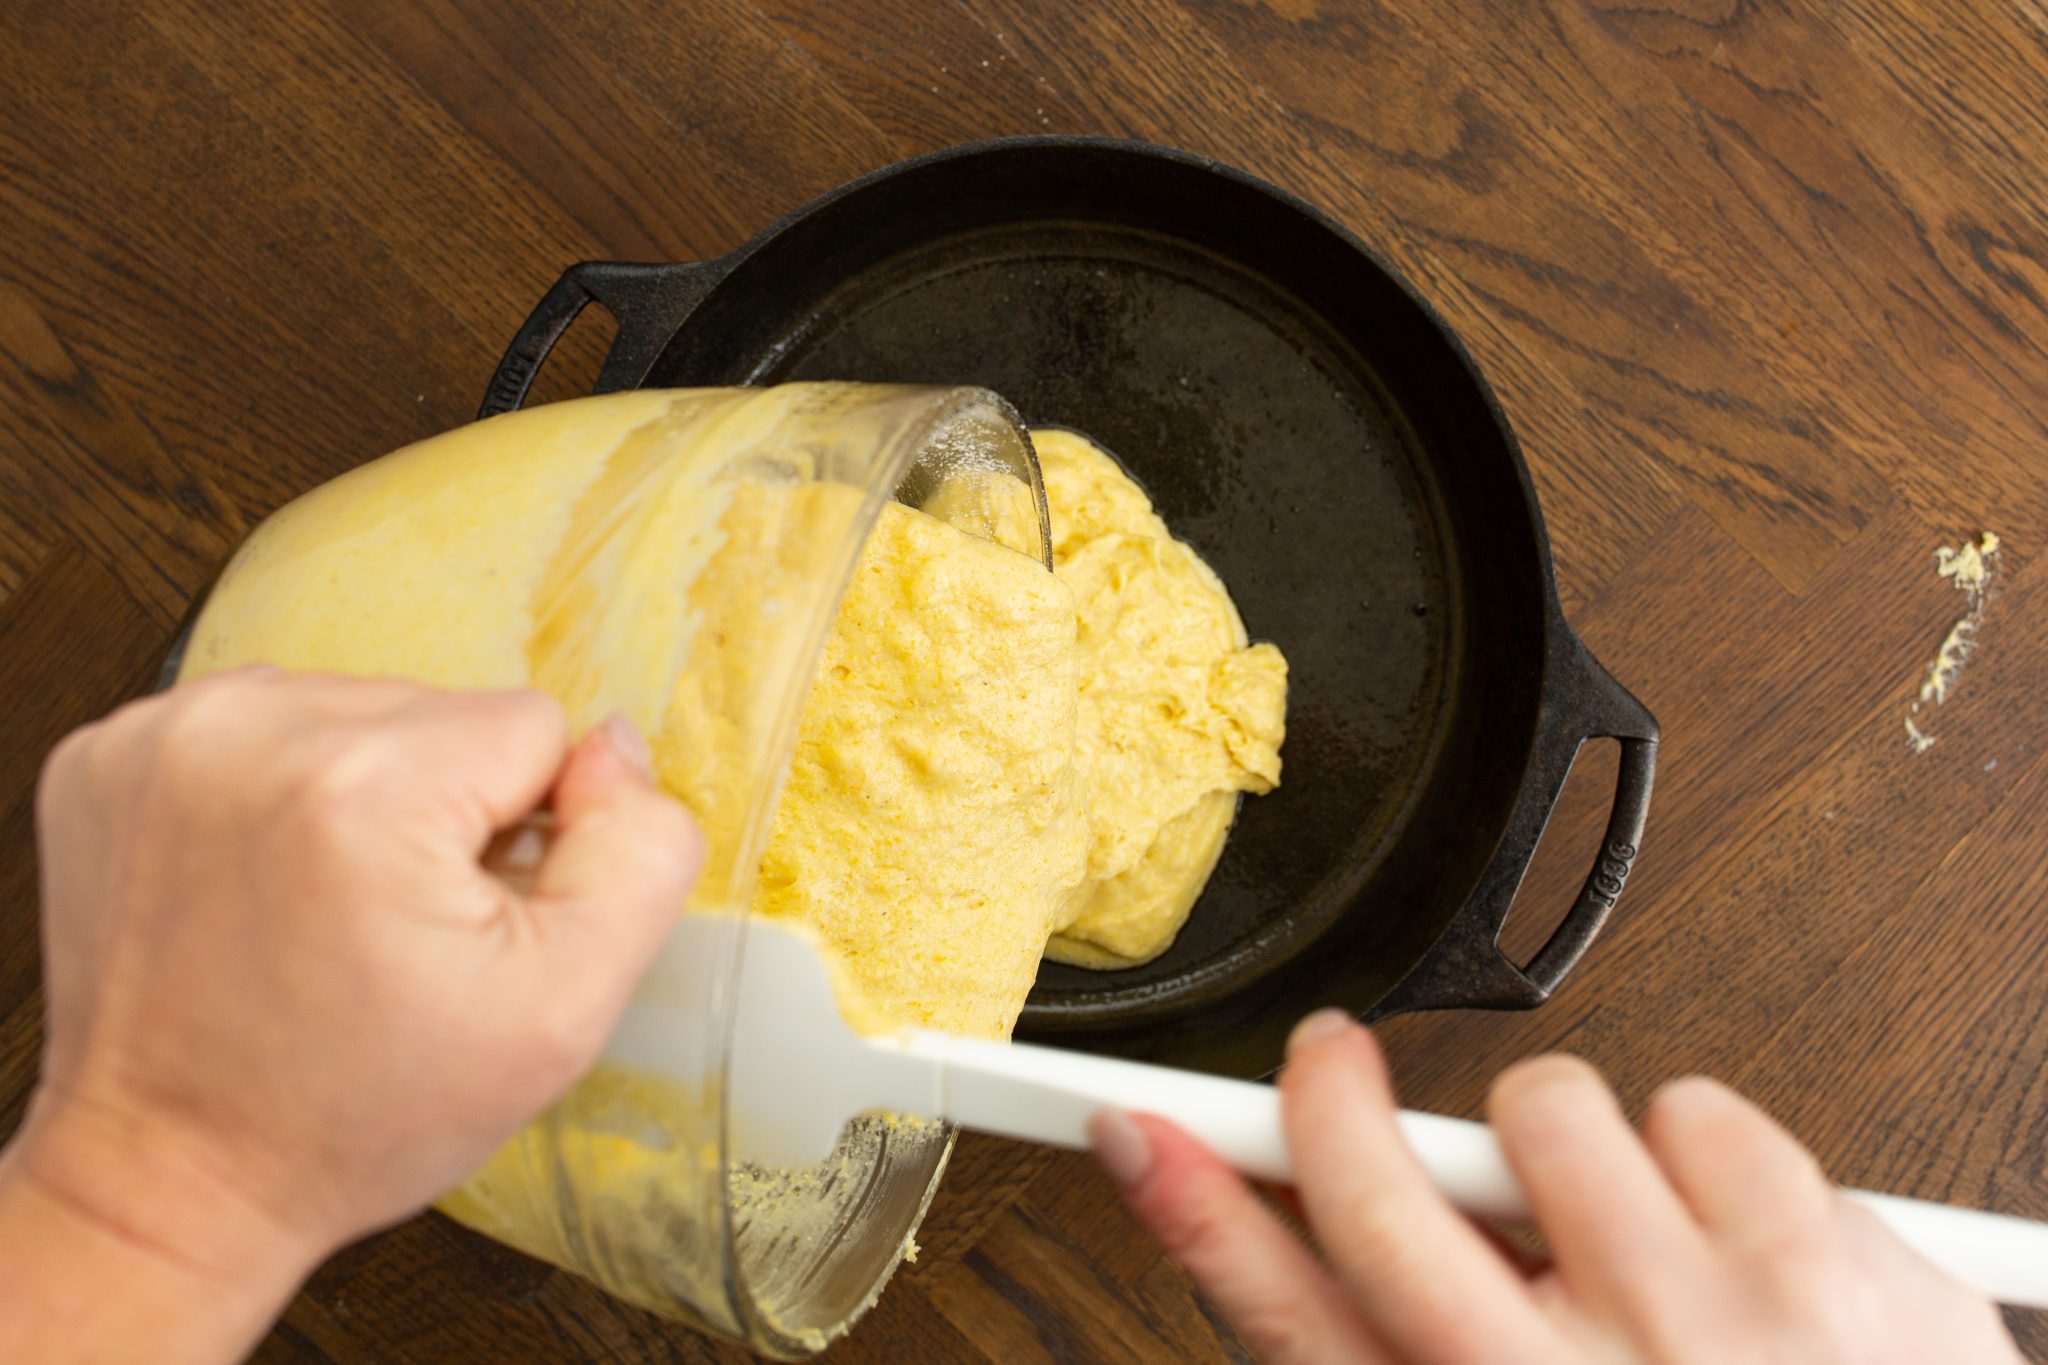
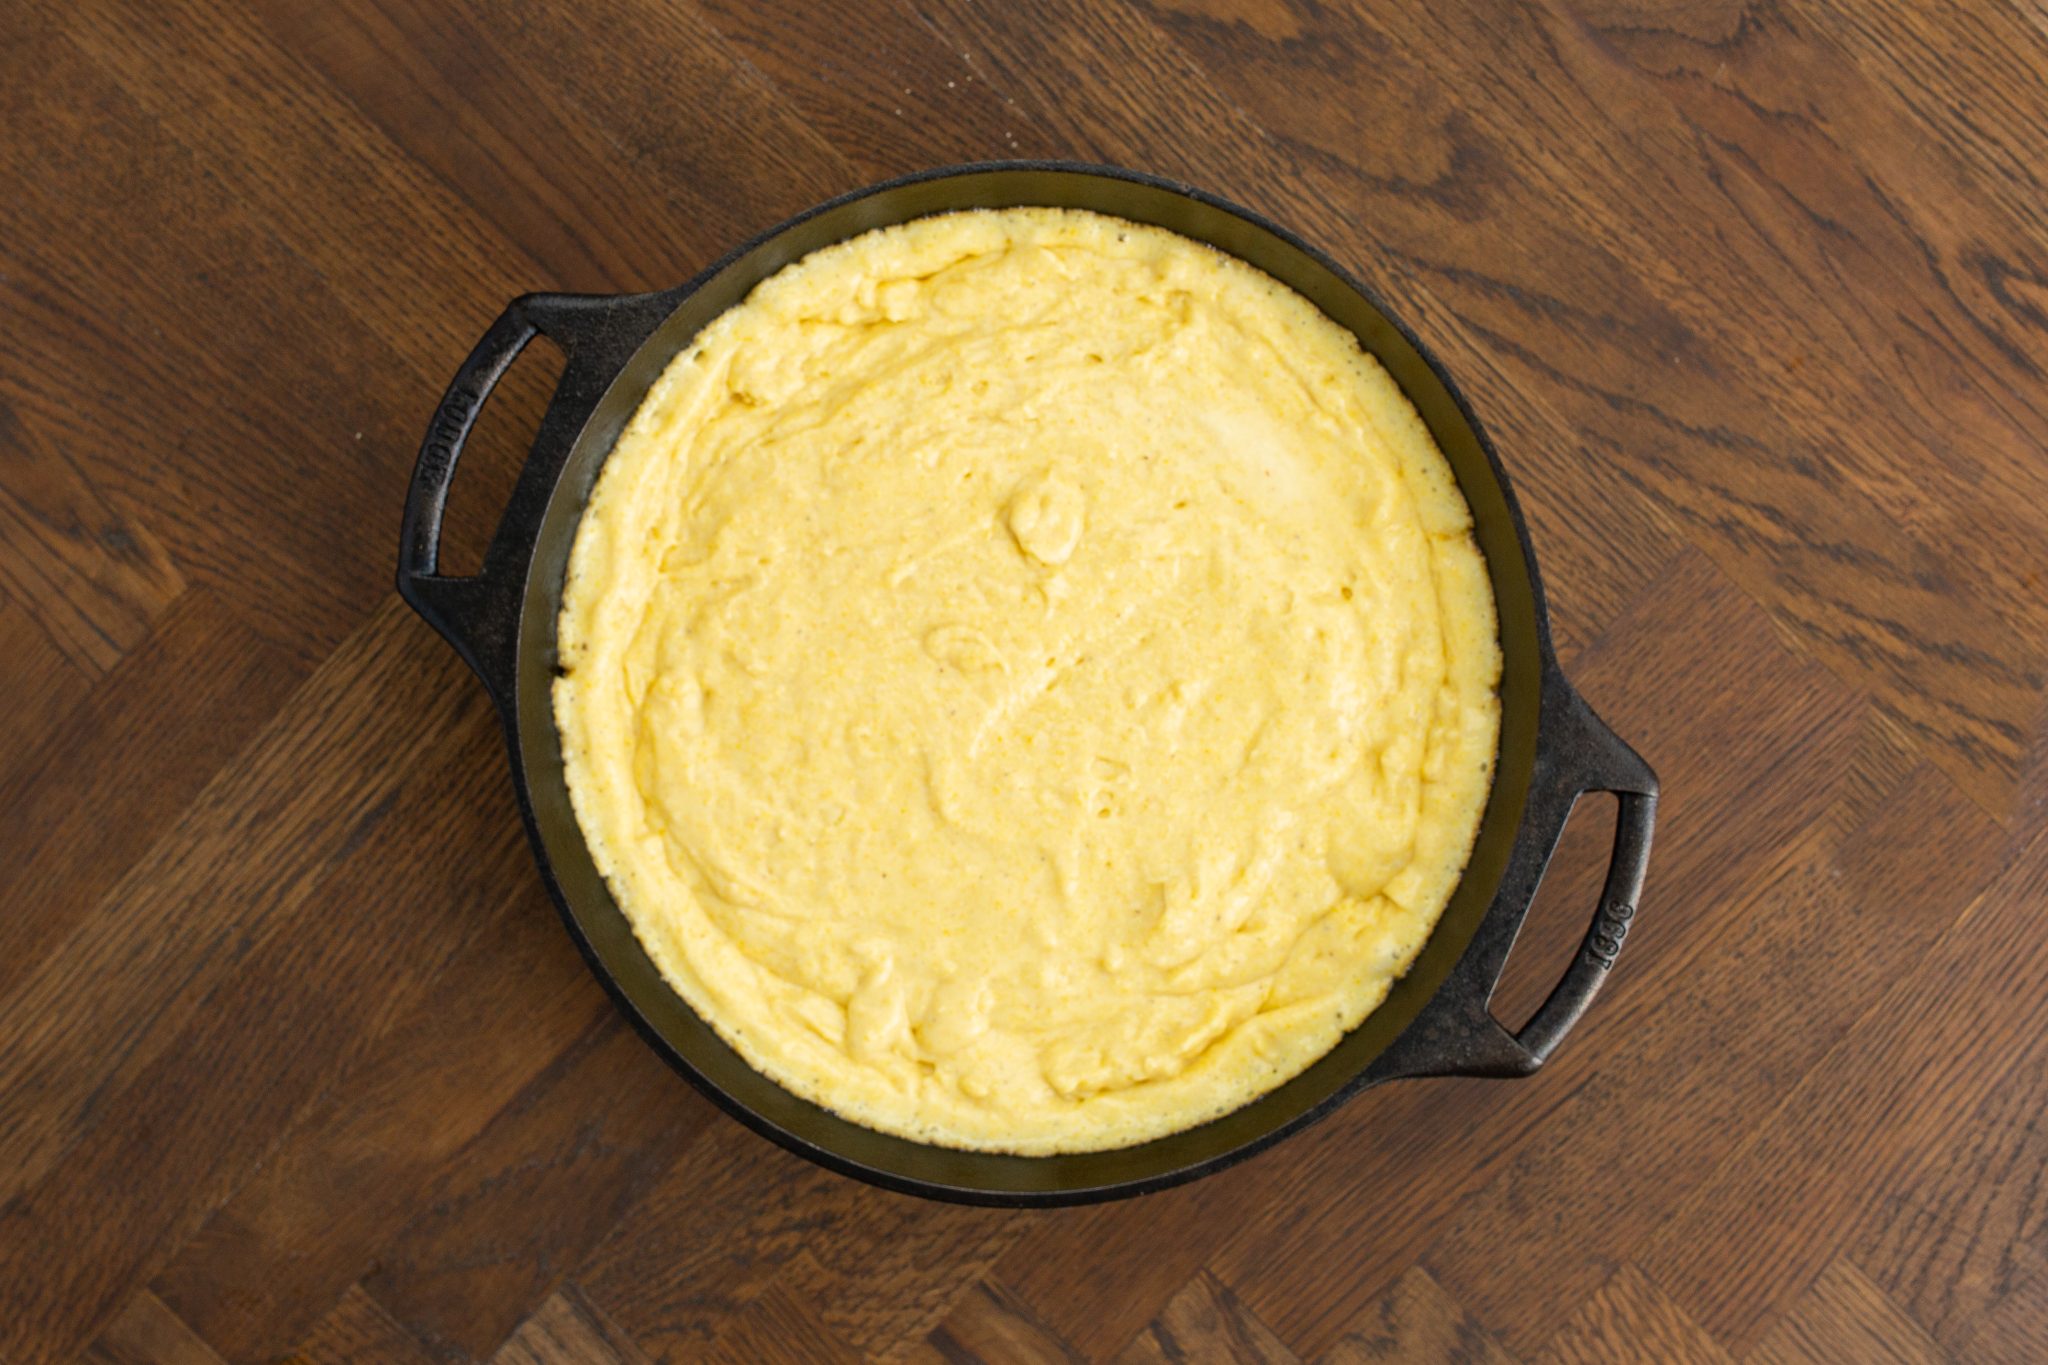
- Transfer to a greased cast-iron skillet, then bake until golden-brown.
- Cool, cut, and serve!

I told you! Simple as can be. See the recipe card below for more detailed instructions.
Tips and notes
Grease the skillet. A well-oiled skillet makes it so much easier to get the cornbread out after baking. I don’t know about you, but I don’t love scraping anything out of the bottom of a skillet. While most well loved skillets won’t need the extra fat, it also doesn’t hurt. Many will suggest Crisco, but if you look at my post on what oil is best for cast iron, I would suggest lard, butter, or even PAM with Flour over Crisco.
Heat the skillet first. Lock in an even crispier edge by sticking the skillet in the oven as it preheats. If the skillet is hot when you pour in the batter, the edges can start crisping up immediately.

Don’t over mix. Overworked gluten can become tough and dry. We want moist and soft.
Cool before cutting. A few minutes of cooling gives the gluten time to solidify so the cornbread can hold its shape better.
How to store Skillet Cornbread
You can either store your cast iron skillet cornbread on the counter or in the freezer. It will stay more moist at room temperature, but will last longer in the freezer. Contrary to popular belief (even mine before becoming a pastry chef), you never want to store baked goods in the refrigerator as it makes your baked goods go stale much faster.
To store it at room temperature, let it cool completely, then wrap it tightly in plastic wrap and store it for 2-3 days.
To store it in the freezer, wrap tightly in plastic wrap AND foil, then store it for up to 3 months.
When you’re ready to serve it again, serve as-is or warm it up in the microwave wrapped with a damp paper towel, or back in the oven. I recommend the oven topped off with a spread of butter for some extra moisture!
What to serve with Brown Sugar Cornbread
Brown sugar cornbread makes an excellent snack. Serve it plain or topped with a drizzle of honey. It’s also the perfect side dish next to a number of mouthwatering entrees. Here are a few of my favorite pairings!
- Easy Prime Rib
- Pan Fried Boneless Pork Chops
- Spicy Chipotle Chili
- Dutch Oven Dr. Pepper Pulled Pork
- Guinness Beef Stew

Brown Sugar Cornbread
Equipment
- Whisk
- rubber spatula
- Kitchen Scale for best results
Ingredients
- 125 grams flour, all-purpose or gluten-free 1:1 flour (about 1 cup)
- 120 grams cornmeal yellow (just shy of 1 cup)
- 2 grams salt (1/2 teaspoon)
- 5 grams baking powder (just shy of 2 teaspoons)
- 2 grams baking soda (3/4 teaspoon)
- 115 grams unsalted butter melted and cooled (1/2 cup)
- 85 grams brown sugar (1/2 cup packed)
- 2 eggs
- 240 grams buttermilk (1 cup)
Instructions
- Preheat the oven to 400F. Grease a cast iron skillet for ease of lift.
- Sift the cornmeal, flour, baking soda, baking powder, and salt through a fine mesh strainer into a large bowl.
- In a smaller bowl, whisk together the cooled melted butter and brown sugar until well combined. Add the eggs and whisk until barely combined so as not to burn the eggs.* Add the buttermilk and while until fully combined.
- Create a well in the dry ingredients. Pour the wet ingredients into the well and stir with a wooden spoon or rubber spatula. Try not to overmix. A few small dry pockets is okay.
- Pour the batter into the prepared skillet and bake for 20 minutes. The edges should be a darker brown in color and start to pull away from the skillet. The center will be golden brown, firm, and spring back when touched.
- Allow to cool before cutting and serving as this gives the gluten time to solidify and the cornbread to hold its shape.
Notes
Nutrition
Did You Make This Recipe?
Share it with me on Instagram @castironrecipesofficial and follow on Youtube @Cast Iron Recipes and Pinterest @castironrecipes for more!
Become A Recipe Insider!
Subscribe to the newsletter for all the latest scratch-made and family-friendly recipes
Leave A Review!
Love this recipe? Make sure to comment below and let me know your thoughts!