Dutch Oven Venison Chili with video
This post may contain affiliate links. We participate in the Amazon Services LLC Associates Program, an affiliate advertising program designed to provide a means for us to earn fees by linking to Amazon.com and affiliated sites at no extra cost to you.
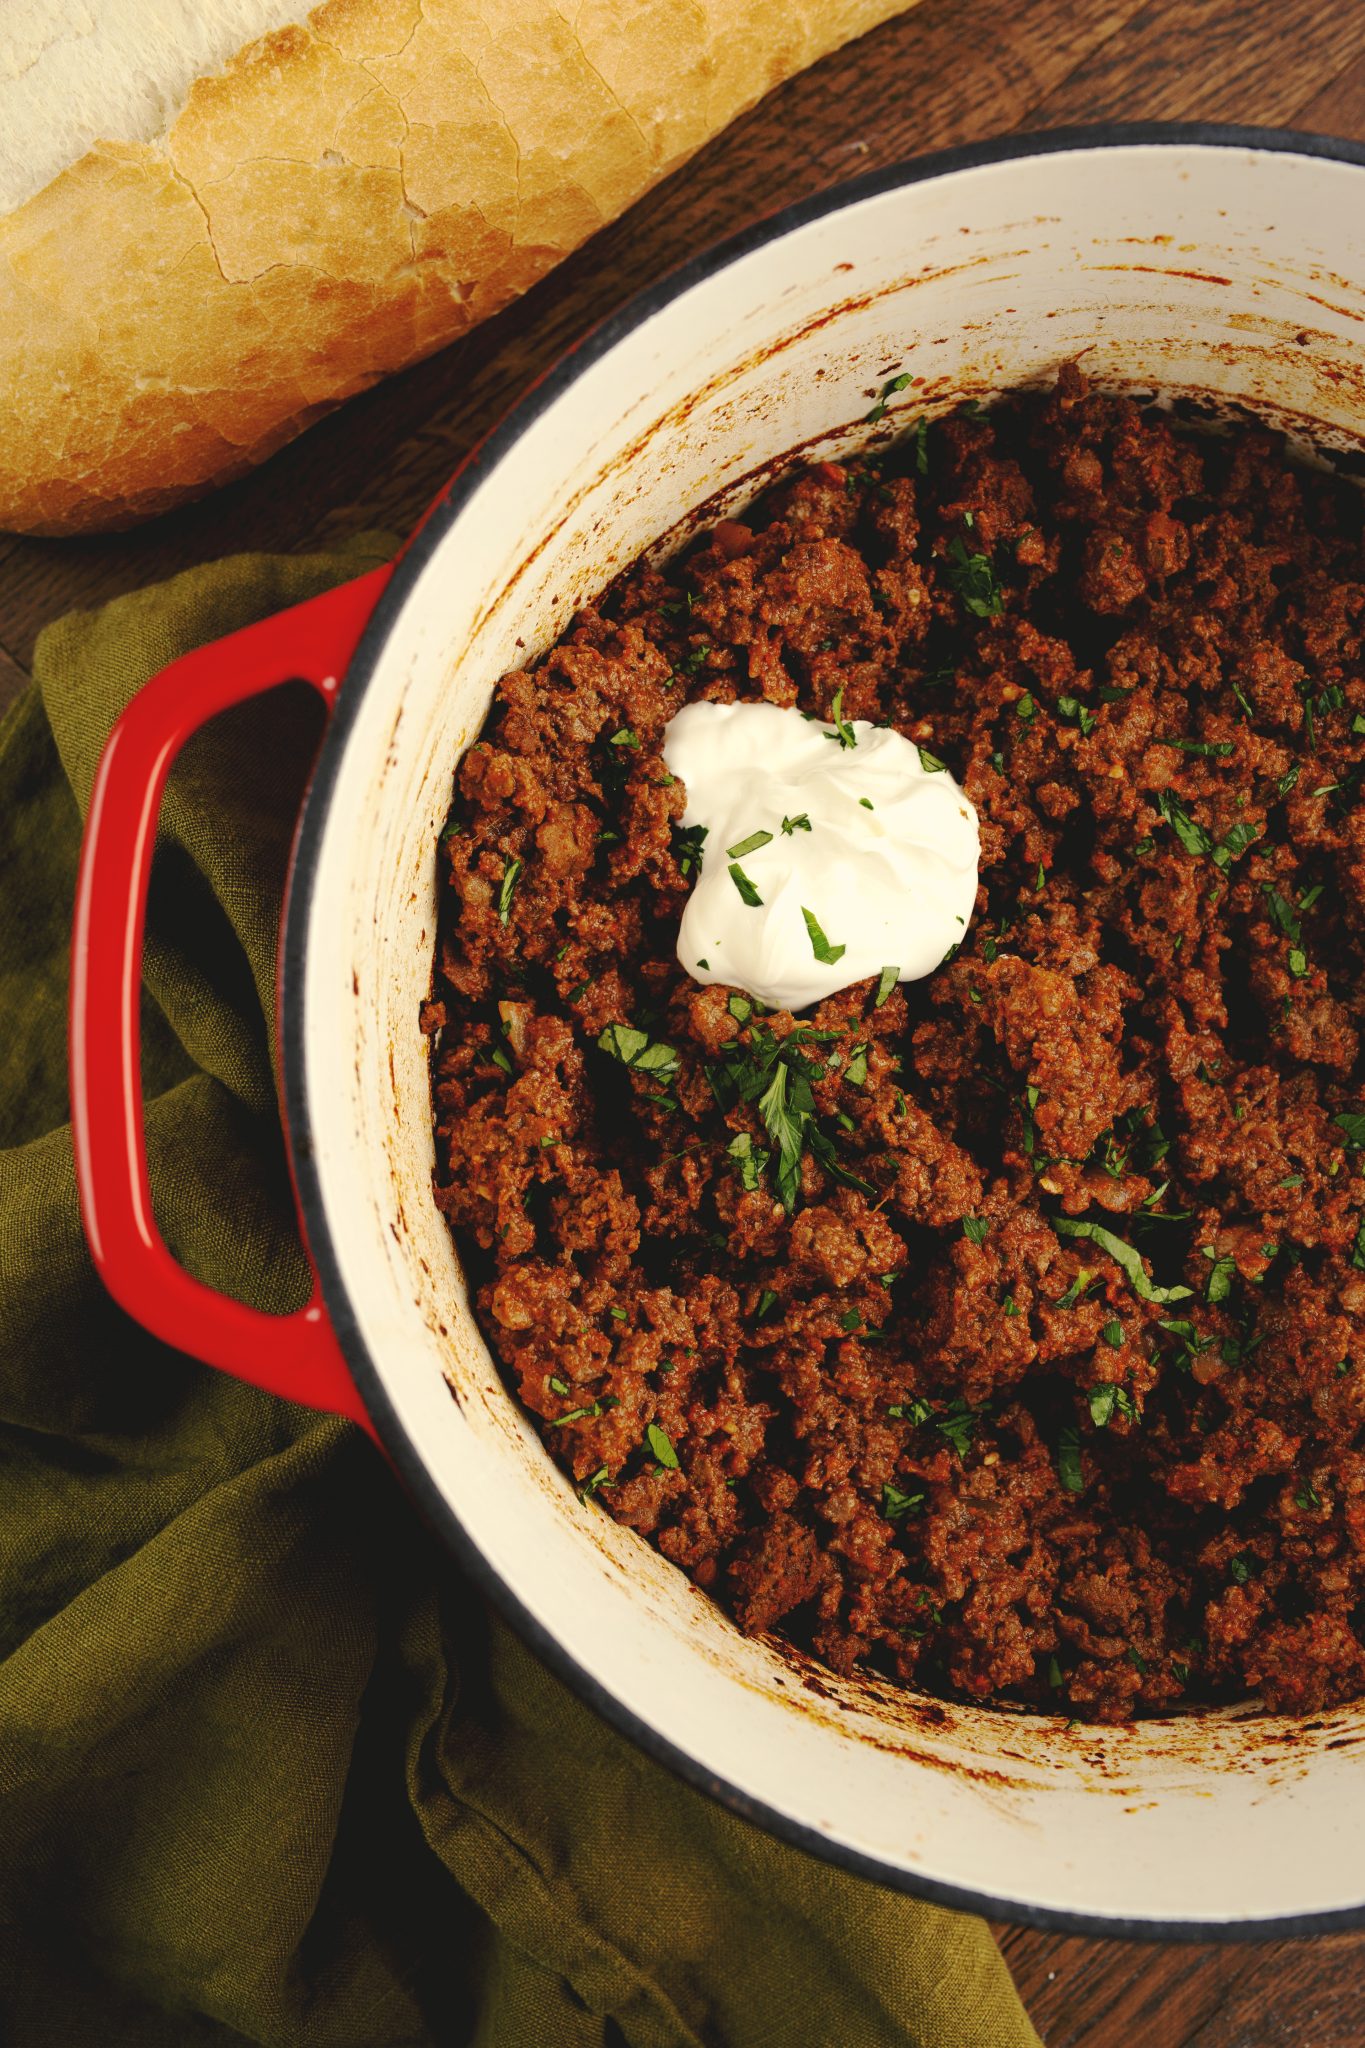
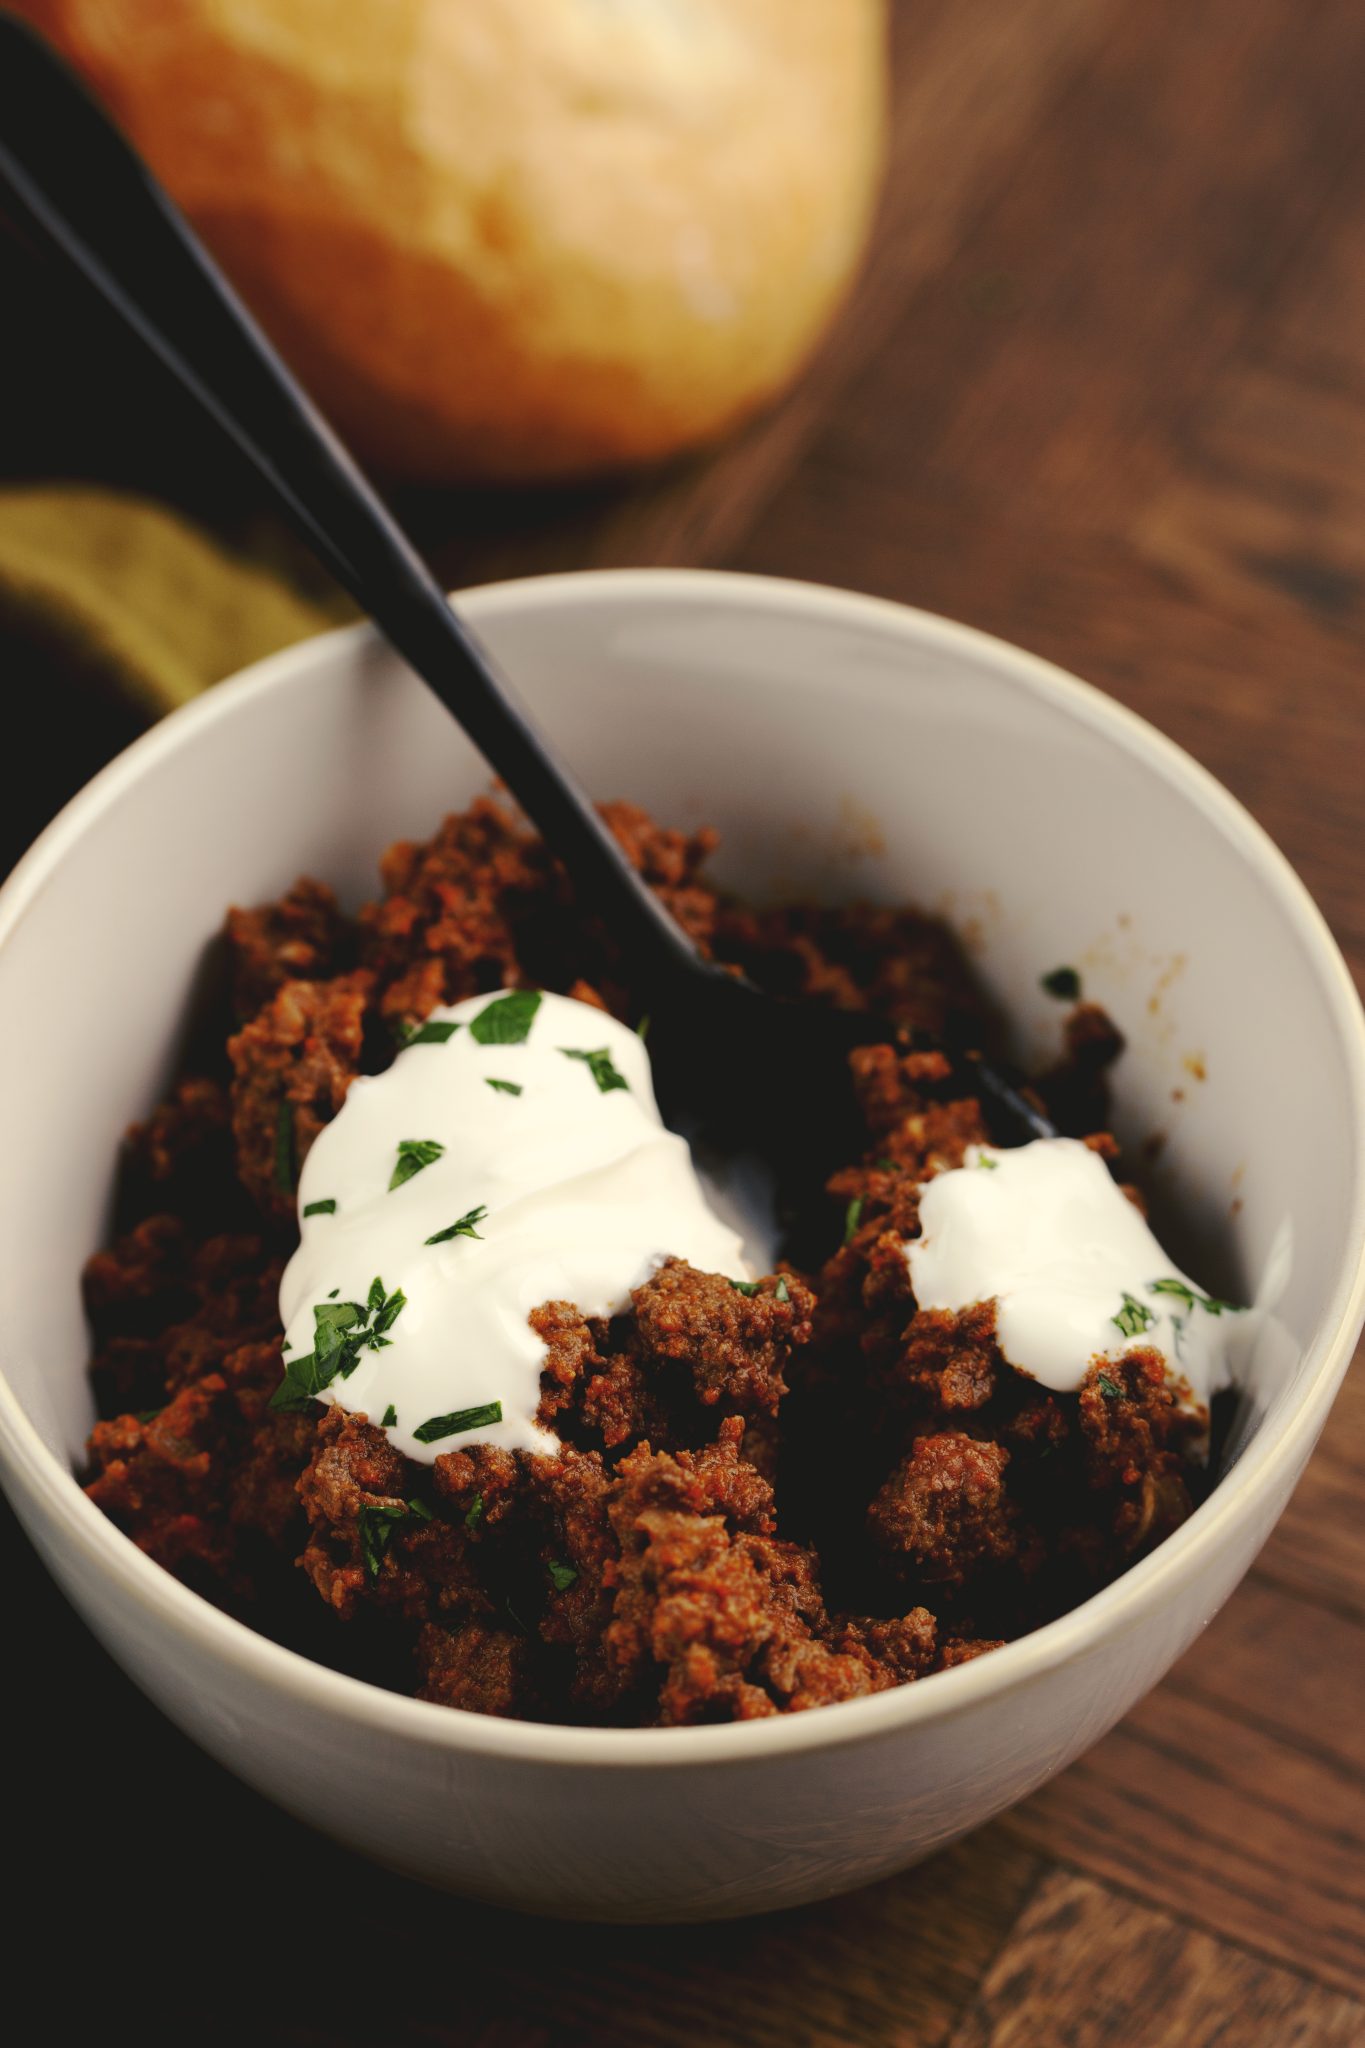
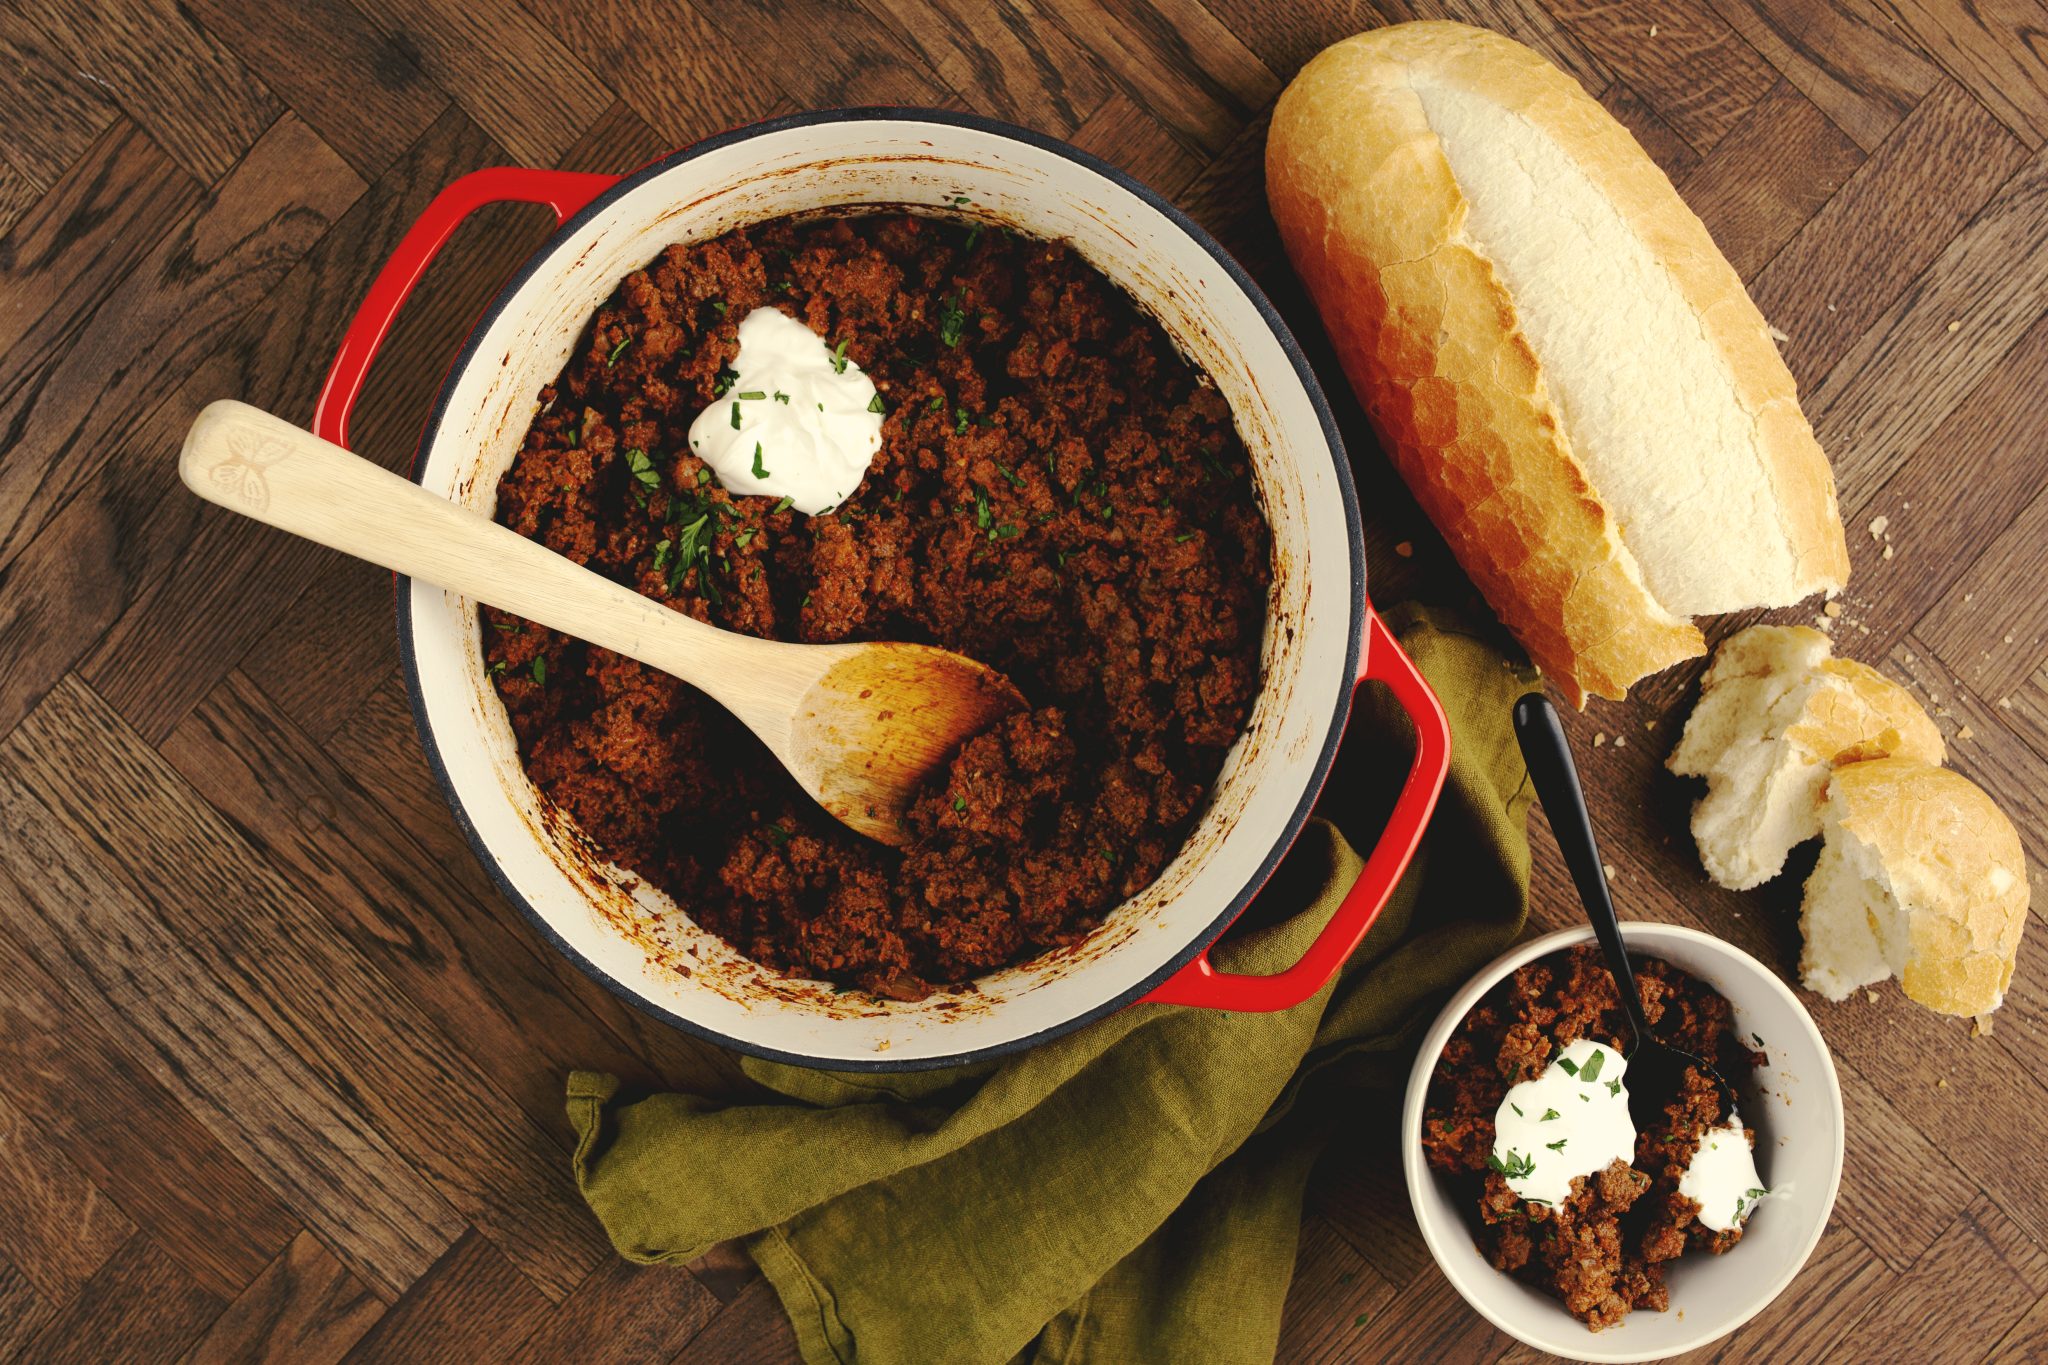
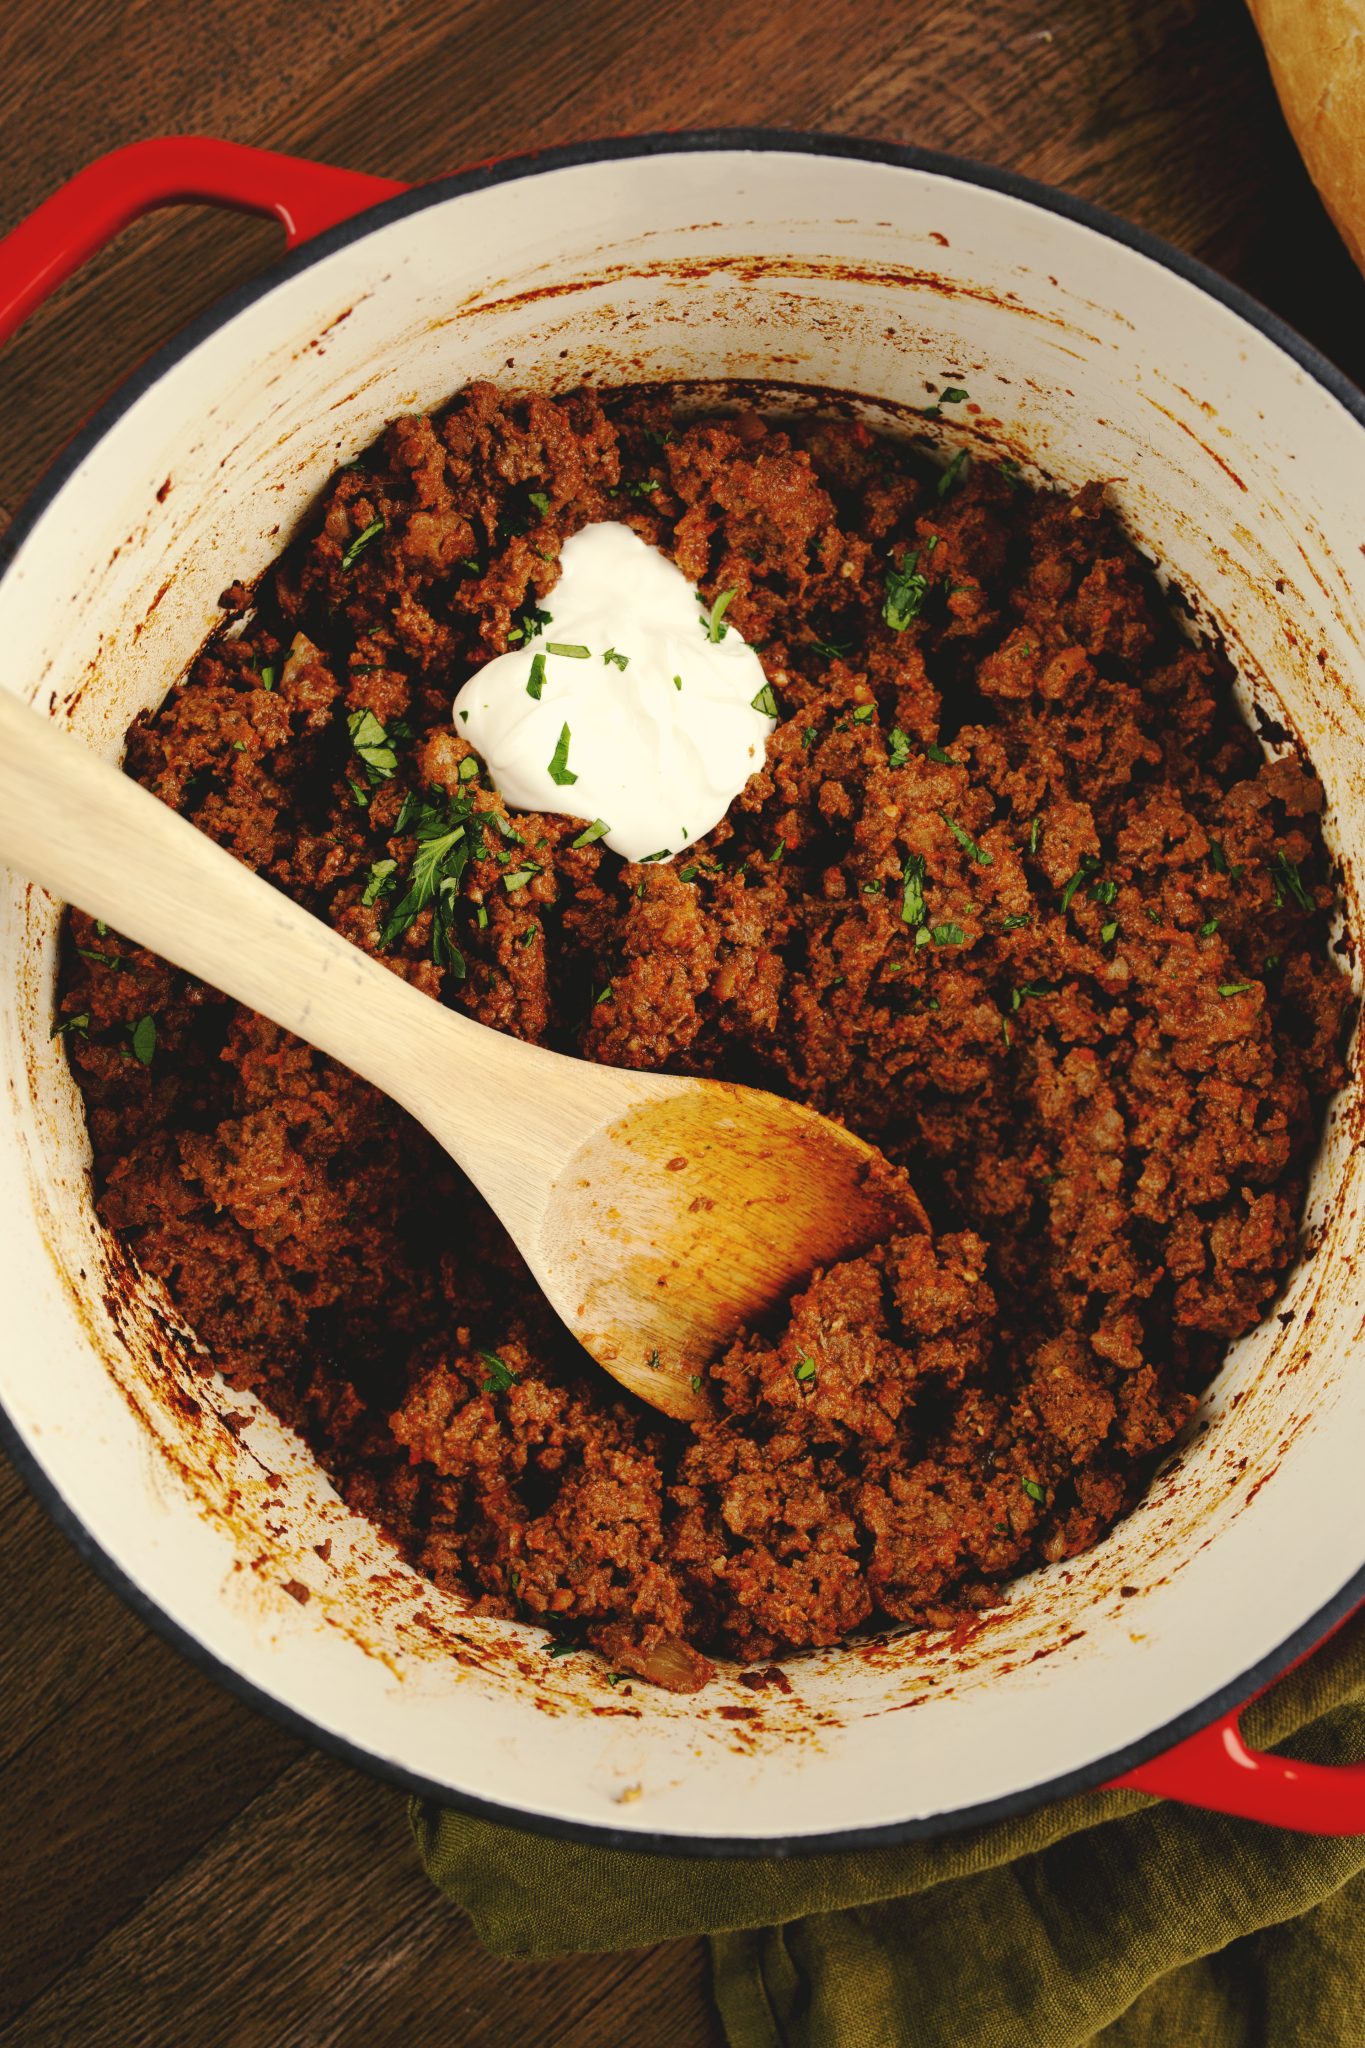
Dutch Oven Venison Chili is the perfect way to use some of your ground venison and feed a crowd. With deep flavors, no gamey taste, and no beans to speak of, this chili is sure to satisfy all chili lovers. Serve it up with some cornbread for the ultimate hearty winter meal.
We are a participant in the Amazon Services LLC Associates Program, an affiliate advertising program designed to provide a means for us to earn fees by linking to Amazon.com and affiliated sites at no extra cost to you. We also participate in similar programs with RStyle and other companies.
Enameled Dutch Ovens
EASE: Cook anything and clean-up is a breeze!
PROS: Perfect for beginners to cast iron!
CONS: Glass coating prohibits extra iron from being cooked into the food.
WHERE TO BUY? Click Here!
WHERE CAN I LEARN MORE? Watch this video!
What Meat to use with Venison Chili
Like with any chili you can use chunks or you can use ground meat. I would say in general, it’s more common to use a lean ground meat even if we’re talking beef. You don’t want the chili swimming in excess grease and oil. With venison chili however, you will need the extra fat (see below) and I would suggest using a fatty oil such as avocado oil or bacon grease to do the sautéing of the vegetables. Because this is such a lean meat, you likely will not have to strain off any excess grease or fat at all with this recipe.
Grinding Your Own Venison
Which brings us to the next point of grinding your own venison. Most butchers will do this for you but if you are grinding your own venison during hunting season, here are a few tips.
- Grind into a large tub or bucket while the meat is frozen. This will make the pieces much more uniform in size and easier to grind.
- Add a cut of pork to the venison, like pork shoulder or Boston butt, to the grinding process as well. Being such a lean cut of meat, the added pork will give it the balance it needs.
- For every 100 pounds of venison (hanging weight), use 5 pounds of pork.
- Grind it all at once and then mix well before vacuum sealing it and refreezing.
Venison Chili Spices
Venison really does not have a gamey flavor like many assume. There are some spices that are known for bringing out the gamey flavor in deer meat, but most of those you would not find in chili. (See tips below for spices to leave out). Some spices to consider including when making your own chili spice recipe are:
- chili powder
- paprika (sweet or smoky)
- salt
- pepper
- cumin
- cayenne
- red pepper flakes
- turmeric
- sumac
- Mexican oregano
How to Make Venison Chili with video
Start by sautéing the onions and other raw vegetables you choose to use, in a Dutch oven with fat. Give these vegetables about a 5 to 10 minute head start to really develop in flavor. Next, add the ground venison. If your venison isn’t fully thawed like mine wasn’t, cover with the lid to trap in the steam and moisture. This will help to cook the venison without drying it out.
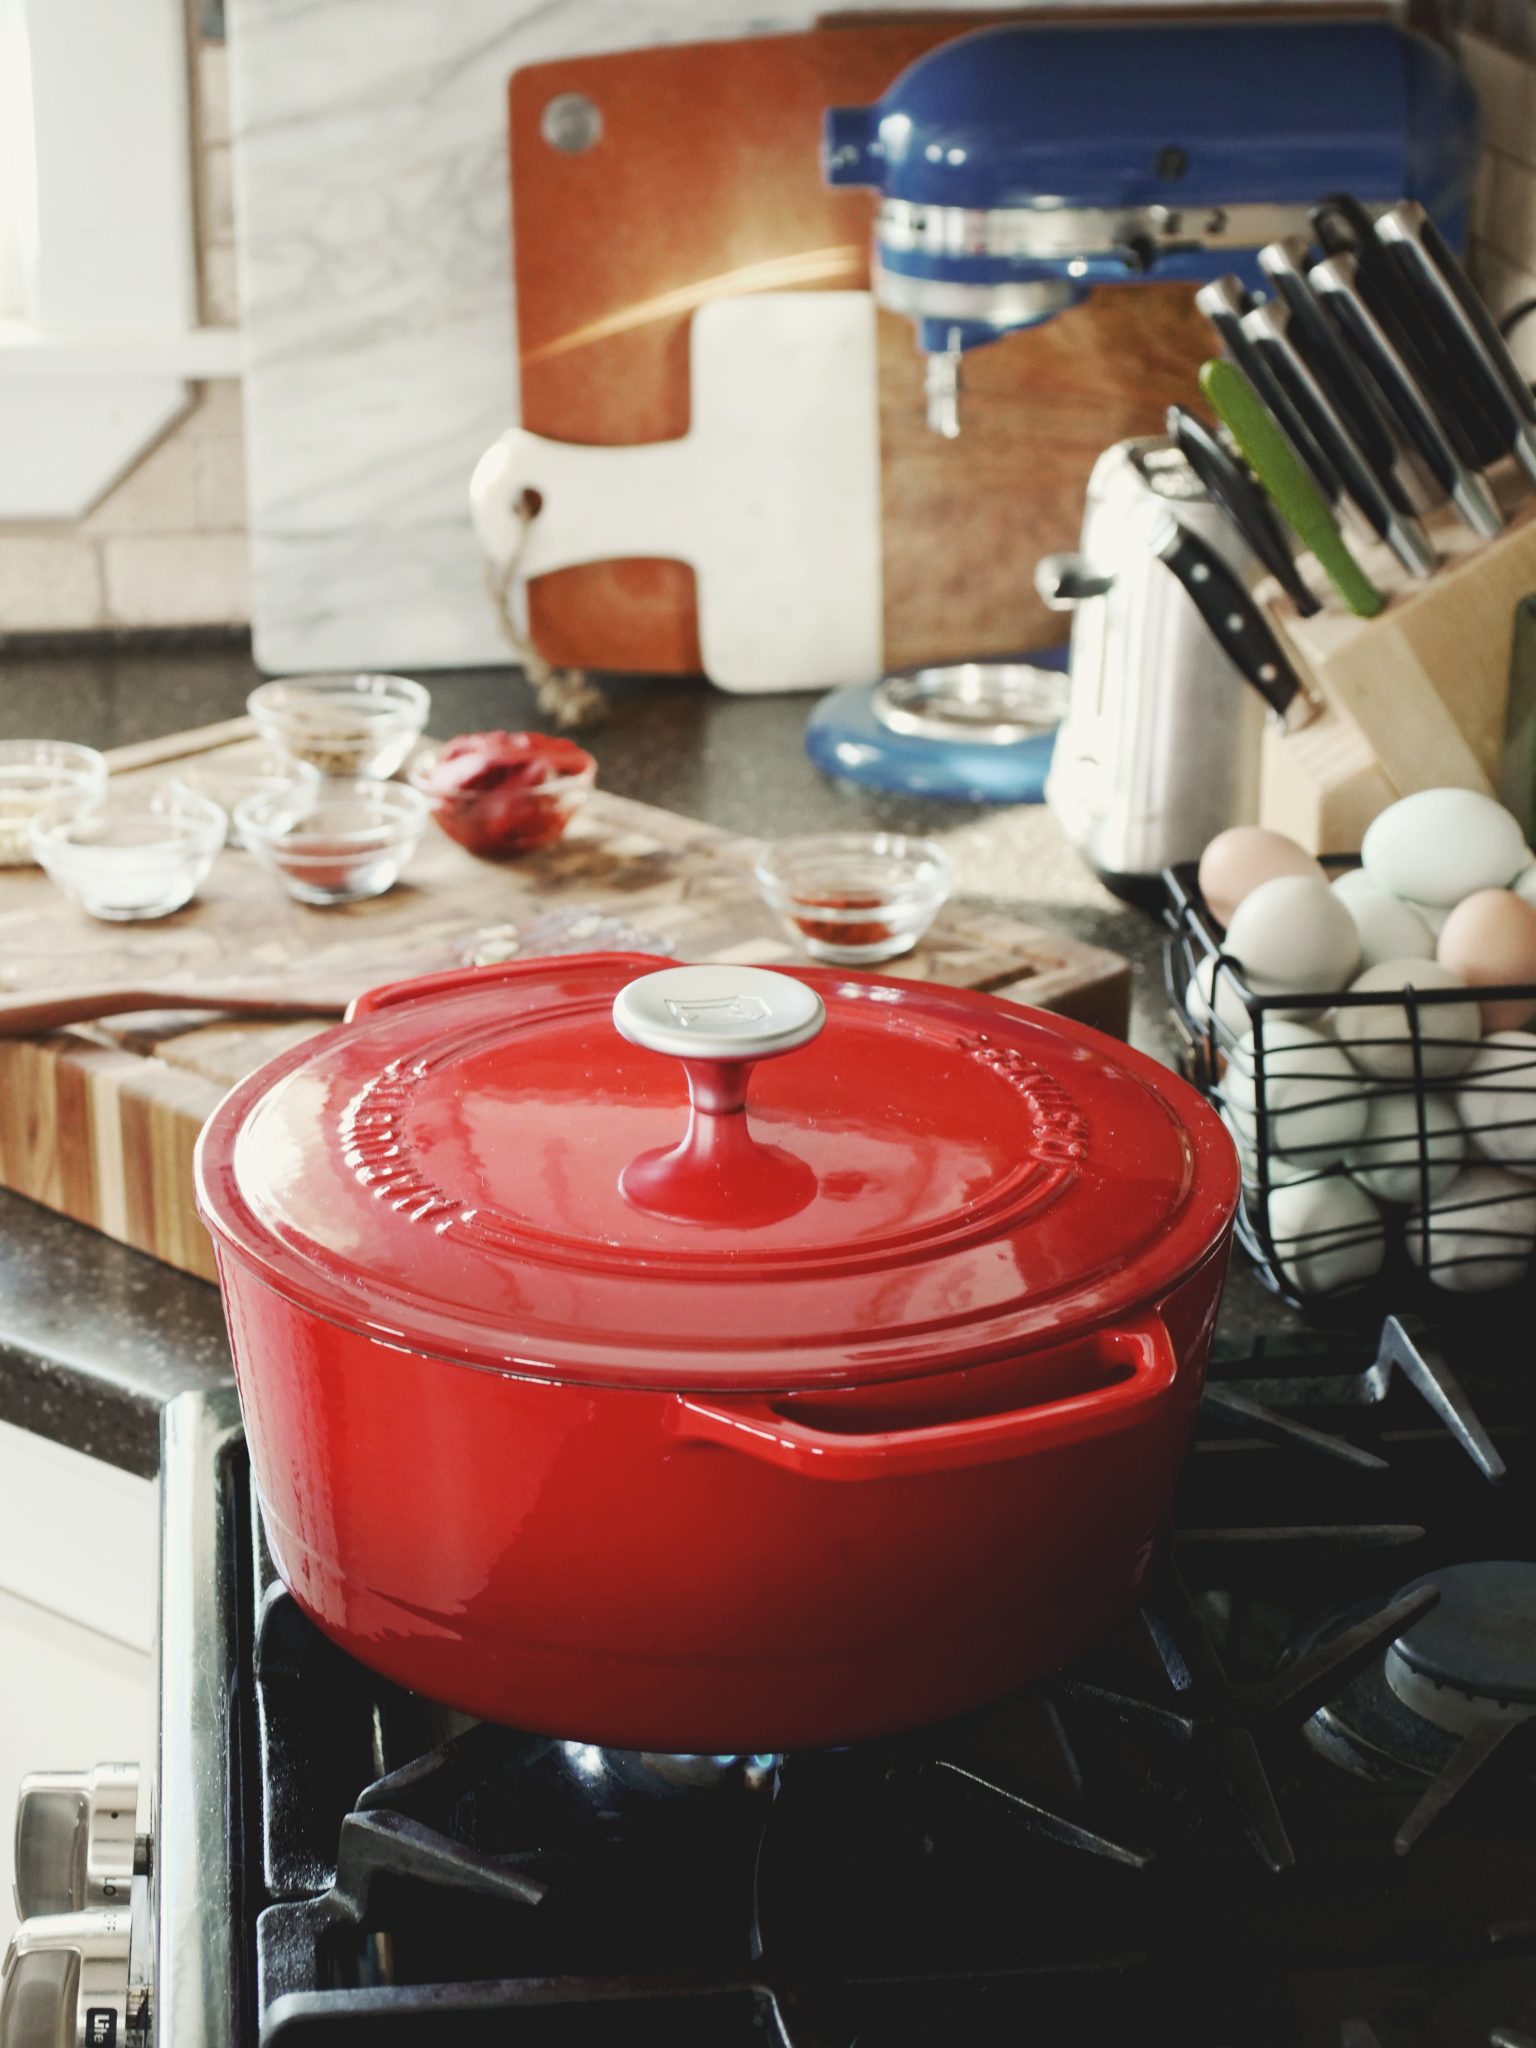
Now add in the spices, tomato paste, and minced garlic. Cook the spices into the meat for a few minutes to allow any raw flavor to be cooked out. This will also help the meat to absorb the flavors of the spices. Next we’re going to deglaze the pot with Guinness. If you don’t have Guinness on hand you can skip this and just move straight to the beef broth. I find that Guinness, or any dark stout, with it’s chocolatey undertones really brings a sweet earthy-ness to the dish. There’s something about it. I can’t explain it. I won’t drink Guinness straight, but I will certainly cook with it in my stews, chilis, and cakes!
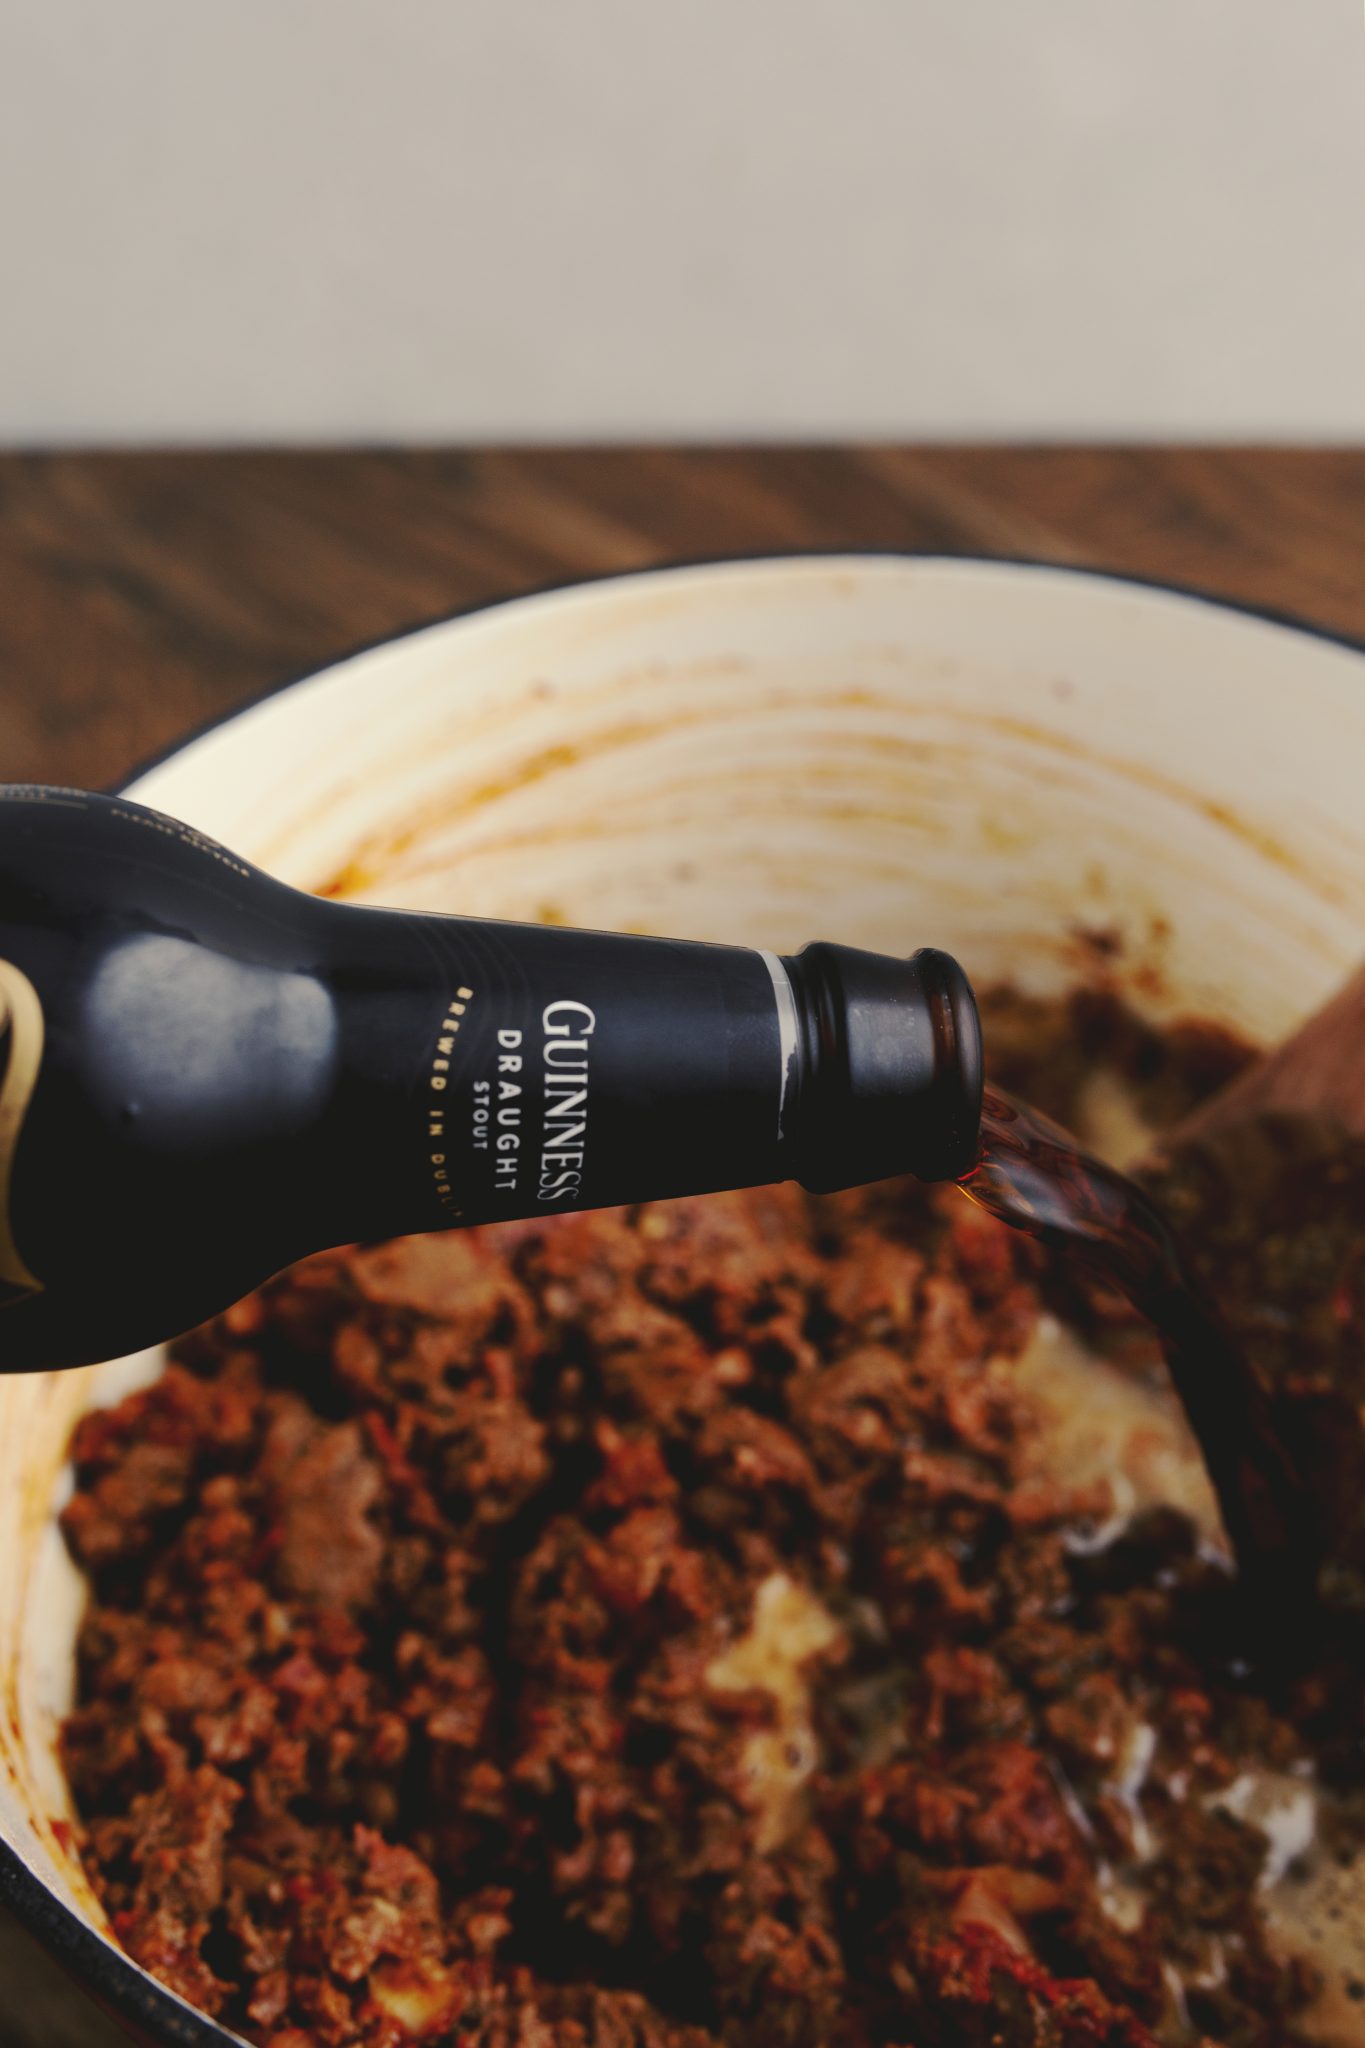
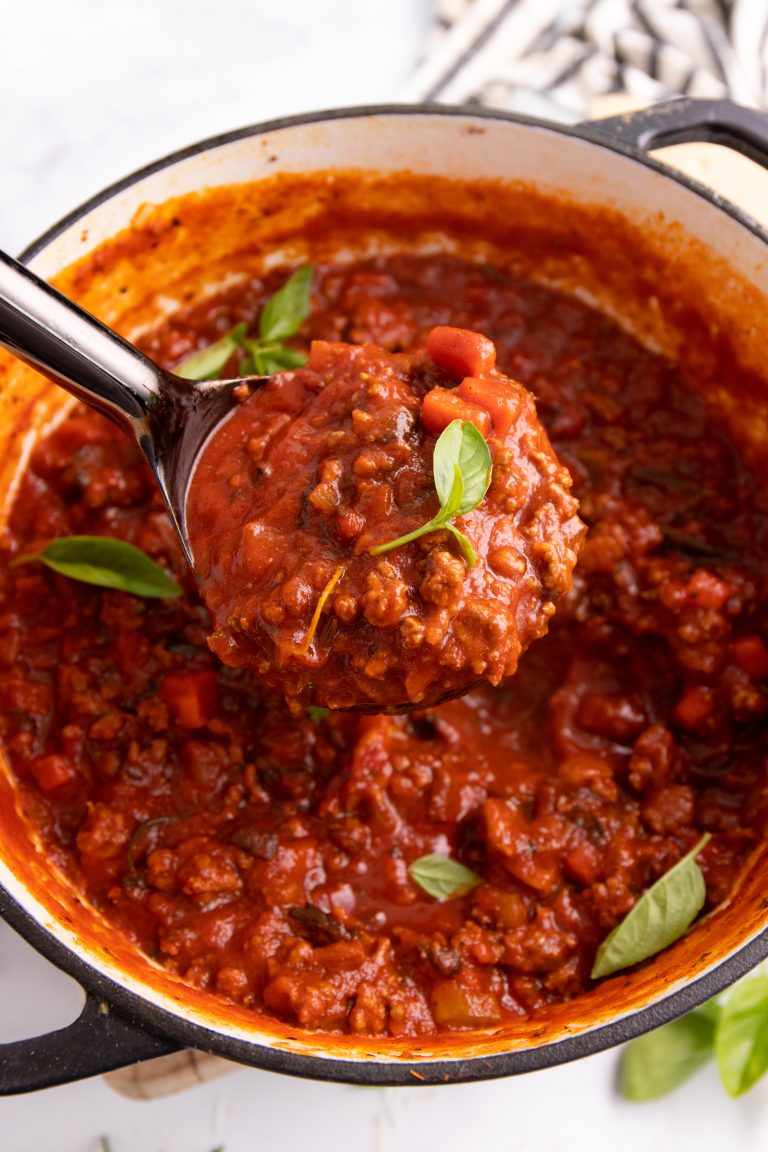
After allowing the alcohol to burn off, add the beef stock. Stir well and cover leaving a slight crack. Allow the chili to then simmer for about an hour. This will encourage the flavors to deepen. Stir occasionally and add water as needed so that the chili doesn’t burn to the bottom of the pot. The result should be a beautifully thick and deep red chili, perfect for kids and adults alike.
Adjusting the Heat
Add your hot spices to individual bowls so everyone can manage their own heat. If cayenne is a must in your chilis, start with only 1/4 teaspoon in the pot and garnish individual bowls with hot sauce or jalapenos to keep the overall dish kid-friendly. Remember that the flavor of leftovers will intensify as it sits. Chili is almost always better the next day.
Tips for the Best Venison Chili
- Do not use garlic powder. Minced garlic and onions are a favorite with venison. However, garlic powder is known to bring out the gamey taste in venison. Do not substitute one for the other.
- This is considered an all-meat chili. If your family likes beans, add red kidney or black beans (drained and rinsed) at the same time as adding the beef broth.
- Do not expect beef chili. While the spices may be the same, there is a flavor difference between venison and beef. Don’t dig into a bowl expecting a typical beef chili or you’ll be caught off-guard. But dig in expecting something new, healthy, and all around delicious and you’ll be quite happy!
Toppings for Chili
- Avocado
- Cheese
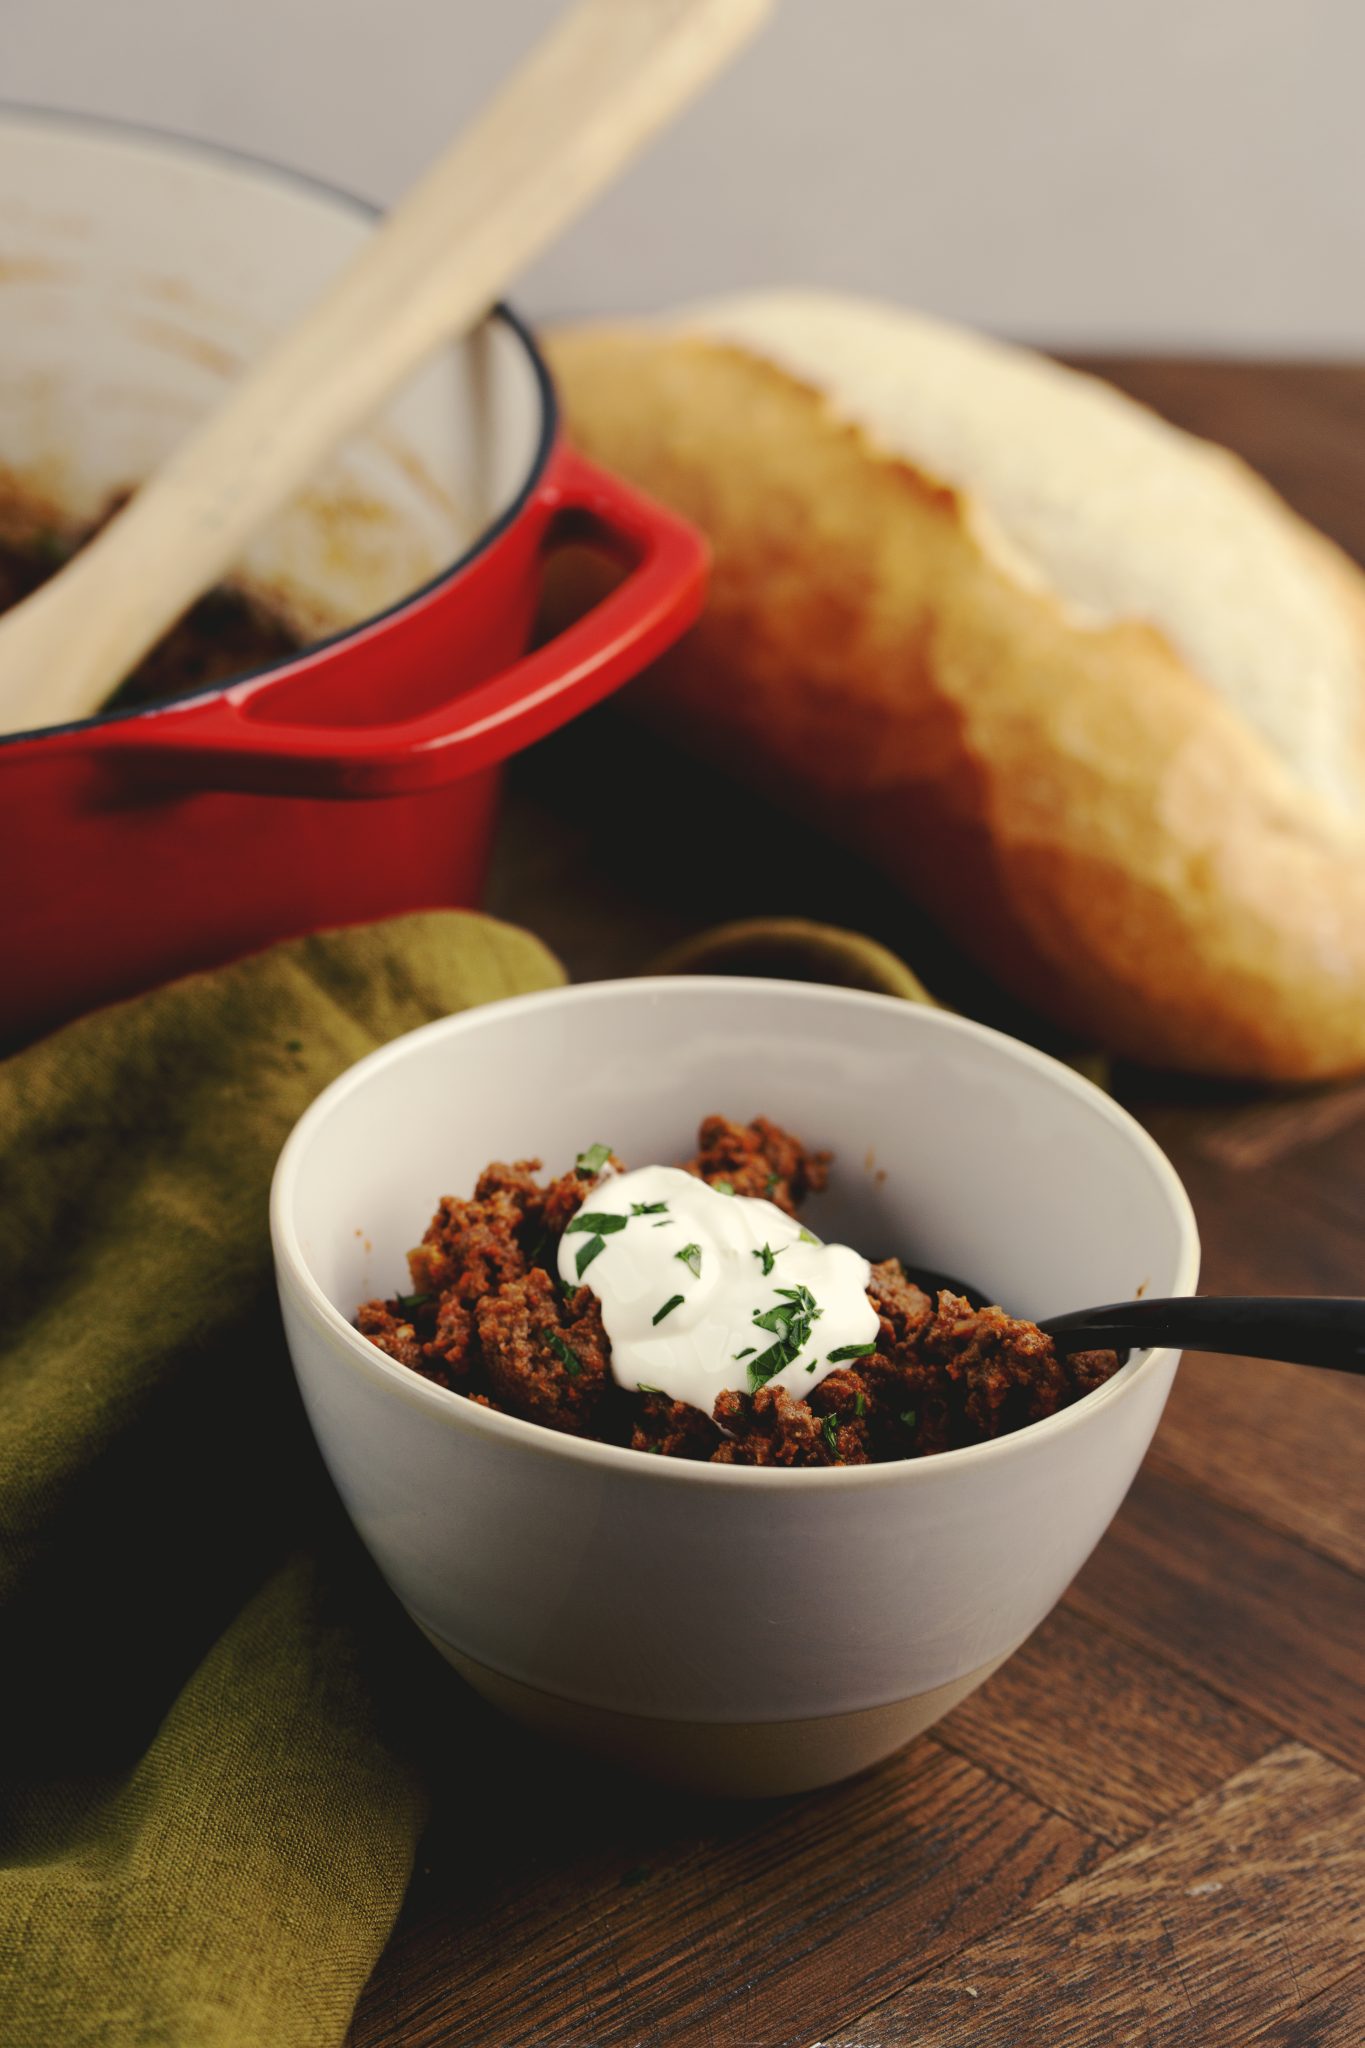
- Sour Cream
- Limes
- Hot Sauce
- Cooked Bacon
- Chives, Parsley, or Cilantro
- Tortilla Chips
- Corn Chips
- Oyster Crackers
- Saltines
- French Bread
- Cornbread
Grab this Dutch Oven and more: by clicking the link here! Use code KATIE at checkout for an additional 5% off!
Storing Leftovers
As mentioned above, chili is almost always better the next day. The flavors intensify as it sits. This is a great, easy recipe to double or triple and have available all week or as a freezer meal.
To store in the refrigerator: leftovers should be in an air tight container and can last up to 5 days.
To store in the freezer: leftovers should be in an air tight container, we prefer vacuum sealing, and can be frozen up to 6 months.
Canning Leftovers: Yes you can absolutely pressure can the leftovers! You’ll find the guidelines here and they will work for this recipe.
Reheating leftovers is as easy as adding back into a Dutch oven and setting to low with about a cup of liquid (water or beef broth). Stir frequently until your desired temperature is reached (at least 165F). For leftovers from the refrigerator, you can quickly microwave covered with a damp paper towel on high for 30 seconds to a minute, stir and repeat as necessary.
More of our favorite
Soups, Stews, & Chilis
Cook up something hearty for stick-to-your-rib meals worth their weight in gold!
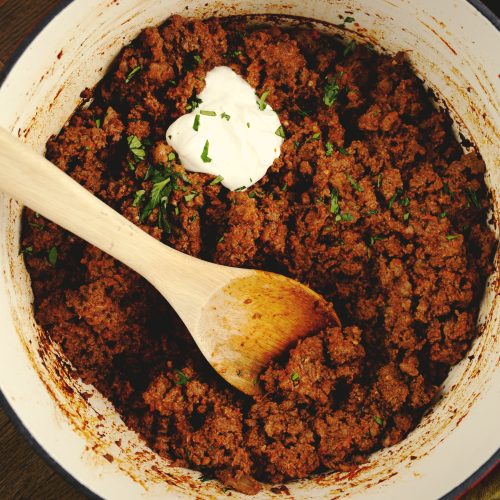

Dutch Oven Venison Chili
Equipment
Ingredients
- 2 Tablespoons bacon fat
- 2 yellow onions diced small
- 2-4 pounds venison ground
- 1 Tablespoon chili powder
- 1/2 Tablespoon paprika
- 1/2 Tablespoon salt
- 1/4 Tablespoon black pepper
- 1/2 Tablespoon cumin
- 3 ounces tomato paste
- 1 Tablespoon garlic minced
- 1 bottle Guinness Beer
- 3 cups beef stock
Instructions
- Start by sautéing the onions and other raw vegetables you choose to use, in a 6 quart Dutch oven with fat (bacon grease or avocado oil). Give these vegetables about a 5 to 10 minute head start to really develop in flavor.
- Next, add the ground venison. If your venison isn't fully thawed like mine wasn't, cover with the lid to trap in the steam and moisture. This will help to cook the venison without drying it out.
- Now add in the spices, tomato paste, and minced garlic. Cook the spices into the meat for a few minutes to allow any raw flavor to be cooked out. This will also help the meat to absorb the flavors of the spices.
- Next we're going to deglaze the pot with Guinness. If you don't have Guinness on hand you can skip this and just move straight to the beef broth. Allow the alcohol to cook out for about 2 minutes. Add the beef broth and stir.
- Reduce to a simmer and cover with lid slightly ajar for about 1 hour, stirring every 15 minutes to ensure nothing is burning to the bottom. Add 1/2 cup of water as necessary.
- Serve with your favorite chili toppings and cornbread.
Video
Notes
Nutrition
Did You Make This Recipe?
Share it with me on Instagram @castironrecipesofficial and follow on Youtube @Cast Iron Recipes and Pinterest @castironrecipes for more!








Become A Recipe Insider!
Subscribe to the newsletter for all the latest scratch-made and family-friendly recipes
Leave A Review!
Love this recipe? Make sure to comment below and let me know your thoughts!